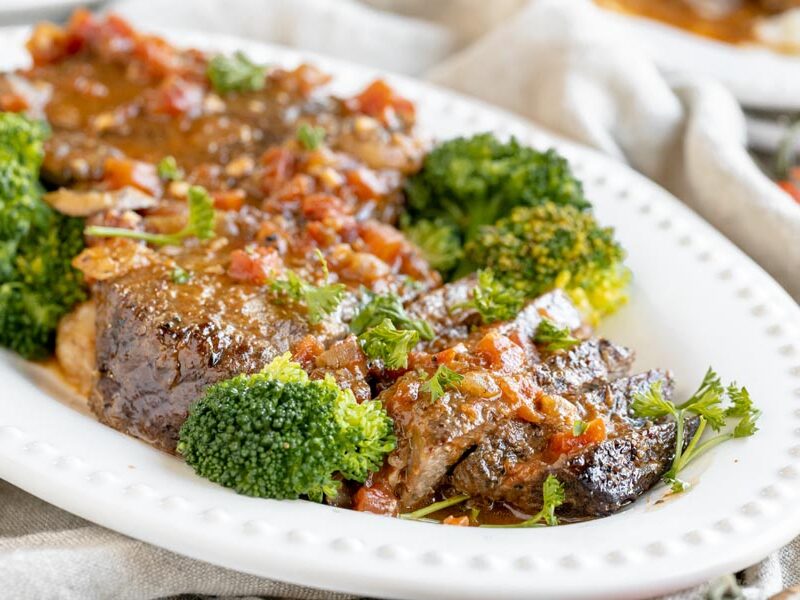
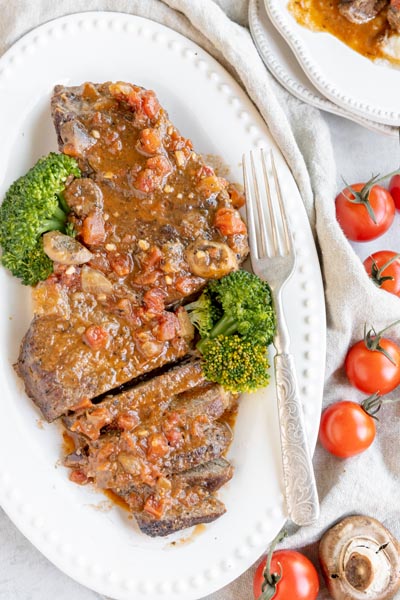
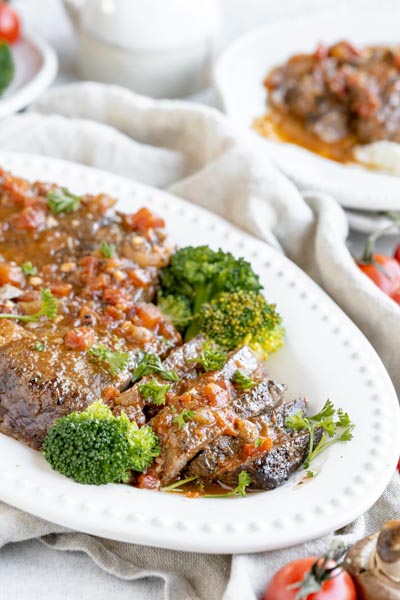
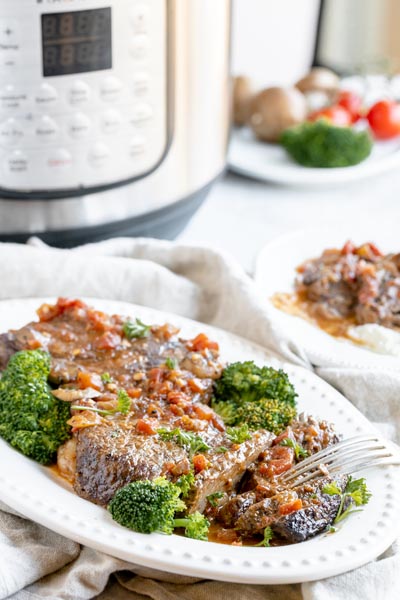
Fork tender Swiss steak in a hearty tomato and mushroom gravy, at 4.9g net carbs and 51g protein: my Instant Pot turns tough London broil and round steak into a low carb dinner that eats like a long braise. I sear the steaks on saute mode first, pressure cook them submerged in the sauce, and I let the sauce reduce on saute at the end to thicken.
I started making this Instant Pot Swiss steak about five years ago when I had a London Broil sitting in the fridge and no patience for a three-hour braise. Thirty minutes under pressure and the meat was falling apart with a fork. That was it for me. I stopped slow-braising tough cuts the old way.
What keeps me coming back to this recipe is how hands-off it is. Season the beef, get a hard sear, toss in the vegetables, and let the pressure cooker handle the rest. The tomato and mushroom sauce that builds up during cooking is rich enough that my husband ladles extra over everything on his plate. I serve it over keto spaghetti or just alongside roasted broccoli, and the sauce covers it all.
The key to this whole recipe is the sear. I pat the steaks completely dry with paper towels, then dust them with arrowroot powder before they hit the hot oil. That thin coating creates a crust that locks in the juices and helps thicken the sauce later. Skip the sear and you lose that deep, caramelized flavor in the gravy. I figured that out the hard way my first time around.
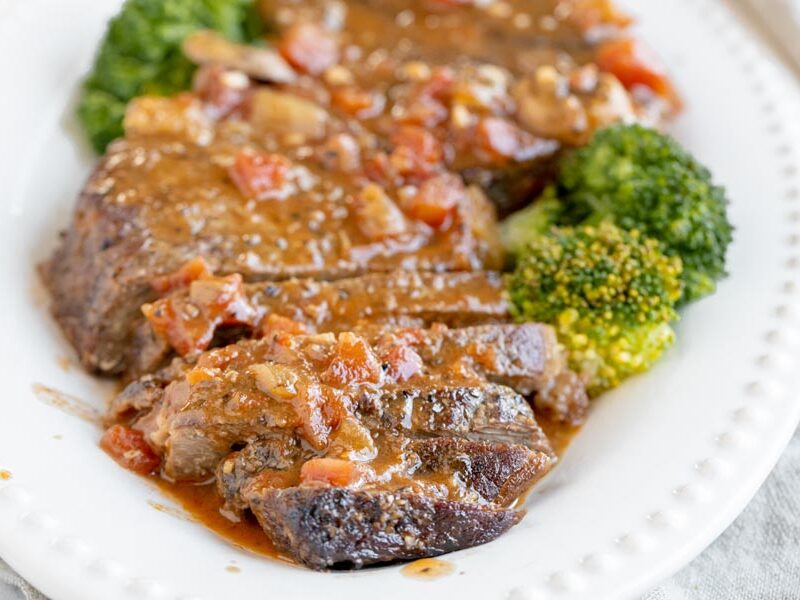
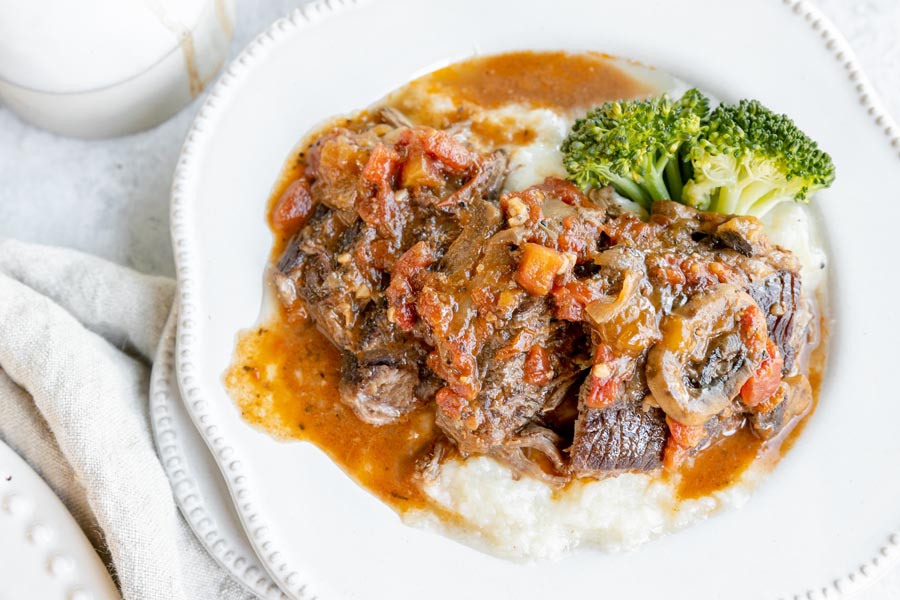
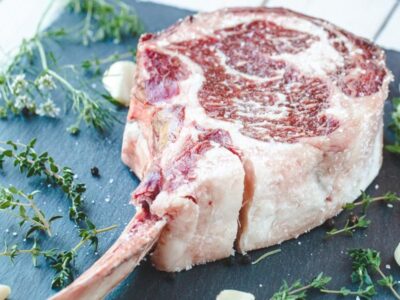
I've tested this with London Broil, Top Round, and Bottom Round. All three work, but London Broil is my favorite because the grain pulls apart into thick, satisfying shreds. Top Round comes out leaner but still tender. Bottom Round holds its shape more, which is nice if you want clean slices instead of shredded pieces. If you like beef dinners, my keto beef and broccoli is another fast one I keep in rotation.
This is one of my favorite keto dinners because it's genuinely budget-friendly. The cuts I use cost a fraction of what you'd pay for ribeye or strip steak, and after pressure cooking they're just as tender. It's the kind of meal where the leftovers are almost better the next day because the sauce soaks into everything overnight. For more easy weeknight comfort food, my keto hamburger helper hits the same spot.
What is Swiss steak?
Swiss steak didn’t originate in Switzerland, which I always find funny to explain. The name comes from “swissing,” an old technique for mechanically tenderizing tough cuts of beef (similar to how cube steak is made).
Instead of pounding the meat, I use pressure cooking to break down those tough fibers. Braising beef in an acidic tomato sauce under pressure does in 30 minutes what hours of slow cooking used to do. The tomatoes tenderize the meat while building a rich, layered sauce at the same time.
I’ve been making Swiss steak this way since I started keto, and it’s become one of those dinners I don’t even think about anymore. It just works. People also mix up Swiss steak and Salisbury steak. Salisbury steak starts with ground beef shaped into patties, served in a brown mushroom gravy. Swiss steak braises whole cuts of beef (I use round steak or London Broil) in a tomato sauce until they are fall apart tender. Completely different texture, technique, and taste, even though the names sound similar.
Best cuts of beef for Swiss steak
One of the reasons I keep coming back to Swiss steak is the price. Unlike ribeye, New York strip, or sirloin (which are naturally tender and expensive), I use the cheaper, tougher cuts that most people walk past at the store. Pressure cooking turns these budget cuts into a low carb dinner that rivals a steak night at twice the price.
Top round steak
London Broil
Top round roast
Bottom round steak
Bottom round roast
Chuck roast
Chuck steak
Chuck arm
Flank steak
Skirt steak
Stew meat
I’ve personally tested London Broil, Top Round, and Bottom Round in this recipe. London Broil gives me the best shredding texture, while Bottom Round holds its shape for cleaner slices. These same budget cuts work in my Philly cheesesteak casserole too, so I’ll buy a bigger roast and split it between both recipes.
How to make the tomato mushroom gravy
The braising liquid turns into an incredible gravy as the Swiss steak cooks. Onion, mushroom, garlic, thyme, and red wine all cook down with the diced tomatoes to create a sauce that’s rich enough to pour over everything on the plate.
After I remove the beef, I switch to saute mode and let the sauce reduce for 5-10 minutes. If I want it thicker faster, I stir in about a teaspoon of arrowroot powder mixed with a tablespoon of cold water. I’ve also used xanthan gum (1/4 teaspoon at a time, because too much makes it slimy) and both work well. The key is stirring constantly as you add the thickener so you don’t get clumps.
How to store and freeze Swiss steak
I store leftovers in an airtight container in the fridge for 3-5 days. Honestly, the flavor gets better the next day as the sauce soaks into the beef overnight. I reheat on the stove over medium-low with a splash of broth to loosen the gravy back up.
For freezing, I let everything cool completely, then transfer to a freezer-safe container or bag. It keeps well for up to 3 months. When I’m ready to eat it, I thaw overnight in the fridge and reheat on the stove. The texture holds up well because the beef is already fully braised. I sometimes make a double batch and freeze half alongside some keto taco casserole for a ready-made meal prep week.
How to make pressure cooker Swiss steak
The layering order matters here. After I sear the beef and set it aside, I cook the onions, mushrooms, and garlic right in those browned bits at the bottom of the pot. That fond is the flavor base for the entire sauce. Once I add the tomatoes, broth, and wine, I nestle the beef back in, but I don’t stir after that point. I learned early on that stirring breaks apart the seared crust and the sauce comes out less rich.
Key ingredients
Steak: I use tough, budget-friendly cuts like London Broil, Top Round, or Bottom Round. Roasts work too. I just cut them into thick slabs before searing.
Vegetables: Mushrooms, onion, and garlic are my base. I’ve also thrown in bell peppers and celery with good results. Softer vegetables like broccoli and zucchini go in after the pressure cook so they don't turn to mush.
Diced tomatoes: One can does double duty here. The acid helps tenderize the beef and builds the sauce base.
Chicken broth: I usually use chicken broth for the braising liquid, but beef broth works just as well. Water in a pinch.
Wine: I prefer red wine for depth, but it’s completely optional. The dish is still rich without it.
Pat steaks or roast dry with a paper towel. Season generously with salt and pepper. Dust with arrowroot powder or your favorite thickener if using.
For this step
Beef
Salt & pepper
Arrowroot powder (optional)
2
Sear steaks
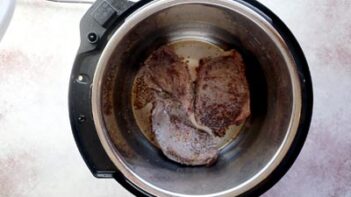
Set Instant Pot to sauté mode. Add avocado oil. Once oil is heated through, add steaks to the liner of the Instant Pot. Do not crowd the steaks, leave room for steam to escape in order to get a proper sear and crust on the outside of each steak. You may have to work in batches. Sear on all sides. Remove steaks and set aside.
For this step
Oil
3
Saute onions and mushrooms
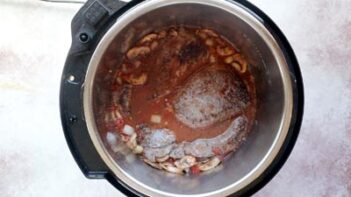
To the liner of the Instant Pot, add diced onions, mushrooms, garlic and thyme. Sauté until almost softened. Stir in diced tomatoes, chicken broth and red wine, if using.
For this step
Onions (diced)
Mushrooms (sliced)
Garlic (minced)
Thyme
Diced tomatoes
Chicken broth
Red wine (optional)
4
Pressure cook
Return steaks to the Instant Pot and submerge within the liquid. Place the lid on the pressure cooker and turn the vent to seal. Pressure cook on high for 30 minutes. Let pressure release naturally for 10 minutes before sliding or pressing the knob to vent remaining pressure.
5
Thicken sauce
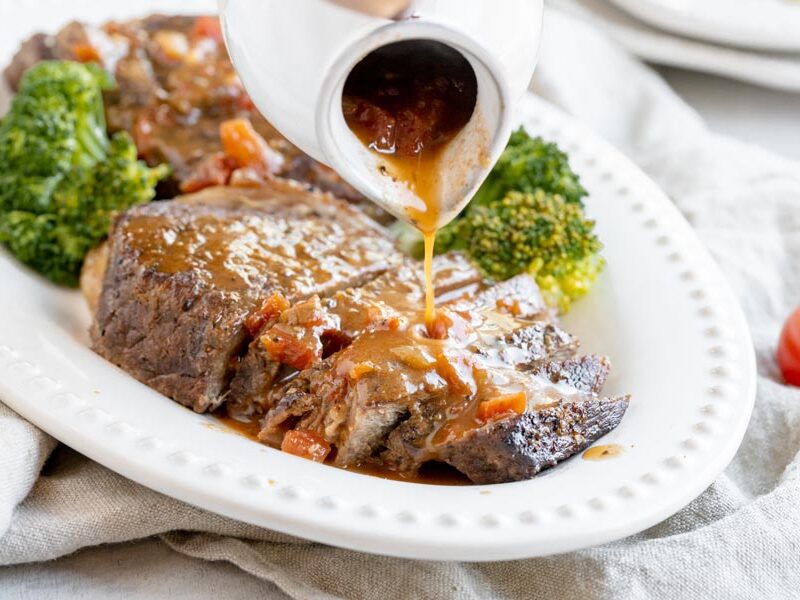
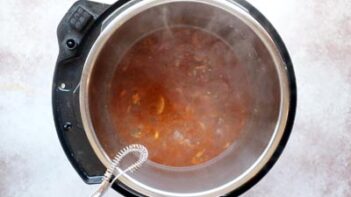
Remove steak. To thicken the sauce, turn the Instant Pot to sauté mode and let sauce reduce. Add more arrowroot powder or your favorite thickener if needed. Pour sauce over steak once finished.
Nutrition
Per serving: 1/6 of recipe
Calories
364
Fat
7.4g
Protein
51g
Total carbs
5.9g
Net carbs
4.9g
Nutrition is an estimate calculated from the ingredients listed. Brands vary, so check labels if you track closely.
Frequently Asked Questions
Can I make Swiss steak without a pressure cooker?
I've made this three different ways. For the slow cooker, I sear the beef in a skillet first (don't skip this step), then add everything to the slow cooker and cook on low for 6-8 hours or high for 3-4 hours. For the oven, I use a Dutch oven at 325 degrees for about 2.5-3 hours with the lid on. On the stove top, same Dutch oven, bring it to a boil, then drop to low and simmer for 1.5-2 hours. All three give you tender beef, but I keep going back to the pressure cooker because the result is the same in a fraction of the time. If you like set-and-forget keto meals, my keto crack chicken works the same way in a slow cooker.
Can I use cube steak for this recipe?
I've tried it and it works, but there's a catch. Cube steak is already mechanically tenderized, so it cooks much faster under pressure and can fall apart. When I use cube steak, I cut the cooking time to about 12-15 minutes instead of 30. The texture comes out softer and more shredded compared to a whole round steak, but the flavor is just as good.
Can I use frozen steak?
Frozen works, but you have to skip the sear, and the sear matters in this one. I add 8-10 extra minutes on the pressure cook. The gravy still comes out fine, but you lose some of that fond from the bottom of the pot, so I thaw overnight in the fridge when I can plan ahead.
Why do you let the pressure release naturally for 10 minutes?
I've tested both quick release and natural release on this recipe. Quick release causes a sudden temperature drop that tightens the meat fibers back up, so you lose some of that tenderness you just spent 30 minutes building. Ten minutes of natural release lets the beef relax and reabsorb some of the cooking liquid. I've found 10 minutes is the sweet spot for this cut of beef. Some recipes call for 20 minutes of natural release, but I didn't notice a real difference past 10.
How do I keep my Instant Pot from giving a burn notice?
This tripped me up early on. After I saute the onions, mushrooms, and garlic, I pour in the broth and wine and scrape the bottom of the pot with a wooden spoon to lift every browned bit before I add the tomatoes. Those stuck-on bits are what trigger the burn warning if you leave them sitting on the hot metal, and they also happen to be pure flavor for the gravy. I make sure nothing is glued to the bottom, then nestle the beef back in and seal the lid. I haven't gotten a burn notice once since I started deglazing this way.
Making this Saturday for a big Sunday dinner so I can actually relax a bit. Does the tomato mushroom gravy hold up after reheating, or does it separate and get watery on me?
It holds up. I’ve made this the day before plenty of times and the gravy actually gets better overnight, flavors settle in. If it looks thin when you reheat, a couple minutes over medium heat brings it back. Hope Sunday goes smoothly, Elaine.
Sarah, it’s already listed as optional in the recipe, so leave it out. I skip it half the time and the tomato-mushroom gravy is still thick and good. Chicken broth and diced tomatoes do the work.
Beef broth works. I use chicken to keep the tomato and mushroom from getting too heavy, but if you want a richer, deeper gravy, beef is the right call.
I’ve been making Swiss steak low and slow in the oven for years, so I went in skeptical. The london broil came out fork-tender, and the tomato mushroom gravy tasted like it had been going all afternoon. With the heat we’ve had this week, I’m not turning on my oven for this again.
I’ve made pot roast plenty of times but never tried a tough cut like London broil this way, and I was nervous it would come out chewy. It didn’t. The meat was completely falling apart tender and that tomato mushroom gravy had this richness I couldn’t believe came from under an hour of cooking. I left out the red wine and it was still so flavorful. My one question: do you do natural release or quick release? Mine turned out great but I want to know I’m doing it right and not just getting lucky.
Natural release for 10 minutes, then quick release the rest. I’ve tested it both ways and quick release all at once tightens the meat fibers back up, so you lose the tenderness you just spent 30 minutes building. You’re not getting lucky.
Let it natural release for 10 minutes before venting and the steak will slice cleanly instead of shredding. First time I quick released it the pieces just fell apart. Added the arrowroot at the end too and the sauce went from thin to proper gravy consistency in about 2 minutes.
Yep. Quick release on london broil tightens the fibers right back up, all that work undone in seconds. And the arrowroot thing is almost unfair how fast it works.
The london broil came out way more tender than I thought it would, which was kind of the whole worry going in. Only thing is I skipped the red wine and I think that’s why my sauce tasted a little thin, so that’s probably on me. Trying it the proper way next round.
Made this on a Sunday with a bottom round roast I had sitting in the freezer. The thing came out falling apart tender in under an hour, which genuinely shocked me because I always thought round cuts needed all day in a slow cooker. Tomato gravy was thick and soaked into every bite. Only thing I’d say is season the meat more aggressively before you sear it. First few bites felt a little flat until the gravy hit.
One tip if you’re using a thicker London broil: cut it into 2-3 pieces before searing so you get more surface contact with the pot. Real difference in how the gravy builds. I also swapped the red wine for Worcestershire and the sauce came out richer, more depth against the mushrooms and thyme. Tried both ways. Sticking with the Worcestershire.
My Dutch oven version takes most of a Sunday afternoon, so I was skeptical the Instant Pot could get anywhere close. It did. The round steak fell apart and the tomato mushroom gravy tasted like it had been going since morning. I double-checked the cook time because it seemed too fast.
That cook time always looks like a typo. The natural release at the end is what holds the texture, keeps the fibers from seizing back up. Round steak was basically made for pressure cooking.
Yeah the pressure does things to those tough cuts that nothing else can. The natural release at the end matters too. Give it the full 10 minutes or the meat tightens back up.