

Skip to content
KETOFOCUS.

Sweater weather calls for keto comfort food. Get Cozy →

Keto Yogurt

Rich, creamy homemade yogurt from ultra-filtered whole milk, heavy cream and plain live-culture yogurt. Use an Instant Pot with a yogurt program and a thermometer. Allow about 17 hours from start to serving, including 8 hours of incubation and at least 8 hours of chilling.
  • 3.5gnet carbs
  • 5.7gprotein
  • 1020minutes
  • 13servings

This post may contain affiliate links. See my disclosure policy.

This homemade yogurt has a rich milk-and-cream base that you can flavor after chilling. The recipe uses equal volumes of ultra-filtered whole milk and heavy whipping cream, with plain live-culture yogurt as the starter.

Most of the time is hands off, but this is an overnight project. Allow about an hour for setup, heating and cooling, 8 hours of incubation and at least 8 hours in the refrigerator. The displayed prep time includes the cooling and chilling time; the cook time is the incubation. Heating and cooling may take longer depending on the appliance and batch temperature.

The original nutrition estimate of 346 calories and 3.5g net carbs per serving is for the half-milk, half-cream version. It does not describe an all-cream batch. The original recipe also offers an all-whole-milk variation; changing the milk, cream, starter or toppings changes the nutrition.

Keep the base plain through incubation and chilling. Then add flavoring to individual bowls, serve with berries or use it in yogurt fruit dip.

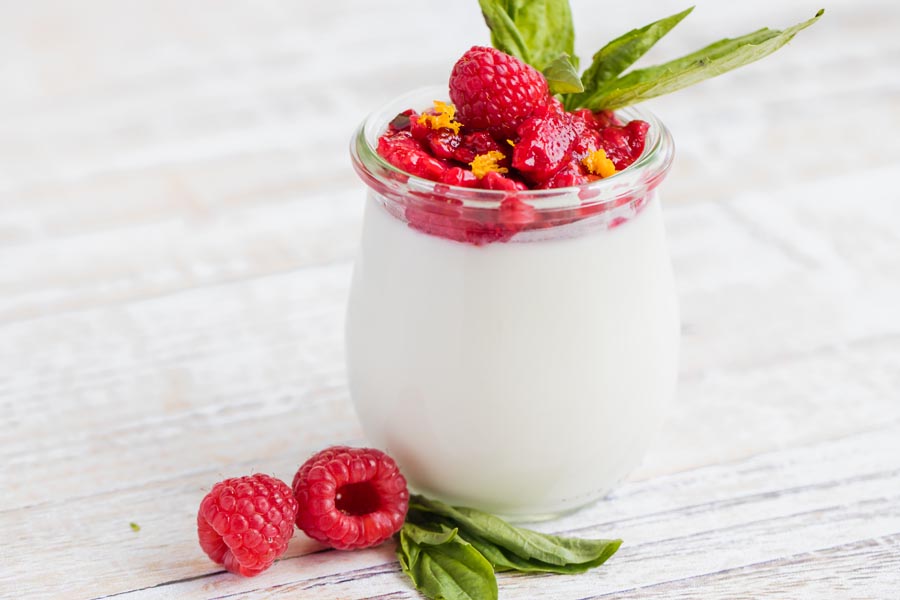
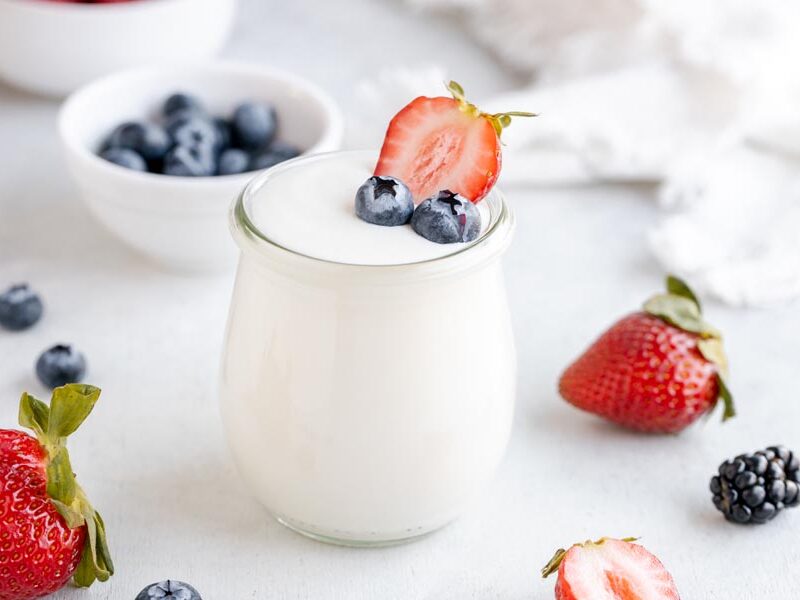
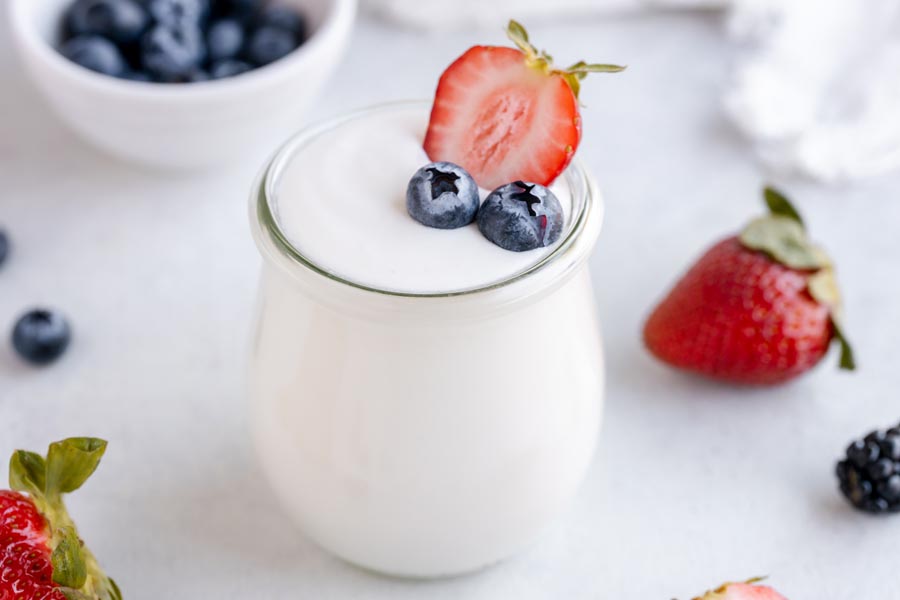
A small jar of homemade yogurt topped with berries and a bowl of blueberries to the rear.

Understanding the nutrition estimate

The displayed estimate is from the original milk-and-cream recipe: 346 calories, 32.2g fat, 5.7g protein and 3.5g total and net carbs per serving. Divide the plain batch into 13 portions; the approximate 5-ounce measure is fluid volume, not a weighed portion.

This is an ingredient-based estimate, not a measurement of the finished yogurt after fermentation. Do not subtract an assumed amount of lactose or use the same numbers for an all-milk, strained or flavored version. Check the labels on the products you use.

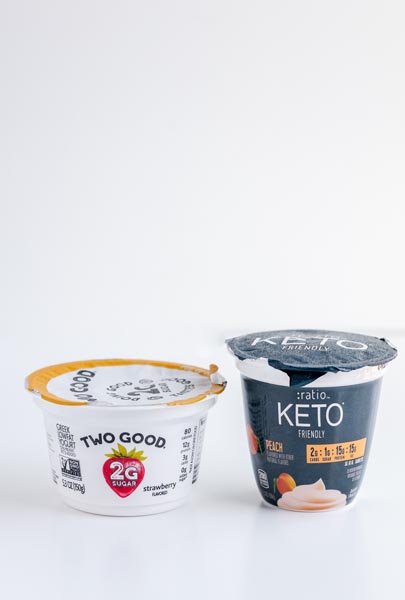
Two yogurt brands are side by side. One is a container of Two Good yogurt. The other is Ratio Keto Friendly Yogurt.

How to flavor your yogurt

Add flavors after the yogurt has incubated and chilled. For one serving, start with 1/2 teaspoon powdered sugar-free sweetener and adjust to taste. A little vanilla extract or some berries can add flavor without changing the whole batch.

Use concentrated peach, strawberry or lemon flavorings according to the product label; their strengths vary. A teaspoon amount intended for an extract is not a universal dose for flavoring oils. Food coloring is optional, and any fruit or other additions change the serving nutrition.

Choosing your yogurt starter

Use plain, unsweetened yogurt labeled with live active yogurt cultures. The culture needs to be suitable for warm yogurt incubation at about 110°F. A general probiotics claim does not establish that a product is a suitable starter.

If using a packaged starter instead, follow its milk, quantity, activation and temperature instructions. Room-temperature cultures and other fermented foods need their own methods; do not assume they use this recipe’s program.

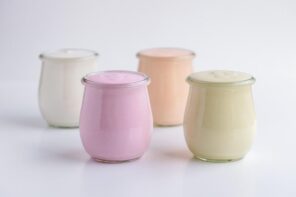
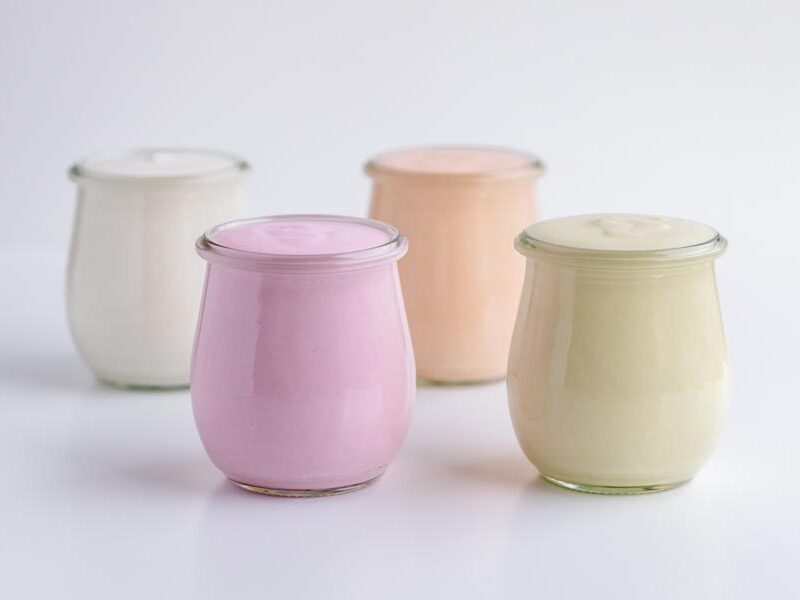
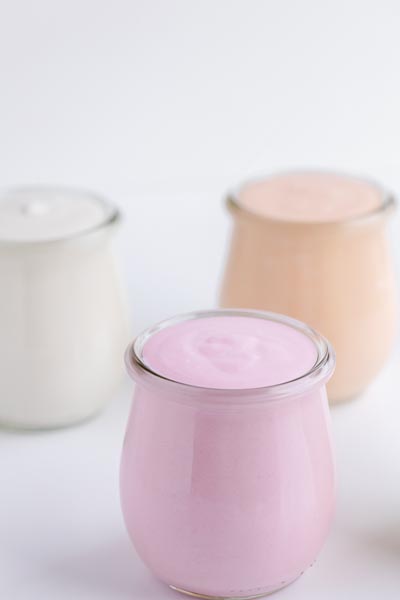
Three jars of yogurt. One is pink and the two in the back are white and orange.

Choosing equipment for incubation

This method requires controlled warmth throughout incubation. Use an Instant Pot with a yogurt program or a yogurt maker with directions appropriate for your starter. If your Instant Pot lacks that function, use a complete method designed for your other equipment.

Keep Warm, an oven light or insulation around a switched-off pot should not be assumed to maintain the required temperature for eight hours. Follow the appliance instructions and check the temperature rather than relying on an improvised overnight setup.

Milk variations and dairy-free yogurt

The original alternative replaces the 32 fluid ounces of cream with 32 fluid ounces of whole milk, giving 64 fluid ounces of milk in total. This changes richness and nutrition.

An all-cream batch is not the same recipe, and the 346-calorie estimate does not apply to it. Coconut milk also needs a method and starter intended for that base. Replacing the milk and cream while keeping a dairy yogurt starter does not make the result dairy-free.

Recipes that use homemade yogurt

Use the chilled yogurt in yogurt fruit dip, chocolate chip yogurt popsicles or a breakfast bowl. Keep it plain until you know how you want to use each portion, and count any added ingredients separately.

How to store homemade yogurt

Refrigerate promptly after incubation and keep at 40°F or below in clean, covered containers. Use within 1-2 weeks, using clean utensils for each serving. Discard yogurt with mold, unusual discoloration or an unpleasant odor; those signs are reasons to discard, not a substitute for temperature control.

For longer storage, freeze in freezer-safe containers with expansion space for up to a month for best quality. Thaw in the refrigerator. Separation or a grainier texture can occur, so thawed yogurt may work better blended into a smoothie.

The video shows the original method. Follow the written recipe above for the updated incubation controls and chilling schedule.

How to make homemade yogurt

Equipment: an Instant Pot with a yogurt incubation program, a food thermometer, clean utensils and covered refrigerator containers. Check your model instructions for its separate milk-heating and incubation settings.

  1. Heat the milk and cream to 180°F using the yogurt program's Boil or pasteurization setting; confirm with a thermometer.
  2. Cool to 110-112°F before adding the starter. If it cools below that range, gently rewarm it before adding the yogurt.
  3. Incubate on the yogurt setting at about 110°F for 8 hours, following the starter and appliance instructions.
  4. Refrigerate promptly after incubation and chill for at least 8 hours before flavoring or serving.

Keep Warm is not the yogurt incubation setting. A switched-off pot wrapped in towels does not provide verified temperature control.

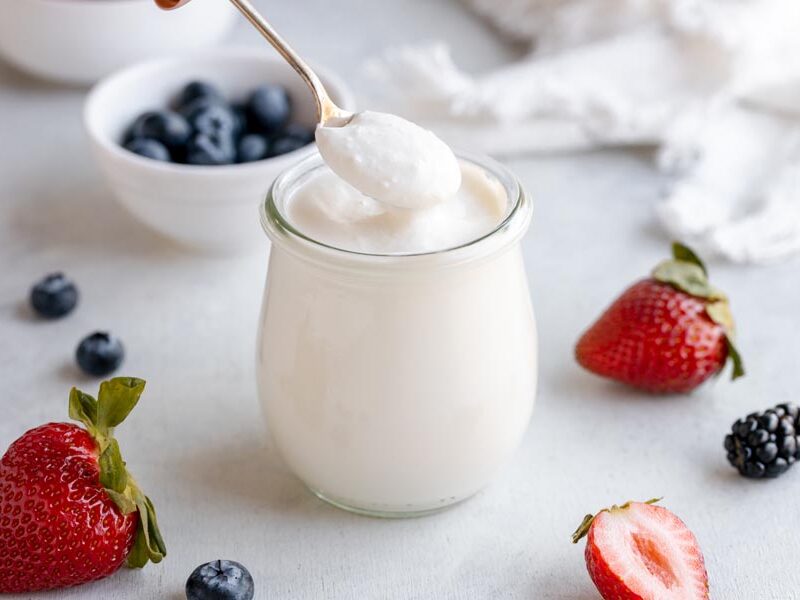
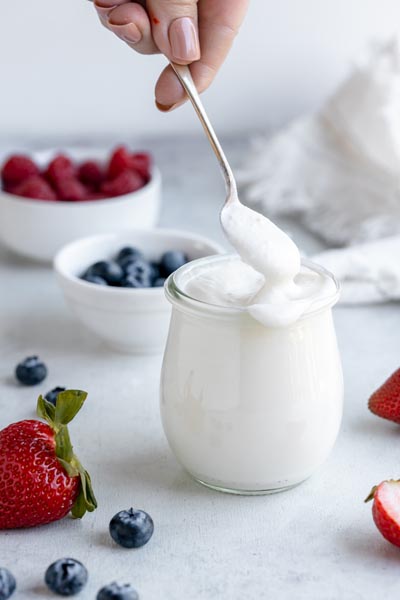
A hand holding a spoonful of white yogurt in front of the jar of yogurt. Some of the yogurt is spilling down the edge of the glass.

Discover more keto recipes on our channel Hundreds of keto recipe videos, with step by step instructions and the tips that make keto easy.
KetoFocus
The recipe

Keto Yogurt

Print Pin
Prep 540 min Cook 480 min Total 1020 min Serves 13

Ingredients

Servings 13

Keto Yogurt Ingredients

Optional flavoring for one chilled serving Ingredients

Step by Step Instructions

  1. Gently heat milk

    Start with clean equipment. Add 32 fluid ounces milk and 32 fluid ounces cream to the inner pot. For the original all-milk variation, use 64 fluid ounces whole milk instead. Select the yogurt program’s Boil or pasteurization setting according to your model manual, then check for 180°F with a food thermometer. If needed, repeat the heating cycle or briefly use Sauté while stirring and monitoring to reach 180°F. Do not assume pressing Yogurt once selects the heating cycle; controls vary by model.

    For this step

    • 32 fluid ounces whole milk (64 fluid ounces for all-milk variation)
    • 32 fluid ounces heavy whipping cream, for the milk-and-cream version
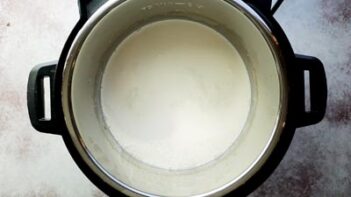
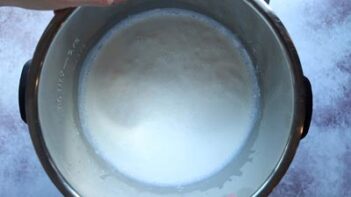
    Looking down an Instant Pot with simmering milk inside.
  2. Let cool

    Carefully remove the inner pot and cool the mixture to 110-112°F, checking with a thermometer. A cold-water bath around the outside of the inner pot can speed cooling; keep water out of the milk and dry the pot exterior before returning it to the base. If the mixture cools below the target before adding the starter, gently rewarm it to the target range.
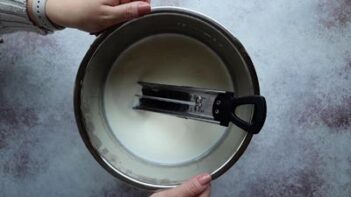
    Holding the liner of an Instant Pot with a thermometer inside.
  3. Add starter and incubate for 8 hours

    At 110-112°F, mix the 1/4 cup plain live-culture yogurt with a small amount of the warm milk, then gently stir it back into the pot. Return the liner to the base, cover and select the yogurt incubation program for 8 hours at about 110°F, following your appliance and starter directions. This is a non-pressure program. Use a thermometer to confirm the incubation temperature; do not substitute Keep Warm or leave a switched-off pot wrapped in towels overnight.

    For this step

    • 1/4 cup yogurt
    Looking into the liner of an instant pot with a yogurt culture growing.
  4. Chill for at least 8 hours

    When incubation is complete, transfer the yogurt to clean, covered containers and refrigerate promptly at 40°F or below. Chill for at least 8 hours before serving; it continues to thicken in the refrigerator. Do not leave it on the counter to cool overnight.
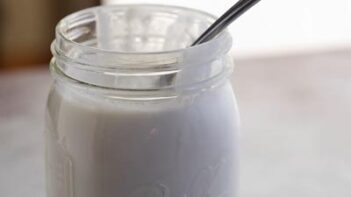
    A mason jar with yogurt and a spoon sticking out.
  5. Make flavored keto yogurt

    Once fully chilled, portion out 1/13 of the batch, about 5 fluid ounces. Stir in sweetener to taste and, if desired, vanilla extract or a food flavoring used according to its label. Food coloring is optional. Concentrated flavoring oils are not interchangeable teaspoon-for-teaspoon with extracts.

    For this step

    • 1/2 teaspoon powdered sugar-free sweetener, or to taste
    • 1/4 teaspoon vanilla extract, or food flavoring according to its label
    • food coloring (optional)
    Flour yogurt flavors next to each other in glass jars.

Nutrition

Per serving: 1/13 batch (about 5 fluid ounces), plain milk-and-cream version

Calories
346
Fat
32.2g
Protein
5.7g
Total carbs
3.5g
Net carbs
3.5g

Nutrition is an estimate calculated from the ingredients listed. Brands vary, so check labels if you track closely.

Frequently Asked Questions

Can I have yogurt on keto?

Yes, but read labels carefully. Most yogurt at the store is loaded with added sugars or made from skim milk, which drives the carbs up. I keep Two Good or Ratio on hand for busy weeks, but my go-to is making my own batch. Homemade gives me full control over what goes in, and at 3.5 g carbs per 5 oz serving, it fits easily into my daily macros.

Can I make Greek yogurt by straining it?

I've done this with several batches and it works perfectly. Once the yogurt is done incubating and chilled, I line a fine mesh strainer with cheesecloth, pour the yogurt in, and let it drain in the fridge for 4-6 hours. The whey drips through and you're left with a much thicker, creamier result. Straining closer to 6 hours gives me a texture almost like cream cheese, which I love on its own or as a base for dips.

What is the cold start method for making yogurt?

Cold start means skipping the heating-to-180 step entirely. You mix ultra-pasteurized milk with the starter culture and go straight to incubation. I've tried it a few times and it works, but the texture comes out noticeably thinner because you're skipping the protein denaturing step. If thick, spoonable yogurt is what you're after, I still recommend heating first.

Why didn't my yogurt set?

The most common reason (and I've made this mistake myself) is adding the starter culture when the milk is still too hot. Anything above 115 degrees can kill the live cultures before they do their job. My thermometer is non-negotiable for this step. Other culprits: starter yogurt that doesn't actually have live cultures (check the label), or the Instant Pot losing temperature during incubation. Wrapping the pot in a towel helps if you don't have the yogurt button.

Does longer incubation make yogurt tangier or just firmer?

Both, in my experience. I've tested 6, 8, 10, and 12 hour incubation times. Past 8 hours, the tang increases noticeably as the cultures continue converting lactose to lactic acid. Texture firms up slightly too, but the flavor shift is the bigger change. I prefer 8 hours for a mild, creamy result. If you like that sharp Greek-style tang, try 10-12 hours and see where your preference lands.

Can I make this with all heavy whipping cream?

Yes, and it's incredible. I make the all-cream version when I want something dense and custard-like. Each 5 oz serving comes to about 346 calories and 32 grams of fat, so it's rich. I treat it more like a dessert base than breakfast yogurt. For a lighter batch, I use all ultra-filtered milk instead, which drops each serving to 96 calories and 5.1 g fat.

What can I do with the liquid whey on top?

That thin liquid is whey, and I used to pour it off without thinking. Now I save it. I stir it into smoothies for extra protein, use it as the liquid in my souffle pancakes , or just mix it back into the yogurt for a thinner consistency. You can also freeze it in ice cube trays and toss a cube into shakes later.

What type of yogurt is best for keto?

Plain yogurt made from ultra-filtered milk is the best type for keto. My homemade batch comes out to 3.5 g carbs per 5 oz serving. If you're buying instead, I reach for Ratio at 2 g carbs per container or Too Good and Co. at 4 g total carbs. Skip anything flavored with added sugar and anything made from skim milk, since both drive the carbs up fast.

Is chobani yogurt keto?

Chobani Zero Sugar can fit into keto at 5 g carbs per serving. I've had the vanilla and blueberry, and both are fine, but I wouldn't pick them over Two Good. Regular flavored Chobani is a different story because of the added sugar. My homemade version is still the lowest carb option I know at 3.5 g carbs per 5 oz serving.

Browse by ingredient
Similar recipes

People who cooked Keto Yogurt also made

Reviews

Tap to rate

4.8 from 16 ratings, 10 written

Made this recipe?

Replying to Tricia

Your rating

Quinn

I can only find regular whole milk at my store, not ultra-filtered. Will it still set up okay or does it need to be the ultra-filtered kind?

Reply

Annie Lampella

The base recipe specifies ultra-filtered whole milk. Regular pasteurized whole milk changes the ingredient nutrition and may change texture; follow a complete heated-milk yogurt method and the starter directions if using it. Do not assume the same carb count.

Reply

Quinn

Good to know, I definitely would have skipped that heating step. Going to try it with regular milk and see if the texture bothers me.

Reply

Tasha

I batch this weekly, still dialing in the sweetener.

Reply

Annie Lampella

Add sweetener to a chilled serving and taste as you go. Concentrated stevia drops and spoonable powdered blends differ in strength, so follow the product label rather than a universal two-drop amount.

Reply

David R.

3.5 net carbs. Never buying store yogurt again.

Reply

Annie Lampella

Glad you enjoyed the recipe. The 3.5g figure is the original estimate for the plain half-milk, half-cream version; brands, portions and toppings can change it.

Reply

Elaine

Confession: started making this for myself and then my daughter got to the strawberry version before I could stop her. Now I’m doing double batches on Sundays. She’s been the yogurt texture critic in this house since she was four. Store-bought gets the ‘too slimy’ face every time. She just ate this without commentary. That’s the five-star review I trust most. Something about the ultra-filtered milk base, it’s clean in a way store-bought Greek yogurt just isn’t, and I think that’s what she’s responding to even if she’d call it ‘fine.’

Reply

Annie Lampella

Glad your family enjoyed it! Different dairy products and starter cultures can change the texture, so use the labeled ingredients and temperature checks in the recipe.

Reply

Tricia

Started straining mine through cheesecloth after the incubation, just two hours hanging over a bowl in the fridge, and it turns into something closer to labneh. The texture shift is honestly kind of startling the first time you do it. I also started adding a small spoon of lemon zest to the strained version and now I genuinely cannot go back to plain. The whey you drain off goes straight into my morning smoothies so nothing is wasted, and it drops the net carbs a little further since you’re removing some of the lactose. I tried it without straining again last week just to compare and it felt like a downgrade. Batch seven this month and the strained version is the only way I make it now.

Reply

Annie Lampella

Thanks for sharing your variation. Strain in the refrigerator and keep the collected whey cold too. The yield and per-serving nutrition change after straining; the amount of carb reduction is not measured here.

Reply

Alicia

Ran out of cream mid-batch and just used whole milk to finish. Tangier, a bit looser. I liked it better for stirring into things or using as a sauce base. For actual breakfast bowls where I want it to hold up under toppings, the cream version wins. So now I make two batches most weeks, one of each. Not something I planned. But the Instant Pot makes it easy enough that it doesn’t feel like a thing. One thing I figured out: straining the all-milk batch an extra two hours in cheesecloth in the fridge gets it close to Greek thickness without changing the taste at all. Would not have found that if I hadn’t run out.

Reply

Annie Lampella

The all-milk variation is useful if you want less richness. Straining changes yield and nutrition, so its portions should not be logged using the unchanged half-milk, half-cream estimate.

Reply

Luis

Tip for anyone whose batches kept coming out thin: pull the liner off heat early and let it coast down to 112 on its own instead of hovering over it. Mine was running hot without realizing it and once I fixed that the texture got so much creamier.

Reply

Annie Lampella

Check the actual mixture with a thermometer and add starter at 110-112°F. The rate of cooling varies, so there is no need to rely on an exact earlier pull temperature.

Reply

Priya

Ran out of heavy cream, used all whole milk, expected disaster. It set thick and creamy. Lower calorie too. Now I don’t even know which version I want.

Reply

Annie Lampella

All whole milk is an alternative in the original recipe: use 64 fluid ounces total. It changes the richness and nutrition from the half-milk, half-cream card.

Reply

Drew

Tried whole milk first since I had it. Worked, but thinner than I wanted. Full heavy cream ratio is a different ballgame. Once you hit 112 degrees, get the cultures in and the lid back on fast. Mine set much firmer once I stopped leaving it open.

Reply

Annie Lampella

Changing the milk-to-cream ratio changes the recipe. The important checks are the starter temperature and controlled incubation, not an unsupported claim that a minute with the lid open determines the set.

Reply

Lakshmi

Made this twice now and love the process, but I can’t get consistent thickness. First batch came out thick and creamy. Second was noticeably thinner with the exact same milk. Only thing I can think of is the cool-down time before adding the cultures. Does temperature actually matter that much when whisking them in, or am I missing something?

Reply

Annie Lampella

Use a thermometer and cool the milk to 110-112°F before adding the starter. Too much heat can damage cultures, but there is not a single instant kill point for every starter. Also check that the incubation temperature is maintained.

Reply

Taylor

I’ve been making yogurt with a sous vide circulator for years, since holding exact temp through full incubation makes a real difference in texture, and I want to try it with ultra-filtered milk. The 112-degree target for adding cultures is the same either way. What I can’t figure out: does the Instant Pot’s yogurt mode do anything beyond holding temp for those 8 hours? Would a water bath at 112 get the same result, or does the Instant Pot environment matter somehow?

Reply

Annie Lampella

Controlled temperature is central to incubation. For a sous-vide setup, follow a complete yogurt method for that equipment, including the starter, container and temperature directions; the Instant Pot directions alone do not establish an equivalent setup.

Reply

Mike Harris

I don’t have an Instant Pot, just a slow cooker. Would the 8-hour incubation work in there, or does it need that keep-warm setting?

Reply

Annie Lampella

My earlier oven-light suggestion did not establish temperature control. Keep Warm is not a yogurt program. Use equipment and a complete method that maintain the starter’s required incubation temperature, rather than an unmonitored warm oven or switched-off pot.

Reply

Paul S.

First batch turned out thicker than anything from the store, no straining needed. Already planning a second. One question: does pushing incubation past 8 hours make it tangier, or does it mostly just firm up?

Reply

Annie Lampella

Longer incubation can increase tang, but the base method here uses 8 hours with temperature control. My earlier reply should not have claimed a series of personal timing tests.

Reply

Rebecca Davis

I’ve made this eight times and the heavy cream version ruins every store-bought option permanently.

Reply

Annie Lampella

The recipe here is equal parts milk and cream. An all-cream batch is a separate variation, and the listed 346-calorie estimate does not apply to it.

Reply

Matt

Batch eight now, and I’ve settled into a version that works pretty consistently. Main thing I changed is bumping the culture to closer to a half cup (I use Siggi’s plain as the starter) and it sets in about 6 hours instead of 8, which matters when you’re starting it Sunday morning and want it ready before dinner. The heavy cream version is what I do when making it for myself, whole milk only when I’m stretching a bigger batch for the week. Either way, the 112 degree step is the thing I underestimated at first. Tried to rush it once when it was still at 120 and the texture never really set right. Cold mornings in February and there’s always a jar in the fridge now.

Reply

Annie Lampella

Temperature and starter both matter. Cool to 110-112°F before adding the listed 1/4 cup starter, then use the controlled yogurt program. A larger starter amount and shorter incubation are a different method, not a confirmed shortcut here.

Reply

Kim

I had no idea homemade yogurt was this easy to make. Honestly thought it was one of those things that required special equipment or a ton of babysitting, but I just used my Instant Pot and it worked. The texture came out so thick and creamy, way better than the store stuff I’ve been buying. Already planning to try the strawberry flavoring next time.

Reply

Annie Lampella

Strawberries can be stirred into the yogurt after it has incubated and chilled. Count the fruit and sweetener separately from the plain-base nutrition.

Reply

DanO

The reason you heat the milk and hold at 180 is not to kill bacteria – that was done in the pasteurization process. It is to denature and break down the milk proteins which allows for a thicker, more set, yogurt texture. Absolutely necessary for thick, smooth, spoonable consistency.

Reply

Annie Lampella

Heating helps the milk proteins form yogurt texture, and clean equipment and fresh pasteurized ingredients also matter. Thanks for discussing that step.

Reply

Keep going

More Breakfast Recipes

See all 82 Breakfast recipes

Get new recipes from Annie

One email a week. Unsubscribe whenever you like.