No rolling required for this buttery, shortbread-style keto pie crust — just 1g net carbs per slice. I press the almond and coconut flour dough right into the pan, and it's oven-ready in 15 minutes.
I developed this as the easy, no-roll alternative to my flaky keto pie crust. Instead of rolling dough between parchment and transferring it to a plate, you press this one directly into the pan with your fingers. The texture is more like a shortbread cookie than a traditional flaky crust, which means it holds together on its own and slices cleanly every time.
The base combines almond flour and coconut flour. Almond flour gives it richness and that buttery shortbread flavor. Coconut flour absorbs moisture and adds structure so the crust doesn't turn greasy or fall apart. I've made dozens of versions with almond flour alone, and the texture is never right without coconut flour in the mix. Half a teaspoon of xanthan gum acts as the gluten replacement, binding everything without making it gummy or chewy.
The whole thing comes together in a food processor in about 5 minutes. Pulse the dry ingredients, add cold butter and vanilla, pulse until coarse crumbs form. Press those crumbs into a 9-inch pie plate, bake at 350 degrees for 9 to 10 minutes, and you have a golden crust ready for filling. No chill time, no rolling, no patching tears in delicate dough.
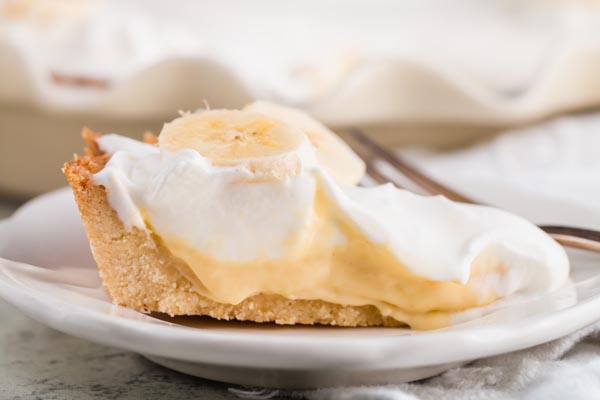
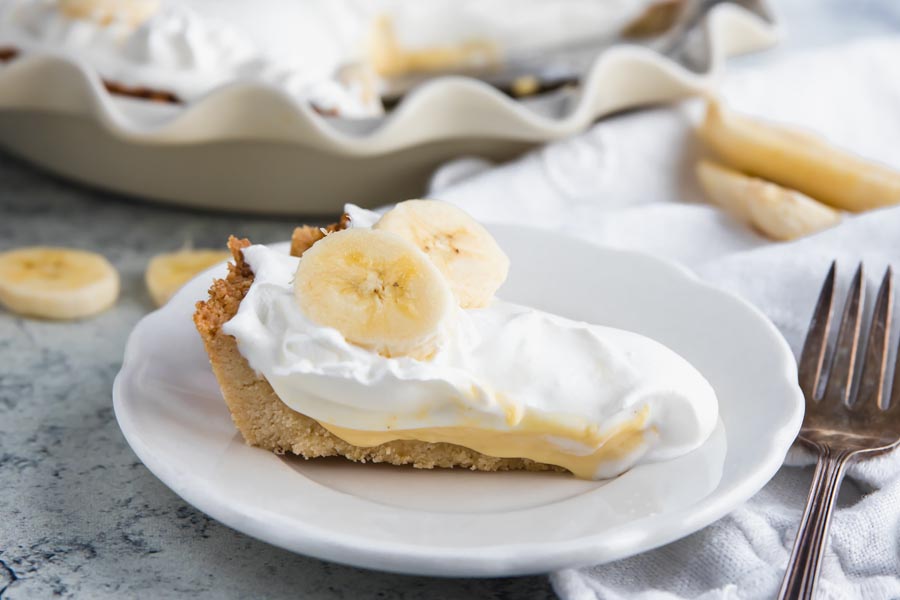
I reach for this anytime I'm building a cream pie or a no-bake filling. It pairs well with my keto peanut butter pie and works as the base for sugar free banana pudding layered right in the crust. The shortbread base holds against wet fillings without turning soggy, which is the main reason I keep coming back to it over other low carb options I've tried.
At only 1g net carbs and 74 calories per slice, this barely registers in the overall macros of whatever you build on top of it. I've been using this as my default crust since 2018, and it's the one I come back to when I want something sturdy, forgiving, and ready before the filling is even done.
Tips for a Perfect Press-In Crust
Use cold butter, not room temperature. Cold butter creates small pockets of fat that melt during baking and give you a slightly flaky texture even in a press-in crust. I cut mine into small cubes and keep them in the fridge until I’m ready to pulse.
Do not over-process. You want the mixture to look like coarse sand with visible butter pieces. If you process it into a smooth paste, the blade heat melts the butter and you end up with a greasy, dense crust instead of the crumbly, light texture you’re after. I pulse in short bursts and check after each one.
When pressing into the pie plate, aim for an even 1/4 inch thickness across the bottom and up the sides. Thin spots overbake and crack. Thick spots stay doughy. I use the flat bottom of a measuring cup to press the base evenly, then shape the sides with my fingers.
If it cracks during baking, press the crack back together while the crust is still warm. It seals right up. One reader told me his edges were golden in nine minutes and the texture stopped him mid-bite, so watch your oven closely starting at the 8-minute mark.
What I Use This Crust For
This shortbread-style crust works best for cream pies, no-bake fillings, and cheesecakes where you blind bake first and then add a chilled or set filling. I use it under my keto chocolate mousse and as the base for chocolate trifle layered right in the crust.
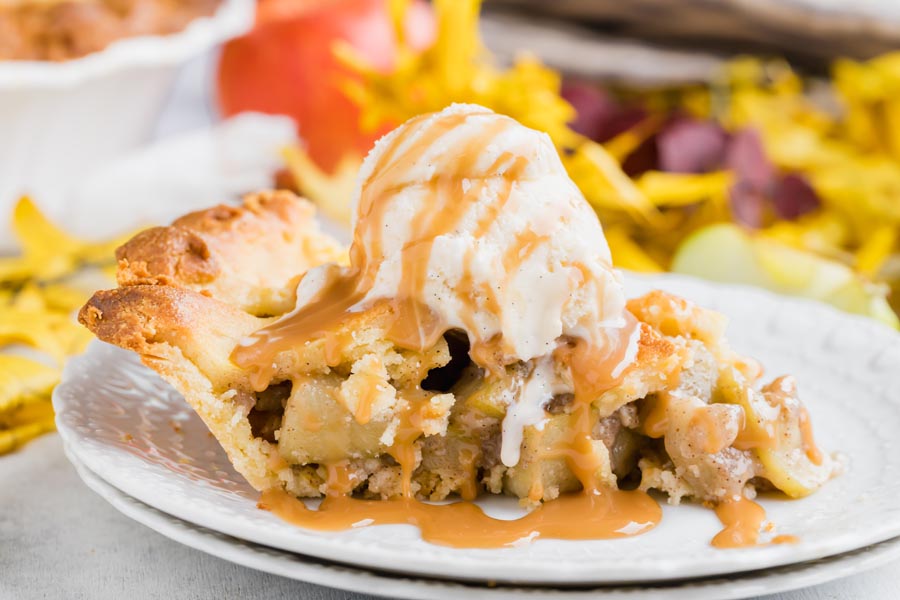
It holds up for baked fruit pies too, though the texture stays shortbread rather than flaky. If you want a traditional crust that shatters when you bite in, use my flaky version instead.
For cheesecake, I press this into a springform pan and pre-bake before adding batter. Works for mini versions like cheesecake bites too (just scale the crumbs down). And for savory pies or quiche, leave out the monk fruit and vanilla. The almond flour and butter base handles savory fillings just as well.
How I Store and Freeze This Crust
Room temperature: I store the baked, unfilled crust covered with plastic wrap for up to 3 days. Keep it in the pie plate so it holds its shape.
Refrigerator: Wrap the baked crust tightly with plastic wrap and it lasts up to 1 week. I let it sit at room temperature for 15 minutes before filling so the crust doesn’t crack from the temperature change.
Freezer: Wrap in plastic wrap first, then aluminum foil to block freezer burn. Freezes well for up to 3 months. Thaw overnight in the refrigerator before using. I also freeze the unbaked crumb mixture in a zip-top bag (up to 3 months), then press into a pie plate and bake directly from frozen. Add 2 to 3 extra minutes of bake time.
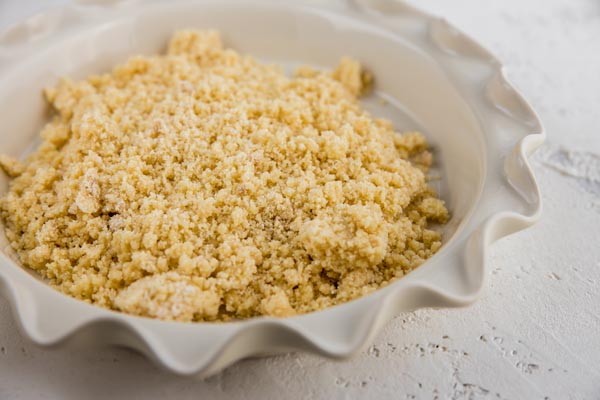
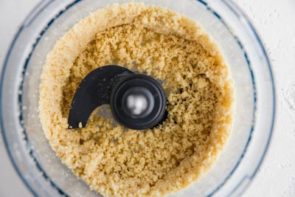
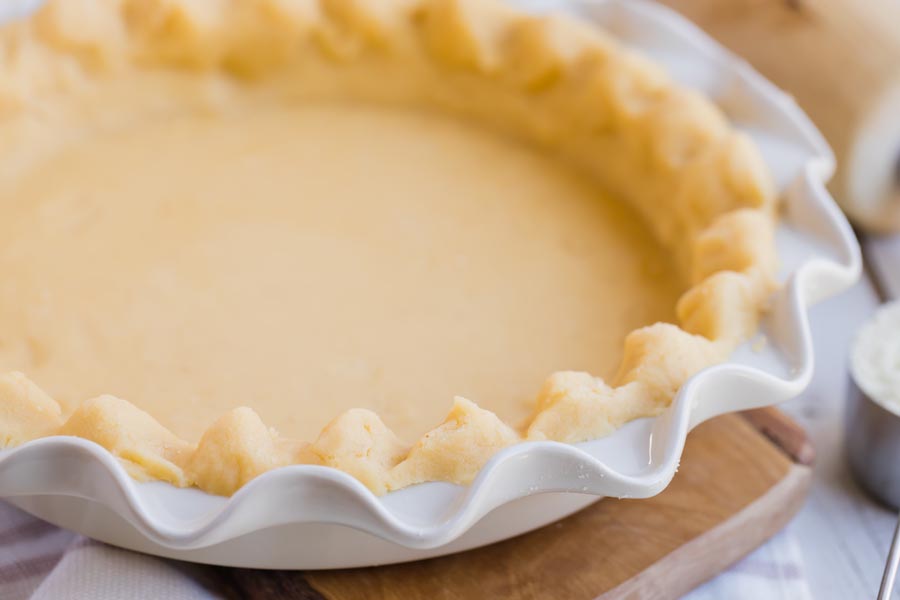
Pulse until coarse crumbles form, then press them into a greased pie plate.
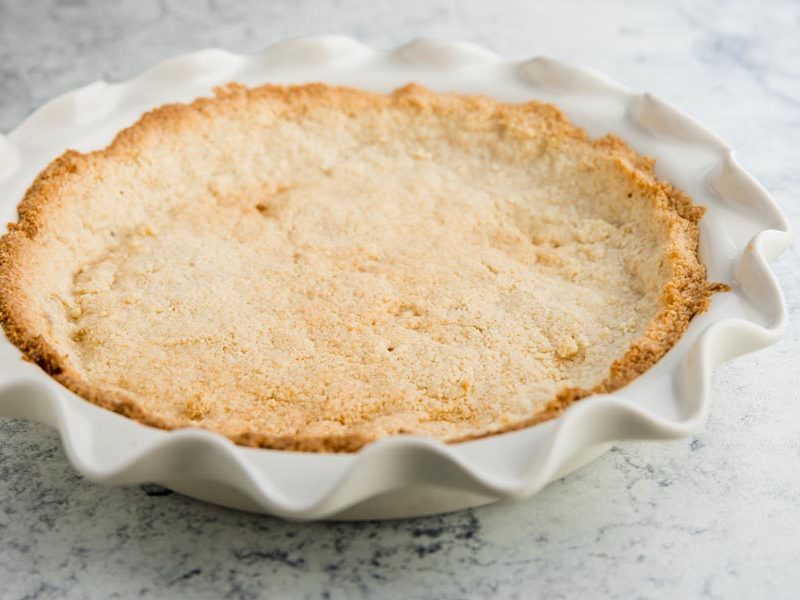
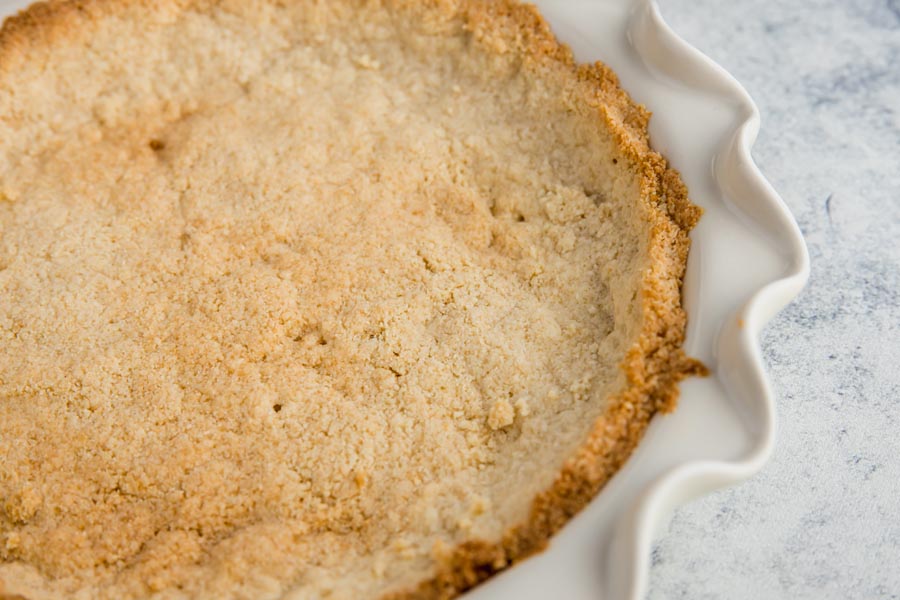
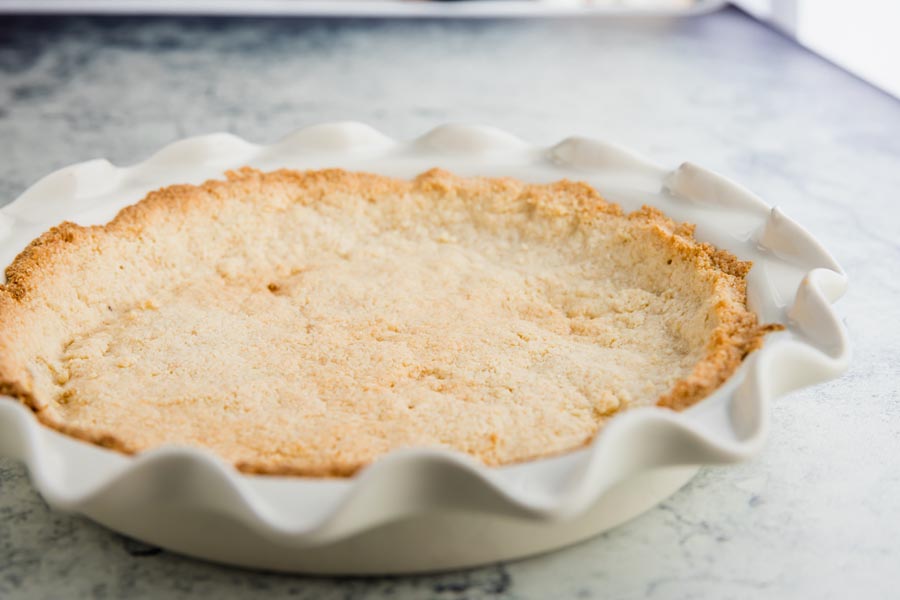
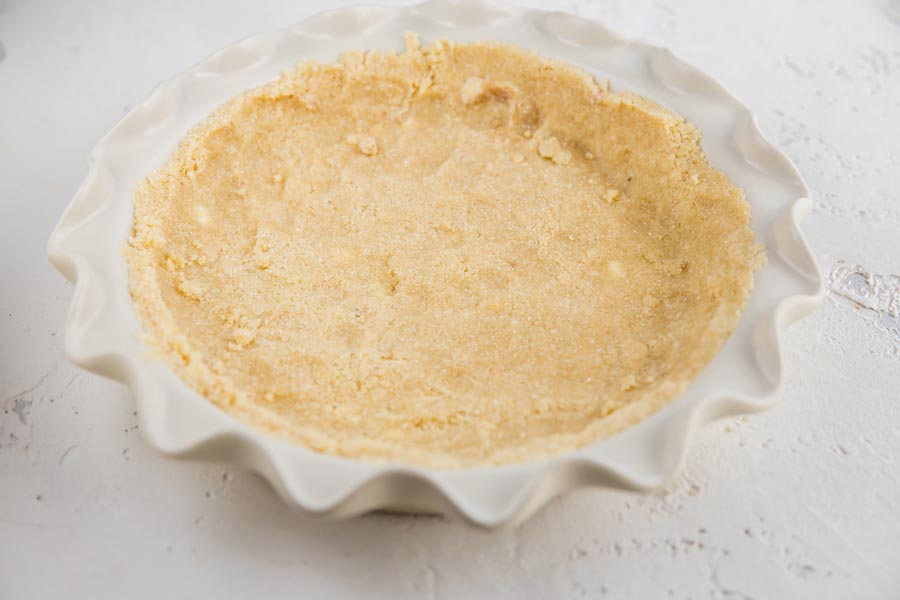
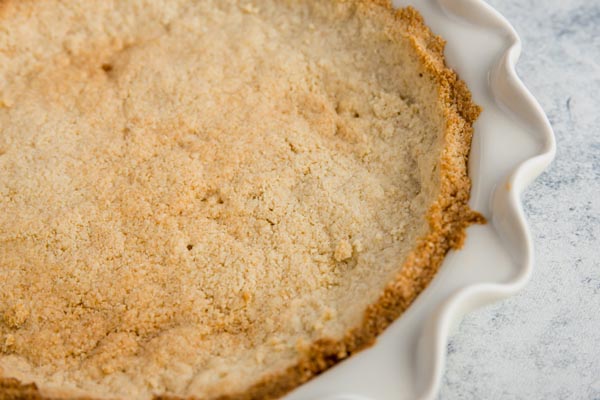
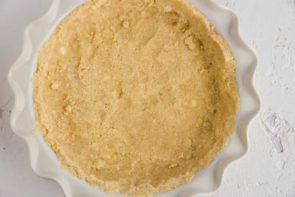
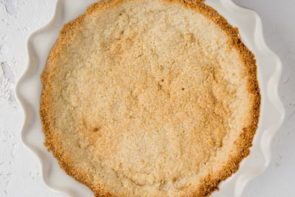
This is what the crust looks like when it is done, with the edges just turning golden brown.
Pulse the dry ingredients. Add almond flour, coconut flour, monk fruit sweetener, baking powder, xanthan gum, and salt to a food processor. Pulse 3 to 4 times until combined.
Cut in the butter. Add cold butter (cubed) and vanilla extract. Pulse in short bursts until the mixture looks like coarse sand with a few pea-sized butter pieces remaining. Do not over-process into a paste.
Press into the pie plate. Transfer the crumb mixture to a 9-inch pie plate. Press evenly across the bottom and up the sides, about 1/4 inch thick. I use the flat bottom of a measuring cup for the base, then my fingers for the sides. Pack it firmly so it holds after baking.
Bake at 350 degrees for 9 to 10 minutes. The crust is done when the edges just start turning golden. Let it cool completely in the pan before adding any filling.
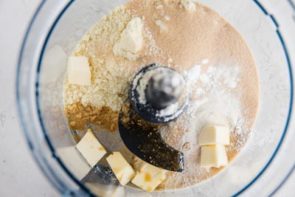
Add all ingredients to the bowl of a food processor.
3
Pulse it
Pulse until coarse crumbles form. If you don’t have a food processor, you can add all ingredients to a bowl, except the vanilla and butter. Mix to combine. Then cut the butter and vanilla in with a fork or a pastry blender until coarse crumbles form.
4
Form in pie plate
Press crust into a greased pie plate or sponge form pan if making cheesecake.
5
Bake it
Bake at 350 degrees for 9 to 10 minutes or until crust is starting to turn golden brown. Remove from oven and let cool.
Nutrition
Per serving: 1 slice
Calories
74
Fat
6.7g
Protein
1.3g
Total carbs
2.4g
Net carbs
1g
Nutrition is an estimate calculated from the ingredients listed. Brands vary, so check labels if you track closely.
Frequently Asked Questions
Can I use a different type of flour instead of almond flour?
Sunflower seed flour is the best nut-free swap I've found. Use the same 1 1/4 cup measurement. The crust will have a slightly earthier flavor and a greenish tint from the sunflower seeds reacting with the baking powder, but the texture holds up well. I'd increase the coconut flour by 1 tablespoon to compensate for the extra moisture. Oat fiber is another option I've tested, though it makes a drier, more crumbly result.
What can I use instead of golden monk fruit sweetener?
Any granulated keto sweetener works. I use Lakanto Golden, but regular erythritol, allulose, or Swerve granular are all fine at a 1:1 ratio. Stick with granulated rather than powdered so the sweetener adds a bit of texture to the crust. If you go with allulose, check the crust at the 8-minute mark because it browns faster than erythritol-based sweeteners.
Can I make this without a food processor?
I've made it both ways. Add the dry ingredients to a bowl and whisk to combine, then cut the cold butter in with a fork or pastry blender until you get coarse crumbs. It takes a few more minutes of hand mixing, but the result is the same. The food processor just speeds things up. I actually think the hand method gives you slightly more control over the crumb size, which is useful if you tend to over-process.
What happens if I skip the xanthan gum?
I've made dozens of versions without it, and the texture is never the same. Xanthan gum is the gluten replacement here. It binds the almond flour and coconut flour together so the crust holds its shape when you slice. Without it, the crust crumbles the second you try to lift a piece out of the pie plate. If you don't have xanthan gum on hand, psyllium husk powder (1/2 teaspoon) is the closest substitute I've tested.
Can I make this dairy-free?
I've tested it with coconut oil and with Miyoko's dairy-free butter. Both work. If you use coconut oil, chill it in the fridge until solid first, then cube it like you would butter. The coconut oil version has a slightly different flavor and a more crumbly texture, but it holds together well after baking. I prefer Miyoko's for a closer match to the butter version.
Do I need to blind bake this crust?
For cream pies, no-bake pies, and cheesecakes, yes. Bake at 350 degrees for 9 to 10 minutes, then let it cool completely before adding filling. For pies that bake with their filling (like pumpkin or berry), you can skip blind baking and pour the filling directly into the unbaked pressed crust. The filling's bake time is enough to cook the crust through. I do this for pumpkin pie and it works well.
Why does my crust crumble and fall apart?
Three things I check every time: butter amount, pressing firmness, and cooling time. Make sure you use the full 3 tablespoons of cold butter. When pressing into the pie plate, pack it down firmly. I use the flat bottom of a measuring cup for the base and my fingers for the sides. And always let it cool completely in the pan before slicing or adding filling. If you cut into it warm, it will crumble no matter how well you made it.
Can I add an egg for more structure?
You can, but I don't. An egg changes the texture from shortbread to something closer to a dense low carb cookie (chewier, less crumbly). The xanthan gum already provides the binding this crust needs. I tested the egg version early on and went back to eggless because the shortbread texture is what makes this different from every other almond flour crust out there. If you do add an egg, use just the yolk and reduce the butter by 1 tablespoon.
This crust kept slumping down the sides on me until I started running my hands under cold water before pressing. Butter stays put instead of melting into my palms and the edges hold.
I made this for a lemon filling and the shortbread smell out of the oven stopped me cold. My grandmother’s kitchen, specifically. Hadn’t landed there in years.
I was skeptical about the xanthan gum and almost left it out. Every other almond flour crust I’ve made listed it as optional, so I assumed it was filler. Made it as written anyway, quiche didn’t seem like the time to experiment. The structure held when I cut into it, no crumbling at the seam the way I usually get. For savory: the coconut flour reads slightly sweet with a neutral filling, and the vanilla doesn’t disappear the way it would under fruit or custard. I’d skip the vanilla if I’m making quiche again. For desserts, this is exactly what I was looking for.
The coconut flour sweetness is subtle enough that a dessert filling covers it, but quiche doesn’t have that buffer. Good catch on the vanilla, Christina.
Katie, if you’re pressing it into two separate pans the time doesn’t change. I still pull mine at 9 to 10 minutes, right when the edges start to turn golden.
Pre-measuring the dry mix into jars has been huge on weeknights. I can press a crust together in under five minutes flat. The xanthan gum is what holds everything even after it’s been sitting refrigerated, I think, though I’m no food scientist. I usually do two at once and let them cool completely before wrapping. At 1g net carb per slice, I can fit these into my weekly macros before I’ve even picked a filling.nnTo get further out, I’ve had good luck pressing an unbaked crust into a disposable pie tin and freezing it. Goes straight from freezer to 350. Same as fresh, basically. Just add a couple minutes and watch the edges for color.
Pre-baking two on Sunday changed how I do desserts for the week. Both held up in the fridge five days, no soggy bottom, no crumbling mid-week when I added filling. The food processor makes cleanup fast enough that doubling barely adds time. 1g net carb per slice. Easy to plan around.
I genuinely thought pie was just off the table once I went keto. Not the filling (easy enough to adapt) but the actual crust, the part that makes it feel like real pie. This one pressed right into the pan and I had it in the oven in maybe 12 minutes flat. First bite I made some kind of embarrassing noise in my kitchen. The crumb on this is so close to a real shortbread crust that I keep having to remind myself it’s 1g net carbs.
My daughter watched me press the dough straight into the pan and spent the whole bake time convinced I had messed it up. She has asked for it three times in two weeks.
Brought a cheesecake to a spring potluck using this as the base, and my aunt (who bakes from scratch, won’t touch a shortcut) asked where I got the crust because it reminded her of the shortbread ones she makes herself. I told her almond flour and coconut flour. She genuinely did not believe me. The press-in method is so forgiving once you do it, and it held up firm after a few hours on the table, which I was honestly worried about.
Coconut flour is what does it. It tightens the crumb in a way almond flour alone can’t, which is why it lands so close to shortbread. Your aunt would not believe it takes 15 minutes.
Tip if your food processor runs small: I cube the butter and freeze it for about 10 minutes before I start (it’s already chilled per the recipe but mine always softens before I get organized) and the crumbles form with barely any scraping down the sides. I’ve also been making this with almond extract instead of vanilla when I use it as a cheesecake base, and the almond pairs with the coconut flour in a way the vanilla doesn’t, this subtle toasty edge that actually tastes more like a bakery crust. Small swap, noticeable difference.
Almond extract with coconut flour, I should have thought of that. Vanilla floats right over the nuttiness in the crust but almond actually meets it. Trying this on the next cheesecake base.
Tip if you’re making this for cheesecake: use the bottom of a flat measuring cup to press the crumbles instead of your fingers. Way more even, clean edges. Stumbled onto it by accident and never went back.
Browned the butter first, chilled it back down, and the flavor difference is insane. Still presses clean, still holds up, but there’s this nutty depth that makes the crust taste intentional in a way I can’t explain.
I’ve done brown butter in cookies but never thought to try it here. That it still presses clean is the part I didn’t expect. Trying this on my next batch.
I’ve made at least three other keto pie crusts and they all either cracked when I pressed them in or came out gummy, almost wet in a way I couldn’t get past. This one pressed in cleanly, baked golden in about ten minutes, and actually held together when I sliced it. Coconut flour must be the difference. My other attempts were all almond flour and the texture was never right. Not quite five stars (I wish the edges stayed crispier once it cooled), but it’s way ahead of anything else I’ve tried.