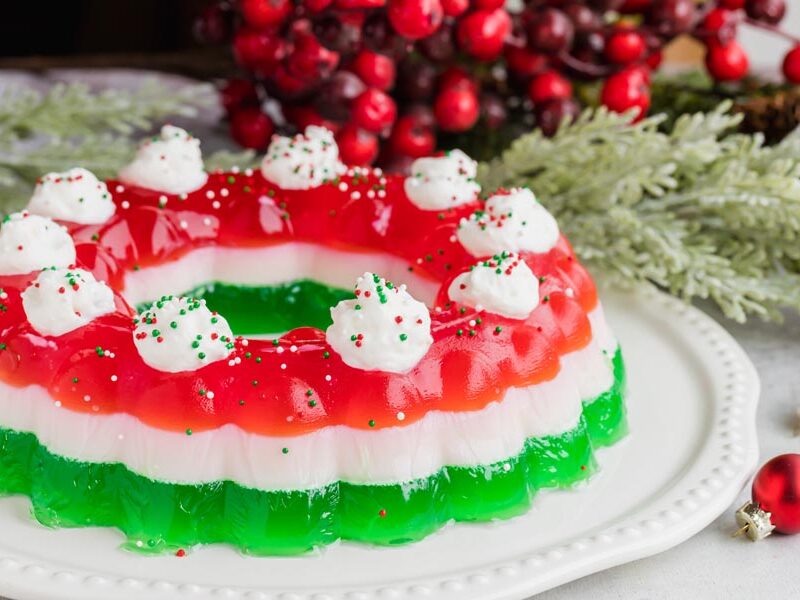
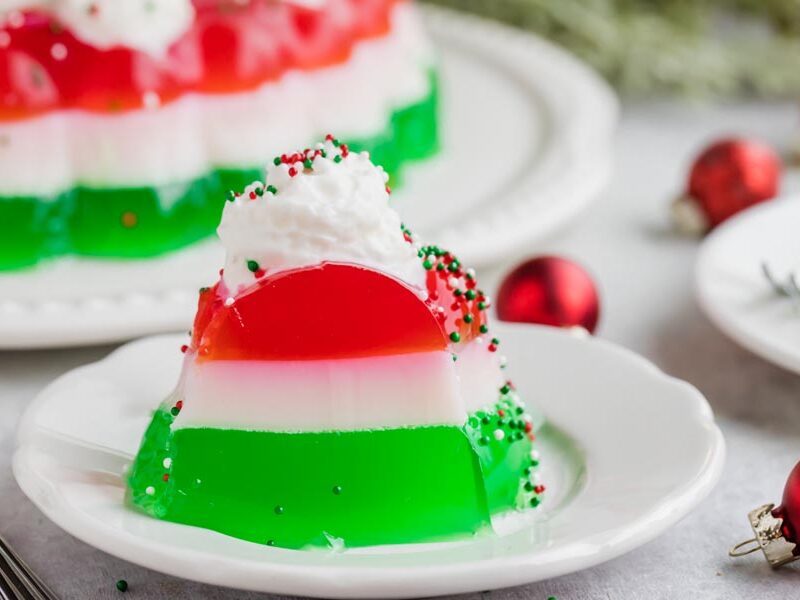
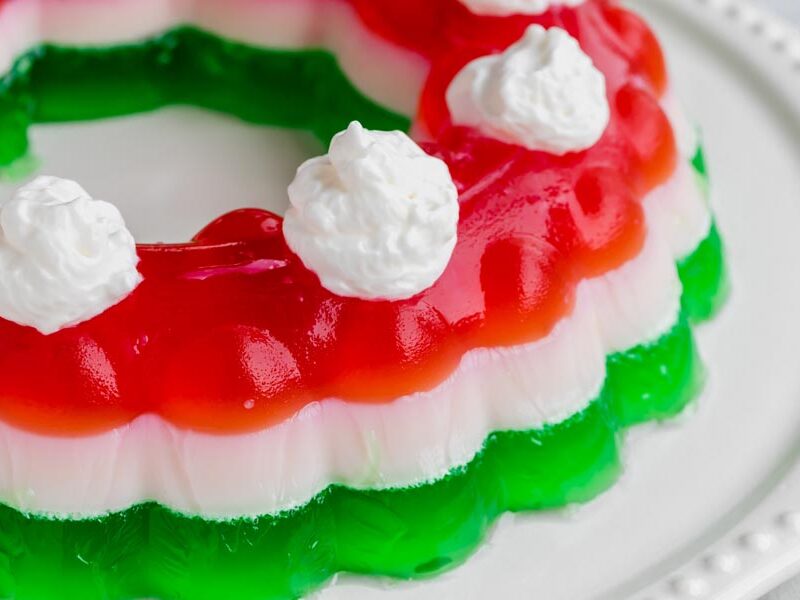
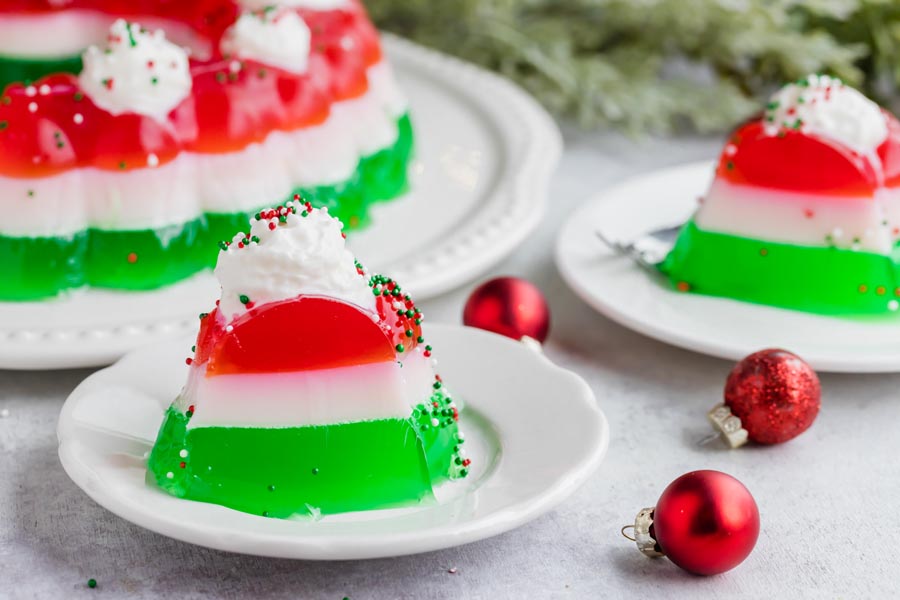
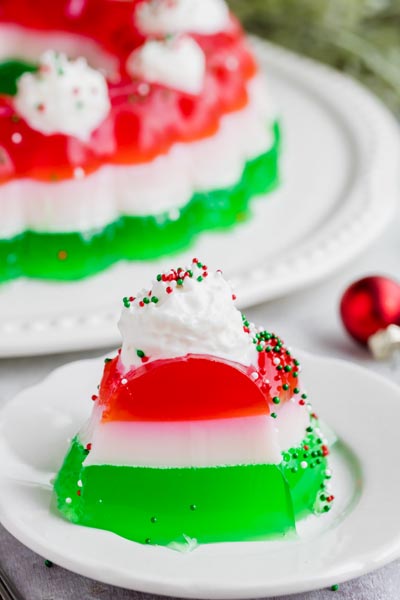
Red, white, and green layers make my sugar-free jello salad the stunner of a holiday table at 0.2g net carbs. Make it ahead (each jiggly layer needs fridge time) and it stays perfect for days.
I started making layered jello for Christmas years ago, and it became the dish everyone expected me to bring. The three layers (strawberry, marshmallow cream, lime) look impressive, but the process is actually straightforward. You just need patience between layers.
The white middle layer is what makes this keto jello salad special. I use sugar-free marshmallows (either ChocZero or Max Mallow) melted with unflavored gelatin and heavy cream. That layer sets up creamy and opaque, not rubbery, which is the whole point. Most sugar-free gelatin desserts skip this step entirely and just stack two flavors. The cream layer in between is what gives you that visual pop when you slice it.
One thing I learned early on: not all "sugar-free" jello is actually keto-friendly. The Jello brand sugar-free boxes contain maltodextrin, which spikes blood sugar the same way regular sugar does. I switched to Simply Delish (sweetened with stevia and erythritol) and the difference in how I feel after eating it is real.
I also made the mistake once of tossing fresh pineapple chunks into a batch. The whole thing stayed liquid. Fresh pineapple, kiwi, and papaya all contain enzymes that break down gelatin. If you want fruit in your layers, stick with berries or use canned pineapple (the canning process deactivates the enzymes).
If you want more gelatin desserts, try my jello whip for something simpler, or my keto chocolate mousse when you want something richer. And if your holiday table needs a lighter side, my keto fruit salad pairs well with this.
Which sugar-free jello brands are actually keto
I’ve tried most of the sugar-free jello options out there, and the packaging can be misleading. Just because it says “sugar-free” doesn’t mean it’s clean.
The Jello brand sugar-free line contains maltodextrin, which I noticed was spiking my blood sugar the same way regular sugar would. I didn’t realize it until I started checking my levels after dessert. Once I switched to Simply Delish (sweetened with stevia and erythritol, plant-based), the difference was noticeable. That’s the brand I use in every batch now. The sugar-free marshmallows are the other label I check every batch, since brands vary.
Variations and holiday color swaps
I used to think of this as a Christmas-only recipe until I realized the technique works for any holiday. Swap the colors and you have a completely different dish.
4th of July: I use strawberry (red), the white marshmallow cream layer, and blue raspberry or blueberry for the blue. It looks patriotic and festive.
Easter: Grape or berry for purple and lemon for yellow with the white cream layer in between.
Halloween: Orange and grape with the white layer. My kids loved this one.
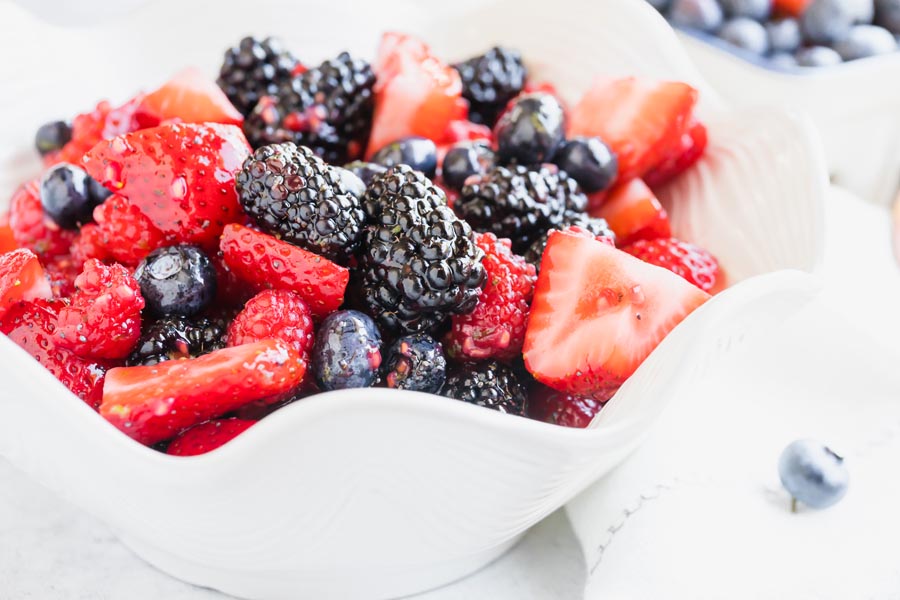
Add fruit: Fresh strawberries, blackberries, or raspberries folded into the red layer before it sets. (Avoid fresh pineapple or kiwi, as the enzymes prevent setting.)
Top it off: Whipped cream, a layer of softened cream cheese mixed with sour cream and powdered sweetener, or crushed keto candy pieces.
Make it dairy-free: Replace the heavy cream with the solid part from a chilled can of full-fat coconut cream (not coconut milk, which is too thin). I’ve done this and the white layer sets just as firm, with a subtle coconut flavor that actually works.
No mold: I use a 9×9 square baking dish just as often as the mold. The layers cut into clean squares and look just as dramatic.
Individual cups: Pour the layers into clear plastic cups or small mason jars instead of a mold. I do this for parties where I don’t want to deal with slicing. Pair them on a dessert spread with keto chocolate chip yogurt popsicles for a full frozen and chilled dessert lineup.
Storage and make-ahead tips
This is one of the best make-ahead desserts I know. I typically make it 2-3 days before whatever gathering I’m bringing it to, and it holds up perfectly. It stays fresh in an airtight container in the refrigerator for 7-10 days.
Add your topping (whipped cream, crushed nuts, coconut flakes) right before serving so it doesn’t get soggy.
Do not freeze this. I tried once and the gelatin went through syneresis (basically it weeps water as it thaws). The texture turns rubbery and separated. Fridge only. If you’re looking for a low carb side that does freeze well, something like keto macaroni salad is a better candidate for batch prep.
How to make keto jello salad
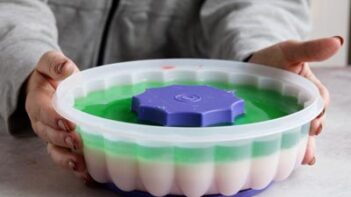
The layering is easy but you cannot rush it. Each layer needs about an hour in the fridge before you pour the next one on top. The single biggest mistake is pouring a warm layer over a set one. I did this once and the heat melted the red layer right through. Now I let every layer cool to room temperature on the counter before it goes anywhere near the dish.
The good news is you don't have to do all three layers in one session. I usually make the red layer the night before, then finish the white and green layers the next morning. The whole process is flexible as long as each layer is fully set before the next one goes on. If you're bringing this to a low carb holiday potluck alongside something like broccoli cauliflower salad, make both the day before and you're set.
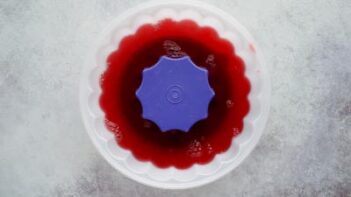
Mix sugar free strawberry jello according to package directions and pour into a jello mold or square baking dish. Refrigerate for 1 hour or until set.
For this step
1 package strawberry gelatin mix
2
Bloom gelatin
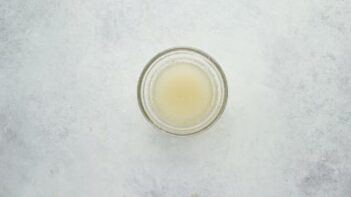
Mix unflavored gelatin with ¼ cup water in a small bowl. Let bloom for 3-5 minutes.
For this step
1 tablespoon unflavored gelatin
1/4 cup water
3
Prepare the white layer
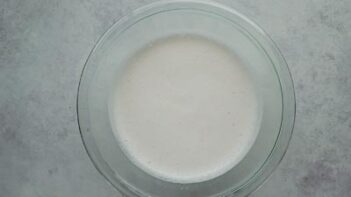
Transfer the bloomed gelatin to a larger bowl and pour in 1 cup boiling water. Stir to dissolve gelatin. Add marshmallows. Heat in the microwave at 30 second intervals, stirring in between, until marshmallows have dissolved. Can use a stovetop as well. Stir in heavy cream. Let cool to room temperature before pouring on the red layer to avoid melting the red layer. Refrigerate for 1 hour or until set.
For this step
1 cup boiling water
2 cups sugar-free marshmallows
1/4 cup heavy cream
4
Prepare the green layer
Mix sugar-free lime gelatin according to package directions. Let cool to room temperature and pour over white layer. Refrigerate for 1 hour or until set.
For this step
1 package lime gelatin mix
5
Serve
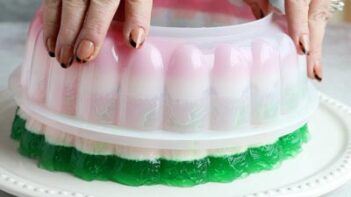
Right before serving, unmold the jello (if using jello mold). Top with whipped cream if desired.
Nutrition
Per serving: 1/12 of recipe
Calories
31
Fat
3.5g
Protein
0.2g
Total carbs
6.9g
Net carbs
0.2g
Nutrition is an estimate calculated from the ingredients listed. Brands vary, so check labels if you track closely.
Frequently Asked Questions
Why did my layers bleed together or fail to set?
A layer that sinks or smears means the one under it was not fully set, or the new layer went on too warm. I refrigerate each layer for 1 hour or until set, and I check by touching the center lightly; any give means more fridge time. I also let every layer cool to room temperature on the counter before pouring, because a warm pour melts the layer beneath it. If the whole thing never sets, fresh pineapple, kiwi, or papaya is the usual reason. Their enzymes break down gelatin, so I stick with berries or use canned pineapple. Last, let the unflavored gelatin bloom the full 3-5 minutes before adding the boiling water.
Can I use Cool Whip instead of heavy cream in the white layer?
I've tested both. Cool Whip works in a pinch, but the white layer comes out less firm because Cool Whip is mostly air and water. If you go that route, add it after the marshmallow-gelatin mixture has cooled (not while it's hot, or the Cool Whip deflates). I prefer heavy cream because it gives the layer more body and a cleaner white color.
What sugar-free marshmallows work best and where do I find them?
I've used both ChocZero and Max Mallow. ChocZero melts more smoothly, which makes the white layer easier to work with. Max Mallow works fine but takes a bit longer to fully dissolve. I haven't found either brand consistently in stores, so I order them online. If you can't find sugar-free marshmallows at all, you can skip them and make the white layer with just unflavored gelatin, heavy cream, and a tablespoon of powdered sweetener. It won't have that marshmallow flavor but it still sets up white and creamy.
Check the red layer by pressing lightly at the center before you pour the white over it. If it gives at all, give it another hour. I skipped this once and the white layer went pink from bleed-through, no clean stripe. My son refuses anything lime-flavored, so I watched him hit the green layer and just go quiet. He finished the whole slice.
All three layers held when I unmolded it and I honestly stood there just staring, because I expected at least one thing to go wrong. First time working with bloomed gelatin and separate layers. The marshmallow step was what I was most nervous about, those little marshmallows look like they’ll never break down, but on low heat they do, and the cream pulls it into this thick white layer that’s the best part of the whole thing. The lime though, that’s where I have a question. It tasted quieter than I expected, like the flavor’s there but doesn’t punch the way the strawberry does, and I kept tasting it waiting for a second wave that didn’t come. Four stars because the texture across all three layers was really good and it looked way better on the plate than I thought it would for a first attempt. Is the lime supposed to be the subtle one, meant to let the marshmallow cream be the star? Or is there something that can pull more flavor out of it?
Alex, the lime is just quieter, sugar-free lime jello always is next to strawberry. You’re not missing a step. Mixing it with a little less water would concentrate it, though I haven’t tested that here.
Three days in the fridge seemed like too long for a layered jello, I was sure the marshmallow layer would go soft and weepy before Sunday. It held. Made this on a Thursday and unmolded it four days later, layers still clean, white layer firm, no bleeding at the seams. The wait between each pour feels tedious but that structure is what keeps it from falling apart. I spread it across a full Sunday now: red after breakfast, white after lunch, green in the late afternoon, overnight rest, ready to transport or serve the next day. Twelve servings at 0.2 net carbs each, hard to beat for a few hours on prep day.
I poured the lime layer in too warm once and the white layer went soft underneath, the two just blending together. ‘Let cool to room temperature’ means actually room temp, not barely cooled. That’s the step that gets you.
I use a 9×9 square baking dish at least as often as the mold. The layers cut into clean squares and look just as good on the table. I’ve also done individual clear cups for parties when I wanted everyone to see the layers.
I can’t find sugar-free marshmallows at my grocery store (I’ve checked twice now) and want to make this for a pool party this weekend. Is there something I can swap in for the white layer, or would skipping them mess up how it sets?
I’m used to jello salads that look layered in the mold but bleed at the cut. The unflavored gelatin is the part most versions skip, and the marshmallow cream sets firmer than a plain whipped filling because of it. Actual clean lines when you slice.
Wasn’t sure the sugar-free marshmallows would melt right, but they dissolved fine and the whole thing popped out of the mold clean. Never had my regular jello salad look this good.
Every other jello salad I’ve made ends up a swirled mess by the time I unmold it. The marshmallow layer between the two jellos is the piece nobody else bothers with, and it’s the whole reason this one actually holds its shape. Four stars because I have opinions about lime, but that middle layer is freaking worth it.
Planning to make this for Easter brunch and I want to get it done the night before. Does the red layer need to be completely set before you pour the white layer on top, or is an hour or so in the fridge enough? Really don’t want the layers bleeding together and ruining the whole look.
Made this over the holidays and my white layer sank right into the red instead of sitting on top. How do I know when each layer is set enough to pour the next one?