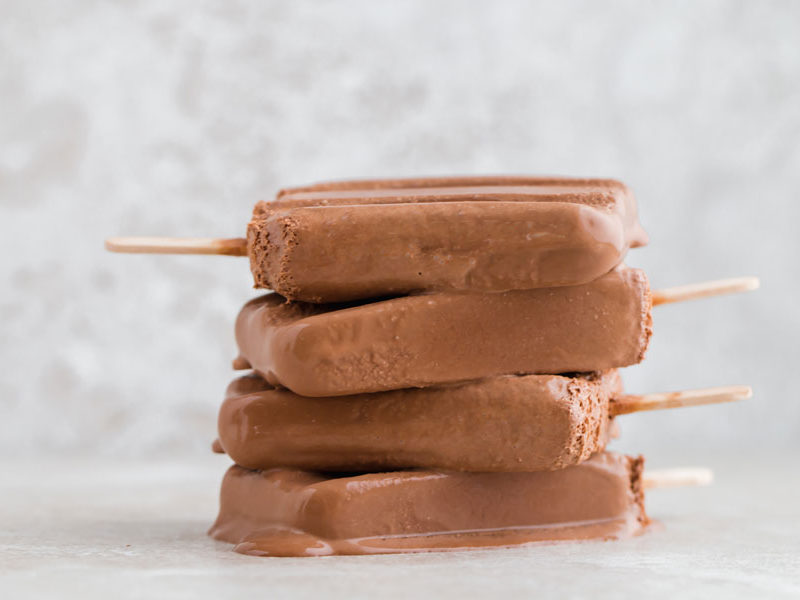
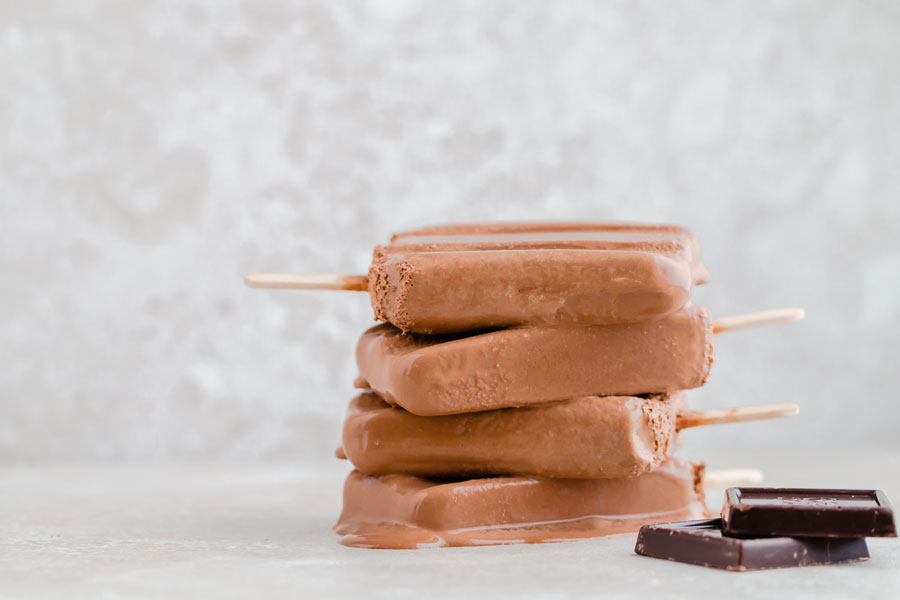
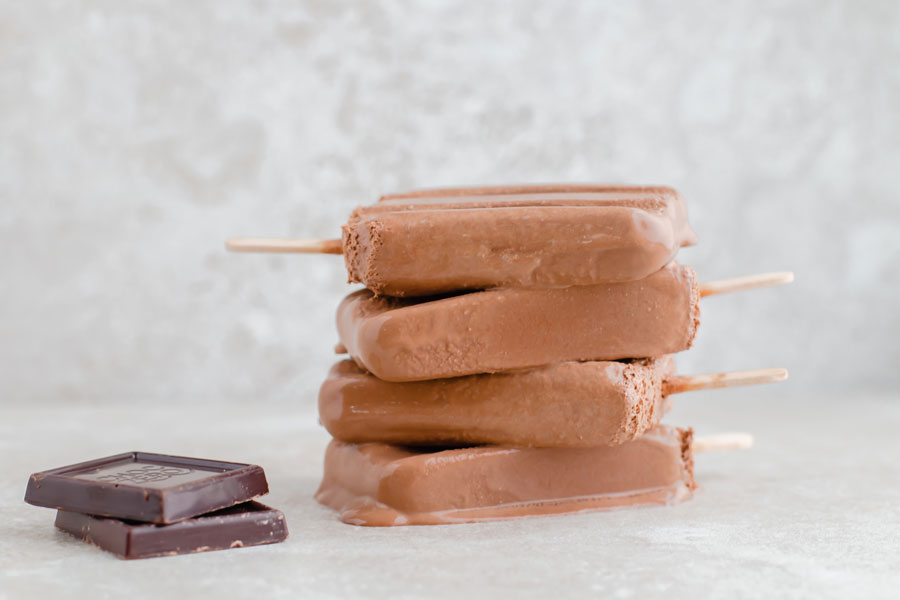
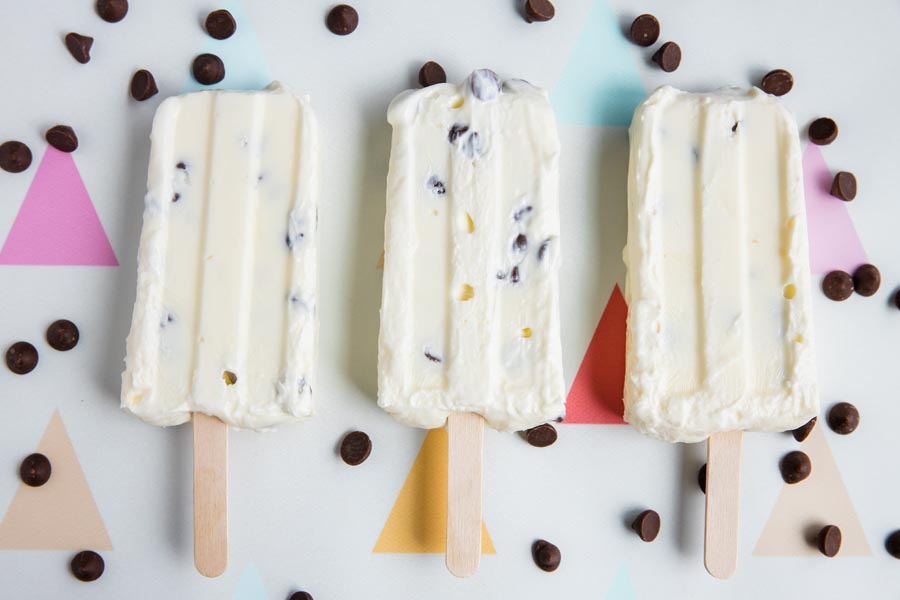
These rich, creamy keto fudge pops taste like the Fudgsicles I chased the ice cream truck for as a kid, at just 2.8g net carbs each. Heavy cream and dark chocolate, blended smooth and frozen.
Every summer, I end up making batch after batch of these because my boys inhale them faster than I can freeze them. I started making this low carb version years ago so they could have something cold and chocolatey after playing outside, chasing the dog around the lawn. Now it’s one of our go-to warm-weather traditions. They come together in about 10 minutes, then do their thing in the freezer overnight, which makes them an easy treat to prep ahead.
The trick I figured out after a few rounds of testing is getting the heavy cream to chocolate ratio right. Too much cream and they turn icy. Too much chocolate and the texture gets chalky. This version hits that sweet spot where they come out dense and fudgy, like biting into an actual Fudgsicle from the ice cream truck. One of my readers, Steve, said it better than I could: ‘Not a substitute, not pretty good for keto. Just the real thing.’ That’s what I was going for.
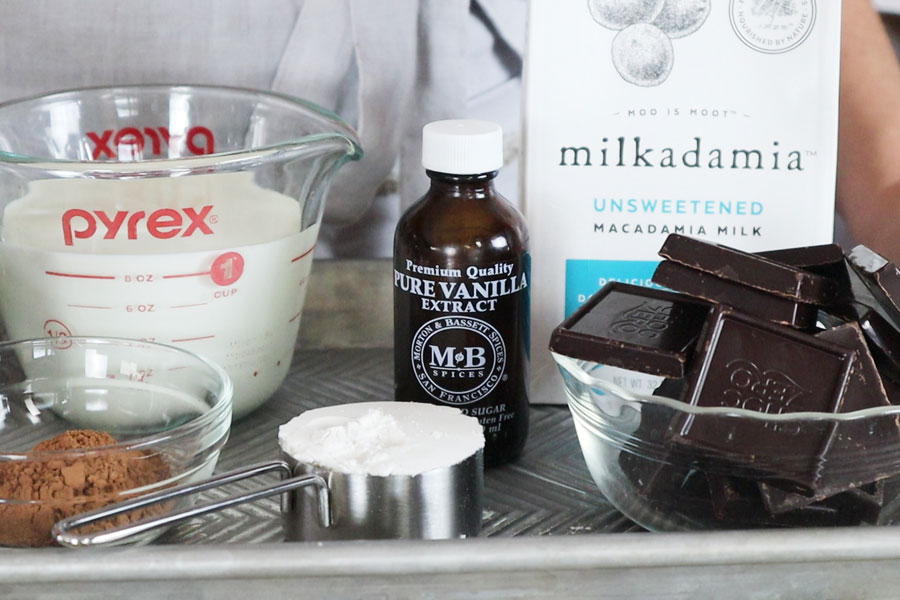
Eight of these barely survive a day in my house, but I don’t mind because they’re made with simple, sugar-free ingredients I always have on hand. Heavy cream, sugar-free chocolate, a little cocoa powder, and macadamia nut milk. I originally used almond milk, but switched to macadamia for the creamier texture (though full-fat coconut milk works even better, according to several of my readers). They’re extra chocolatey and super smooth, with just 1/2 teaspoon of salt that you won’t taste at all. It just wakes up the chocolate and makes everything taste deeper.
If you love frozen chocolate desserts, I have a few more that rotate through my freezer. My keto popsicles are a completely different vibe (lighter, fruitier), and my keto chocolate mousse scratches the same rich chocolate itch when you want something spoonable instead. For a no-freeze option, my keto fudge uses a similar chocolate base but sets up in the fridge. And when the holidays come around, I swap these out for peppermint ice cream.
I make these year-round now, not just summer. A batch fits perfectly into meal prep days. They’re the kind of treat I can pull out of the freezer after dinner and feel good about handing to my kids, knowing exactly what went into them. And if you’re anything like reader Kendra, who said she’d ‘been thinking about them ever since’ her first batch, you’ll want to double the recipe right from the start.
What I've learned making batch after batch
I don’t like it when a recipe doesn’t work on the first try, so here’s everything I’ve picked up after making what feels like a million batches every summer.
No blender? No problem
If your blender is hiding in the same void where my missing Tupperware lids go, you can still make these. Chop the chocolate into small pieces, set it aside, and stir it into the hot mixture once you pull the saucepan off the heat. The residual warmth melts it smooth, and you won’t miss the blender.
What cocoa powder works best?
I usually reach for cacao powder, but I’ve used Hershey’s 100% unsweetened cocoa plenty of times too. Any brand works, just make sure it’s 100% cocoa with no added sugar. That’s where the deep chocolate flavor comes from.
Salt in a frozen dessert?
Yes, and don’t skip it. You won’t taste the salt at all. It’s there to wake up the chocolate and make everything taste sweeter and deeper. Most dessert recipes use a pinch for this exact reason.
Popsicle mold tips
Use any popsicle mold you have, or keep it old-school with Dixie cups if that’s what’s in your pantry. If you’re using cups, freeze the chocolate mixture for about an hour before adding the sticks so they stand up straight instead of doing the sideways flop.
If you’re using wooden sticks, soak them in water for a few hours ahead of time. That tiny bit of added weight keeps them from floating to the top, giving you perfectly centered pops every time.
Freezing and unmolding
Give them the full overnight freeze. I’ve pulled them at 4 hours and the center is still soft, plus they stick to the molds more. If you’re in a rush, 6 hours is the minimum I’d go, but the texture won’t be quite as dense.
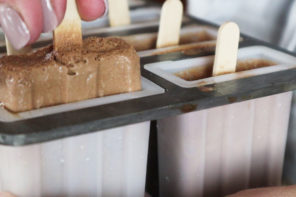
To get them out without breaking them, run the outside of the mold under warm water for 10-15 seconds, then gently pull. The warmth loosens the outer layer just enough to release cleanly. A slight twist while pulling helps. Don’t yank straight up or you’ll snap them in half, which I’ve done more than once.
How I store these (and how long they actually last)
Once they’re fully frozen, I pop them out of the molds and stash them in a freezer-safe zip-top bag. They keep for up to 3 months in the freezer, though the texture is at its best within the first few weeks. In my house, a batch of eight rarely lasts more than a couple days, so the shelf life has never been my problem.
Place popsicle sticks in water a few hours prior to give them some weight so they don’t float up to the top of your popsicle molds.
2
Add chocolate into blender
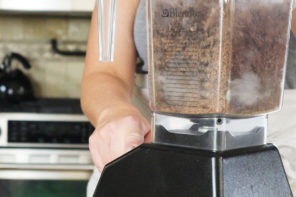
Break up chocolate into chunks by grinding up in a blender.
For this step
6 oz sugar-free chocolate
3
Heat in saucepan
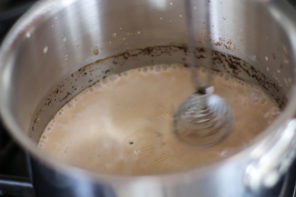
In a small saucepan, bring the nut milk, cream, sweetener and cocoa to a light boil. Immediately remove from the heat and pour the mixture over the crumbled chocolate in the blender.
For this step
1 ½ cups macadamia nut milk (or nut milk of choice)
1 cup heavy cream
1/4 cup powdered sugar-free sweetener
2 tablespoons unsweetened, 100% cocoa powder
4
Add vanilla and salt
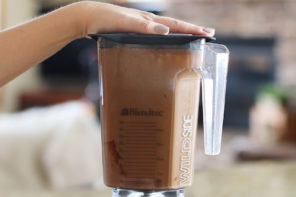
Add vanilla and salt to the blender. Blend until chocolate is melted and mixture is smooth.
For this step
2 teaspoons vanilla extract
1/2 teaspoon salt
5
Pour into molds
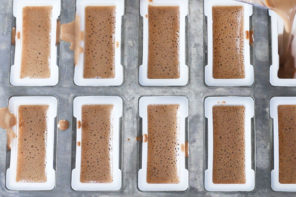
Pour the mixture into 8 popsicle molds. If you don’t have a mold, you can use dixie cups (3 oz paper cups). Just insert the popsicle sticks about an hour after they have been in the freezer so they will stand up straight.
6
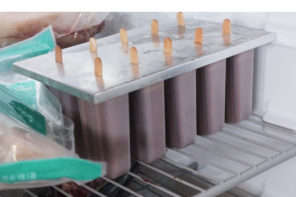
Freeze them
Freeze overnight or for 24 hours.
7
Freezer storage
Store pops in the molds or in a freezer safe bag.
Nutrition
Per serving: 1 popsicle
Calories
162
Fat
16.2g
Protein
0.7g
Total carbs
12g
Net carbs
2.8g
Nutrition is an estimate calculated from the ingredients listed. Brands vary, so check labels if you track closely.
Frequently Asked Questions
Can I use coconut milk or almond milk, or make these dairy free?
Yes. I've tested these with almond milk, coconut milk, and macadamia nut milk, and all three work. Macadamia nut milk is what I use because it gives the creamiest texture. Full fat coconut milk from a can makes them even richer, and several of my readers have switched to it for good. Almond milk keeps them lighter, with a slightly icier texture. To make them fully dairy free, swap the heavy cream for full fat coconut cream and use a dairy free dark chocolate. The coconut cream makes them taste even richer, and you would never know the dairy was missing.
What sweetener works best in frozen desserts like these?
I developed this recipe with Swerve, but I've also made them with erythritol and monk fruit. Both work at a 1:1 swap. If you want to try allulose, just know that it freezes softer, so your pops won't be as firm and they'll be harder to unmold cleanly. I go into more detail on how allulose behaves in frozen and chilled desserts in my keto caramel candy recipe.
Why did mine come out icy instead of creamy?
It's almost always a blending issue. If the chocolate isn't fully emulsified into the hot cream mixture, tiny unincorporated bits freeze icy instead of smooth. I blend mine for a solid 30-45 seconds after pouring the hot liquid over the chocolate, until there are no visible flecks at all. If you're stirring by hand instead of using a blender, chop the chocolate as finely as you can so it melts evenly into the hot cream. The other culprit is the milk. Almond milk has less fat than macadamia nut milk and comes out slightly icier, so if you swapped it in, that is the difference you're tasting.
I skipped bagging each one for weeks and couldn’t figure out why they tasted off by day four. Unmolded pops pick up freezer taste fast. A small zip bag on each one before they go back in the freezer fixes it.
I learned that the hard way. Mine sat loose in a big bag for the first batch and by day four they tasted like whatever else was in the freezer. One bag per pop from the start now.
Silicone releases cleaner than most rigid molds. I’d let them sit on the counter for 30 seconds, then push from the bottom – they pop right out without the warm water run. Shape will be little rounds instead of pops, but same fudgy texture.
Eight is never enough. I make double batches now because my boys cleared a single one in under two days and I got exactly zero. The 2.8g net carbs per pop is part of why. If you want to push them richer next time, full-fat coconut milk from a can instead of the macadamia nut milk changes the texture noticeably. Several of my readers have switched and never went back.
Confession: I pulled the first batch from the freezer thinking I had to use brute force on the mold. Snapped two pops before someone mentioned warm water. Run the outside of the mold under warm tap water for about 10 seconds and they come out in one piece, no resistance. Sharing because I could have been doing this from batch one.
Made these on the hottest day of the year and my daughter ate two before I even got one out of the mold, then asked if they were ‘real’ fudge pops, and when I said no she just shrugged and grabbed a third. The macadamia nut milk makes them absurdly creamy.
The shrug after ‘are they real’ is the best possible review. Three before you got one means it worked. Macadamia nut milk almost didn’t make the final recipe, I kept second-guessing whether it was worth the extra trip to find it. Glad I left it in. That creaminess doesn’t come from the chocolate alone.
Added a tablespoon of almond butter to the blender before running it and wasn’t expecting it to actually change the texture, but these came out somewhere between a fudge pop and a frozen truffle, which I liked better than I expected to. Also made one batch with oat milk because I was out of macadamia nut milk, and the difference was real (the macadamia version is noticeably creamier). Doubling the batch this weekend now that I know what I’m working with.
Adding fat changes how the whole thing sets. That truffle texture is actually closer to what I was going for when I first developed it, kept landing at fudge pop instead. The almond butter ratio is worth playing with.
I’ve been chasing a keto fudge pop that actually tastes like a Fudgsicle for two summers now. The ones made with straight coconut milk always have that faint tropical note that pulls you out of it, and heavy cream alone freezes into something closer to a ganache brick. The macadamia nut milk and cream combo gets the texture right: creamy all the way through, not icy at the edges and dense in the middle like most homemade versions. The cocoa powder on top of the dark chocolate is what does it, I think. Adds depth without tipping into bitter, which most recipes I’ve tried can’t manage. Four stars because I’d add more salt next time (3/4 teaspoon, maybe), but that’s just me, not a recipe problem.
These are good, genuinely, but one heads-up: mine came out more icy than fudgy after freezing overnight. I think I needed to blend longer to get the chocolate fully emulsified, or my cream ratio was slightly off. Flavor’s there though (that cocoa depth is real), but had to let them sit out a couple minutes before eating or they were rock solid. Worth making again. I’d just blend an extra 30 seconds next time.
You got it right. I blend mine a solid 30-45 seconds after the hot liquid goes in and the icy problem goes away. The sit-out-a-couple-minutes thing is still true even when the texture is perfect though.
Hadn’t had a fudge pop in two years since I cut out sugar. Made these last week and that first bite with the macadamia nut milk base was just it. Not a substitute, not ‘pretty good for keto.’ Just the real thing. Keeping a batch in the freezer all spring.
“Not a substitute” is exactly what I wanted to hear. The macadamia nut milk was the last piece I kept tweaking to get there. Spring batch is the right call.
Oh my goodness these were great! I could not believe how creamy and how filling they were. Perfect for a hot summer night treat. I loved that when I bit into them, the texture was exactly like the ones I used to get from the ice cream man as a kid. Thanks so much for this recipe.