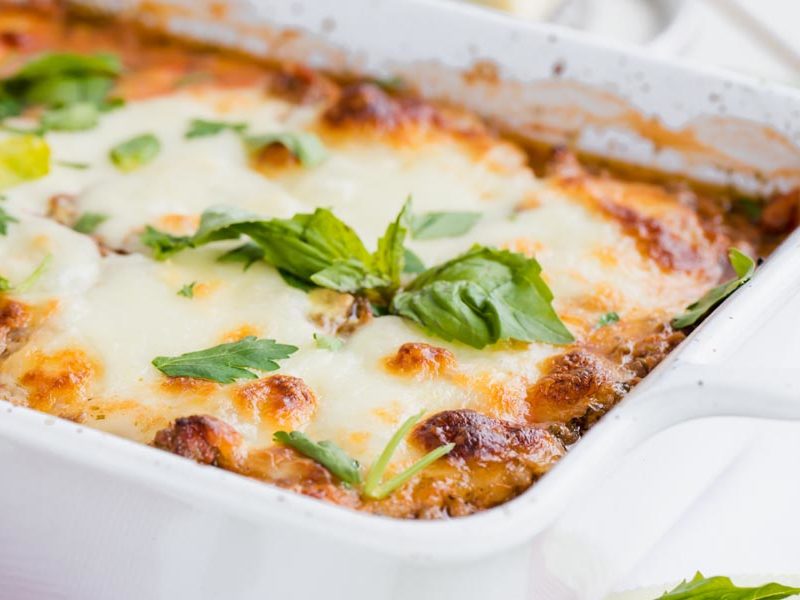
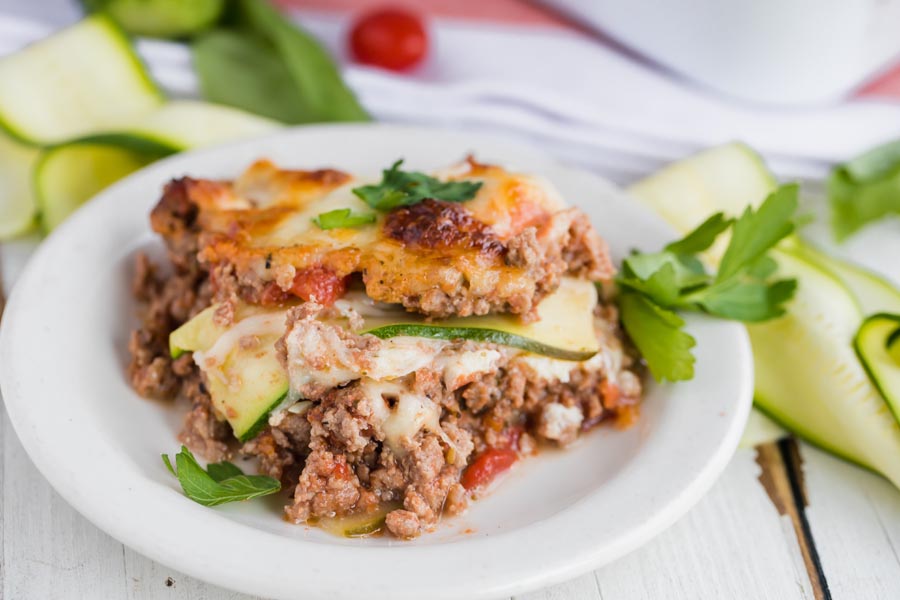
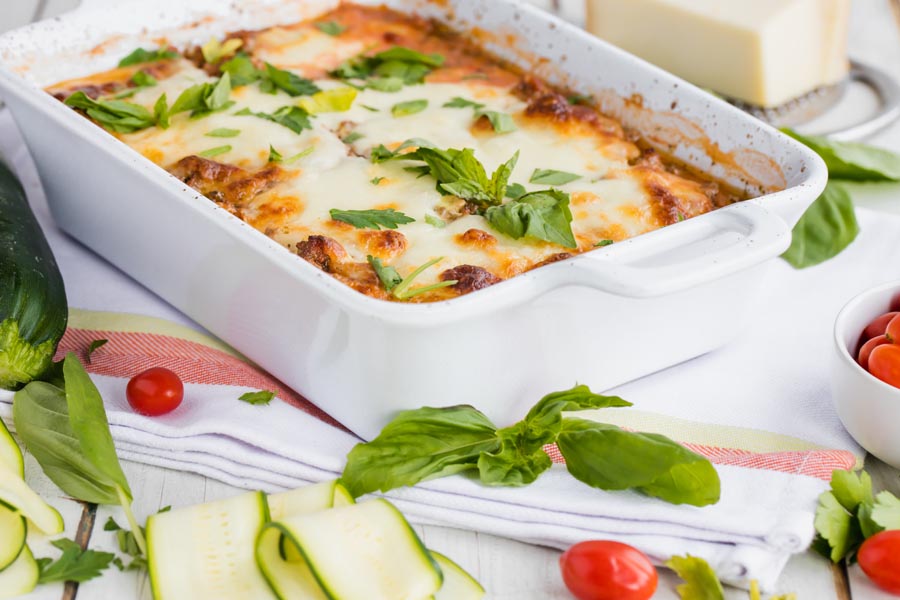
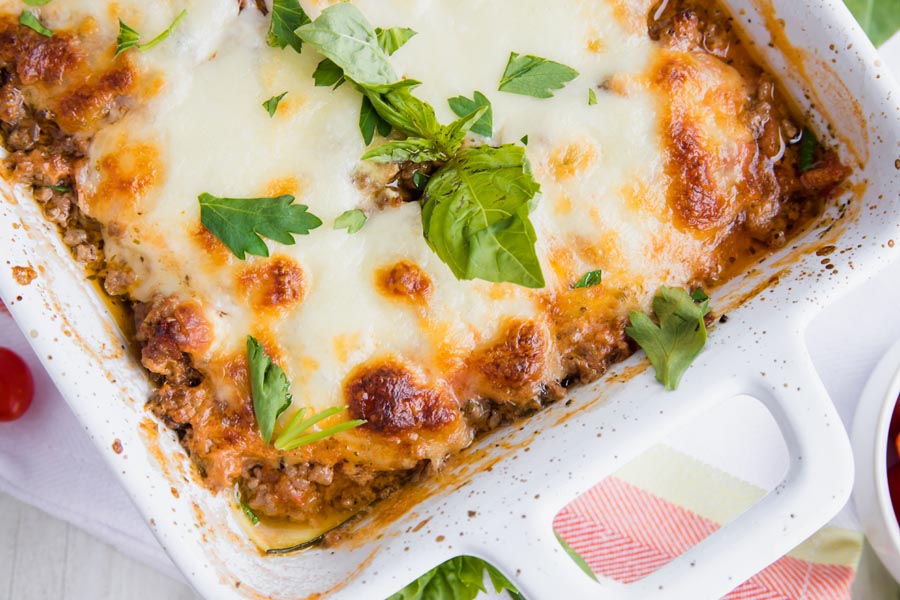
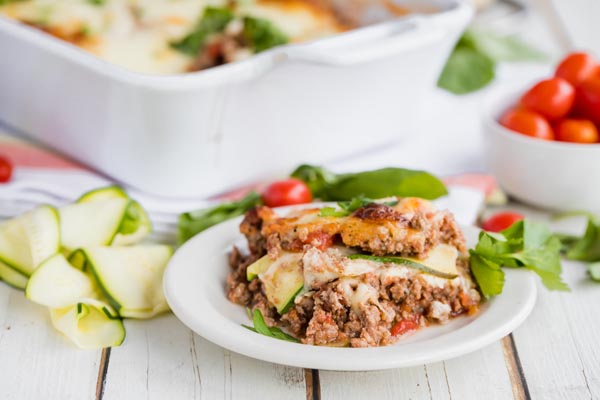
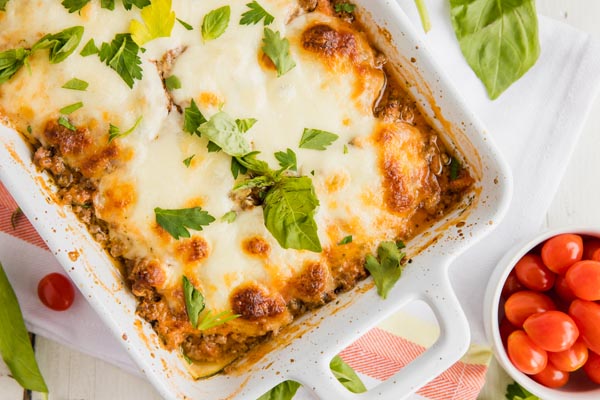
Tender zucchini slices stand in for pasta in this keto zucchini lasagna, layered with three-cheese ricotta filling and anise-spiced beef, with 2.5g net carbs and 19.9g protein. My tricks keep it from going watery, so every slice holds together.
I’ve been making this for years, and the single biggest lesson is that moisture control is everything. Most versions end up as a watery casserole with liquid pooling at the bottom. Mine doesn’t, because I figured out two things that fix the problem completely.
First, slice the zucchini as thin as you can. I use a vegetable peeler for some batches instead of a mandoline. It sounds counterintuitive, but thinner slices trap less moisture between the layers. Second, salt those slices and give them a full 15 minutes to release their water, then blot them dry. More than one reader has told me the batch where they finally waited the full time was the one that held together.
The other detail that sets this apart is the anise seeds in the meat sauce. Most people skip them or have never tried them in lasagna, but that’s the ingredient that makes this taste like a real Italian bake instead of just beef and zucchini stacked in a dish. I’ve had multiple readers bring this up unprompted in the comments, so it’s not just my imagination.
Three cheeses hold the layers together: fresh mozzarella, parmesan, and ricotta mixed with an egg. The egg matters. Without it, the ricotta slides around when you cut a slice. With it, the filling sets firm in the oven and you get clean, neat portions. I tested both ways and the difference is obvious.
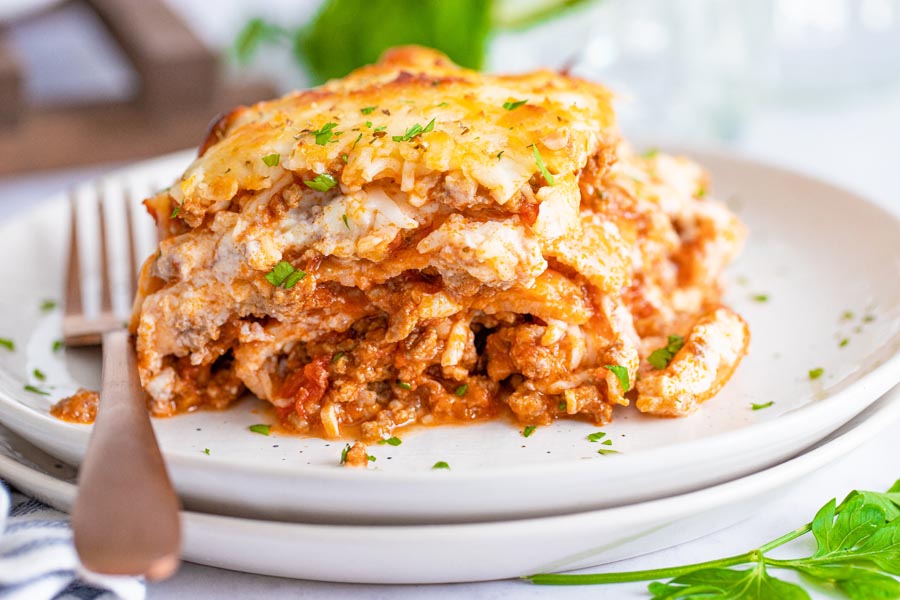
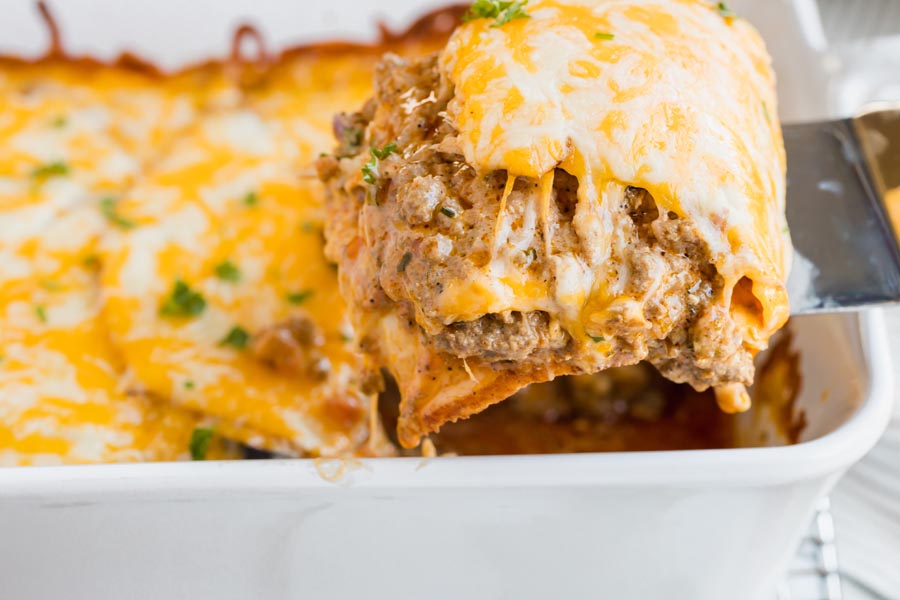
Assembly is straightforward once your components are ready. Sauce goes on the bottom of the dish first (this prevents sticking), then a layer of zucchini slices, followed by the beef mixture, ricotta filling, and mozzarella. Repeat the layers and bake at 400 for 25-30 minutes. I let mine rest for at least 5 minutes before cutting, sometimes longer. The layers continue to set as it cools, and you get much cleaner slices if you’re patient.
This is a solid weeknight keto dinner that my family requests regularly. My husband prefers it to traditional pasta lasagna (his words, not mine). If you’re feeding a crowd, double everything in a 9×13 pan and add about 10 minutes to the bake time. Check the center with a knife before you pull it out.
Most recipes that swap zucchini for pasta end up with a watery mess at the bottom. I spent a lot of time testing different methods to fix that, and what I landed on works every time: thin slices, a quick salt draw, and the right layering order. The result is a cheesy, beefy casserole that actually cuts into clean slices.
This pairs well with a side salad, or try my chicken parmesan alongside it for a full Italian spread. My baked ziti is another solid option when you want something different.
How to Keep It From Getting Watery
The biggest complaint is the water. Zucchini is mostly water, and when it cooks, all that moisture releases straight into the casserole layers. I’ve tested a few different methods to deal with it, and here’s what works best for me.
Slice as thin as possible. Thicker strips mean more zucchini volume and more trapped moisture. I use a mandoline on the thinnest setting, but a vegetable peeler works even better for paper-thin slices.
Salt and wait. Sprinkle salt over the slices and let them sit for 15-30 minutes. The salt pulls the water out. Then blot everything dry with paper towels before layering. I know it feels like a long wait, but this is the step that makes or breaks the whole dish.
Best Cheeses for the Layers
I use three cheeses in the layers: fresh mozzarella, parmesan, and ricotta. The fresh mozzarella melts into those stretchy, golden pockets you want in a good lasagna. Shredded works fine if that’s what you have on hand. I’ve also swapped in cottage cheese for the ricotta and tried cream cheese mixed with parmesan. Both turned out well. Provolone or smoked gouda add a nice depth if you want to experiment with the flavor.
Adding More Vegetables
If you want to bulk this up with more vegetables, mushrooms and spinach are my go-to additions. I layer sauteed mushrooms right in with the beef, and I tuck fresh spinach between the zucchini slices where it wilts down during baking. Readers have mentioned adding carrots and onions. Onions work great, but carrots run high in carbs for keto, so I’d stick with lower-carb options. Eggplant slices work too, but salt and drain them the same way as the zucchini. My enchilada lasagna casserole is another way I change up the flavor profile when I want variety.
Storage and Make-Ahead Tips
Store leftovers in the fridge for up to 5 days. This actually tastes better the next day once the layers have fully set. For make-ahead, I assemble the whole thing up to two days before and keep it covered in the fridge, then bake when I’m ready. Add about 5-10 extra minutes if it’s going straight from cold to oven.
You can freeze it too. I cut mine into individual portions, wrap each one tightly, and freeze for up to 3 months. Reheat straight from frozen in the oven at 375 for about 25-30 minutes, or thaw overnight in the fridge first and bake at 375 for 20 minutes. Either way works. I always bake the lasagna before freezing instead of freezing it assembled. Baked portions reheat with better texture.
How to Layer and Bake This Lasagna
The whole process comes down to three phases: prep the zucchini, build the meat sauce, and layer everything. I salt my zucchini slices for 15 minutes (minimum) to pull out the moisture, brown the beef with anise seeds and marinara, and mix the ricotta filling with an egg so it sets in the oven. Then it's just stacking: sauce on the bottom, zucchini, beef, ricotta, mozzarella, and repeat. 25-30 minutes at 400 degrees and you have a lasagna that holds its shape when you cut it.
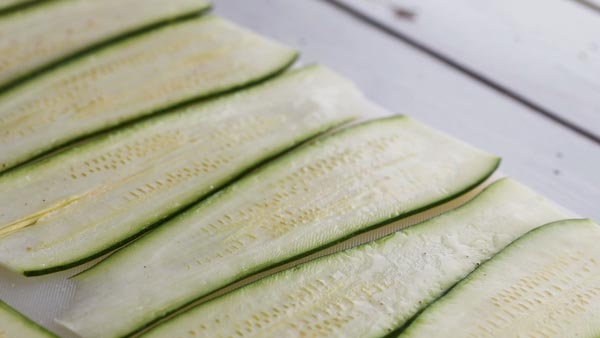
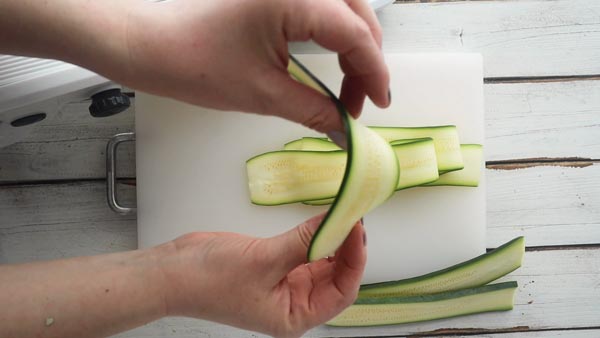
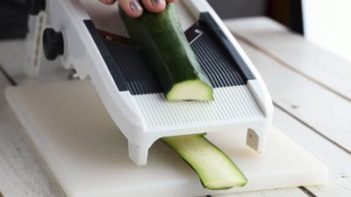
Slice the ends of the zucchini. Using a mandoline slicer, cut the zucchini into thin strips lengthwise.
3
Dehydrate noodles
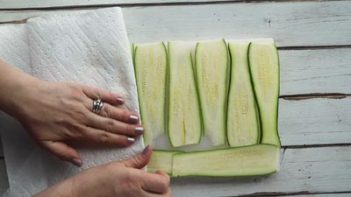
Lay the zucchini down on a plate or cutting board and a very thin layer of salt over the zucchini. Let sit for 15 minutes. Blot moisture out of zucchini afterwards.
4
Brown ground beef
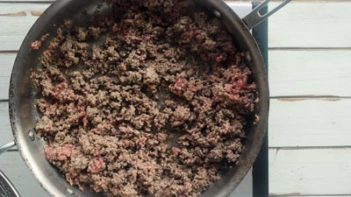
While zucchini is dehydrating, add olive oil to a skillet over medium heat. Add ground beef and cook for 2-3 minutes. Season with salt, pepper, Italian seasoning and anise. Continue cooking until ground beef has cooked through. Pour in 1 cup marinara sauce. Simmer for 1-2 minutes. Remove from heat and set aside.
5
Make white sauce
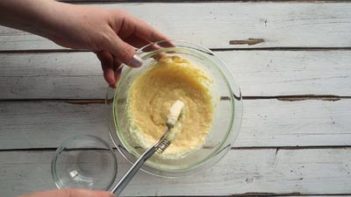
While ground beef is cooking, make the white sauce. In a small bowl, combine ricotta, egg, parmesan and garlic powder.
6
Assemble lasagna
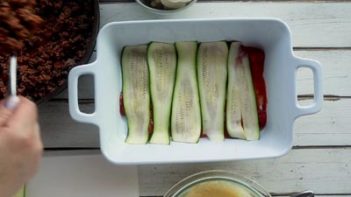
Assemble the lasagna. Pour 1/2 cup marinara sauce in the bottom of a small casserole dish. Lay down a layer of zucchini noodles.
7
Keep assembling
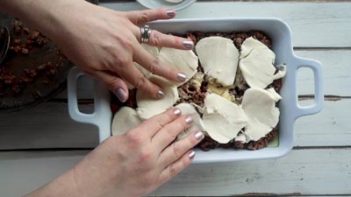
Top with half the ground beef mixture. Spread half the white sauce on top. Layer half the mozzarella cheese down. Repeat the layers.
8
Bake
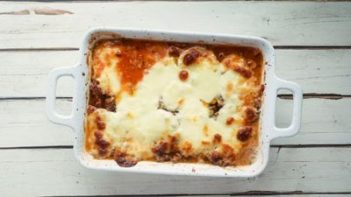
Bake at 400 degrees for 25 to 30 minutes. Let sit for 3-5 minutes to cool before serving.
Nutrition
Per serving: 1/8 of recipe
Calories
333
Fat
25.5g
Protein
19.9g
Total carbs
3.8g
Net carbs
2.5g
Nutrition is an estimate calculated from the ingredients listed. Brands vary, so check labels if you track closely.
Frequently Asked Questions
Do I need to cook the zucchini before layering it into the lasagna?
No cooking needed. I slice it thin, salt it for 15 minutes, and blot it dry, then layer it raw. It finishes cooking in the oven. I have grilled the slices too, and it works. You get char on the edges and it drives off moisture faster than salting. The trade-off is that grilled slices are less flexible, so they do not conform to the dish as neatly. I still prefer the salt method because the thin, pliable slices layer better.
I went through plenty of watery versions before landing on this one. Most recipes don’t dry the zucchini enough after salting and the layers just steam apart.
Easy fix. Bump it to 2 cups and spread a little more between each layer. It absorbs into the zucchini as it bakes, which is why I went conservative, but more is totally fine here.
It matters. Zucchini holds more water than you’d think, and skipping the salt step puts all of that straight into your layers. I do about 15 minutes, then pat dry before layering.
Served this cold at a work potluck Friday (sliced right off the dish, no reheating) and the layers held clean, which I genuinely wasn’t certain about. The anise in the beef must have been the thing everyone noticed but couldn’t place. Two separate people came over asking what meat blend I’d used. Explained anise seeds twice in one afternoon over paper plates. Not a conversation I expected. Warm would’ve been better presentation-wise, but the cold-slice result was good to know. Going in the rotation for group meals.
The three-cheese ratio is the one place I’d adjust. The beef layer and the marinara both hit pretty hard, and the ricotta at the listed amounts spreads thin across the zucchini slices. I bumped the ricotta and parmesan by half on my second batch and got the filling exactly where I wanted it. Everything else held up as written, slices stayed intact, no pooling at the bottom, and the portions are more filling than they look at this carb count. Brought leftovers to my sister’s the next day and they reheated without losing the texture. One tweak away from what I was after, and worth the effort.
More ricotta makes sense when the beef is that heavy. I kept the original amounts lean so the zucchini doesn’t get buried, but sounds like your ratio gets the filling into better balance.
Made a full pan Sunday and I’m still eating from it Thursday, and it’s actually getting better. Salting the zucchini felt tedious the first time but it’s why this holds together as a real slice instead of the watery mess I was making before. Reheated a piece Wednesday and the ricotta was still creamy, the zucchini still had some bite. I doubled the white sauce because I always want more of that layer and it didn’t affect anything else. Making two pans next time. One is never enough when you’re eating it for both lunch and dinner.
Salting the zucchini first felt like an unnecessary step so I almost skipped it, but I’m so glad I didn’t. My slices held together cleanly enough to lift a whole piece out of the pan, which never happens with zucchini anything. Adding this to my spring rotation for sure.
My son has refused zucchini since he was four. He cleaned his plate without a word, which never happens with vegetables. The anise in the beef pulls it together. Reads as actual lasagna, not a vegetable disguise.
My grandmother’s lasagna always had anise in the meat sauce, which I figured I’d just have to give up when I went keto. I wasn’t expecting this to actually smell like hers when it came out of the oven, but it did. The salting step for the zucchini is worth the extra time. Slices came out clean.
Grew up eating my grandmother’s lasagna every Christmas, and I genuinely thought that chapter was closed after going keto. The anise seeds in the beef brought back something I wasn’t expecting to feel again. Four stars only because nothing will ever quite replace her noodles, but this one is earning a spot in Sunday dinners.
Sunday dinners is exactly where it belongs. And I love that she used anise too. A lot of people think that’s my secret ingredient, but really it’s just old Italian cooking.
I’d quietly written off lasagna when I went keto, so finding that the salted zucchini trick actually keeps it from going watery made this feel like getting the real thing back.
Does salting the zucchini really make a big difference? I’ve made zucchini boats before and skipped that step and they turned out super watery. Wondering if I can get away with it here or if it’s actually necessary for lasagna.
Yeah, it really does matter here. Zucchini boats have way more surface area exposed so they drain differently – lasagna traps the moisture between layers and it has nowhere to go. I’d do the 30 minutes with salt, pat them dry, and you should be fine.
I made this today and it’s a very nice recipe. I would like to add more veggies in it to be honest. I ll make it with carrots and onions next time i think
Came out great – thanks for the tips to prevent it from being watery! It never would have occurred to me to use a vegetable peeler to make noodles because it seemed too thin, but that’s what made them so good! Thanks!