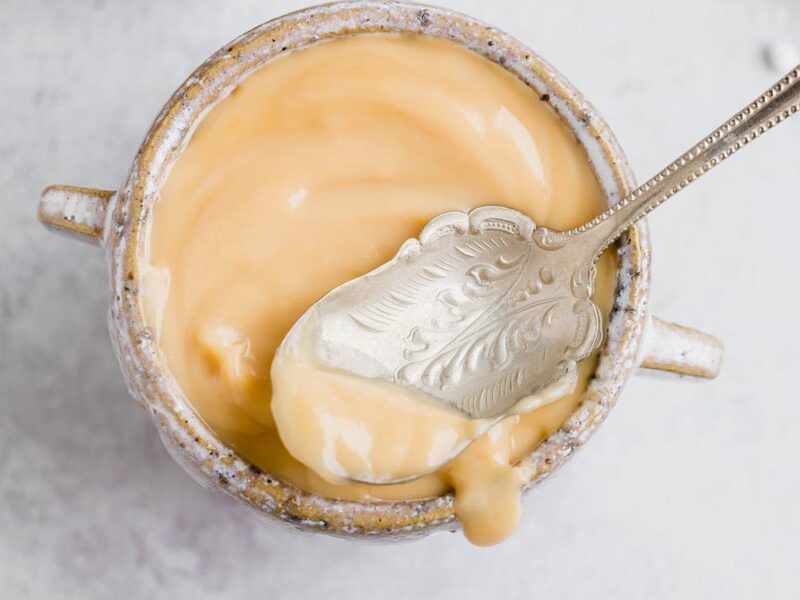
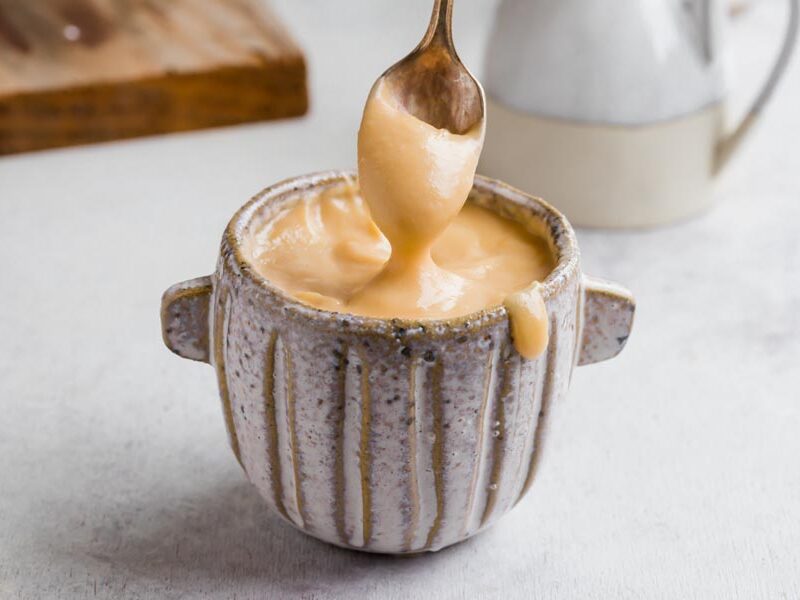
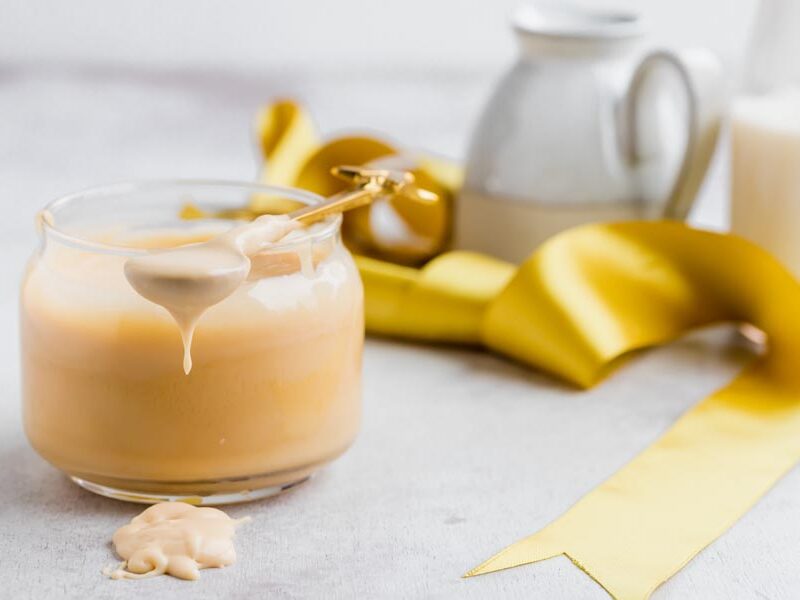
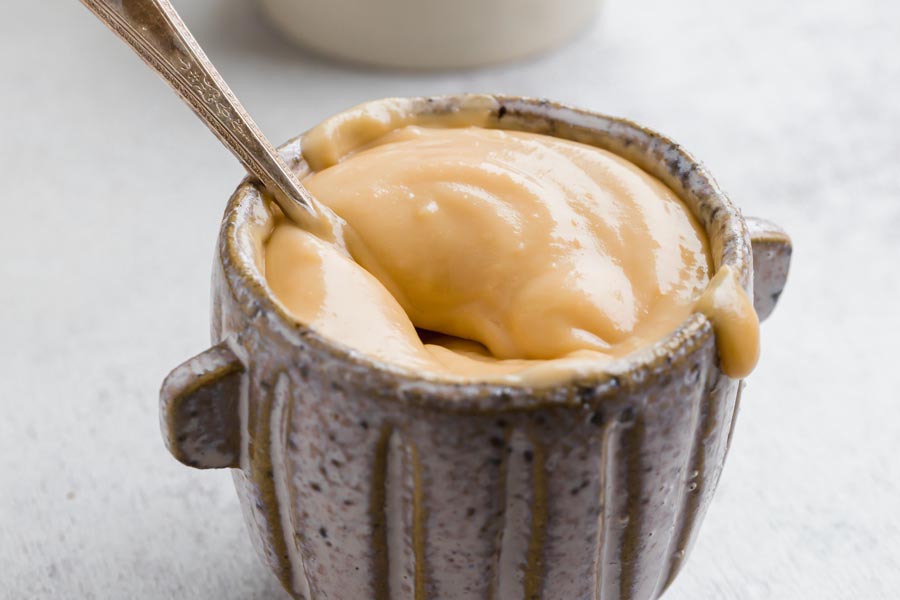
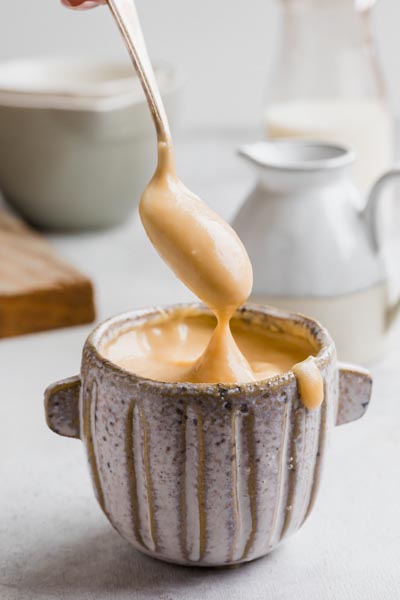
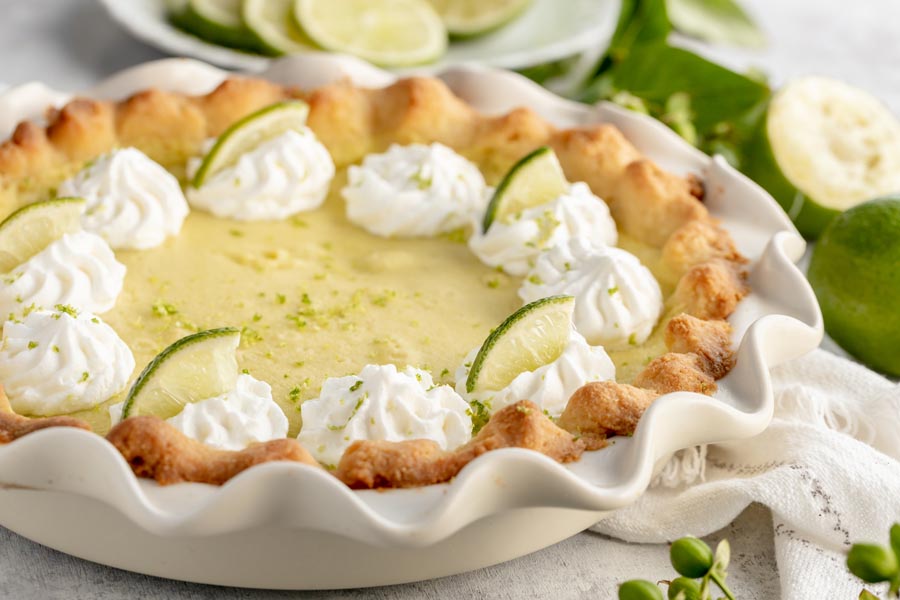
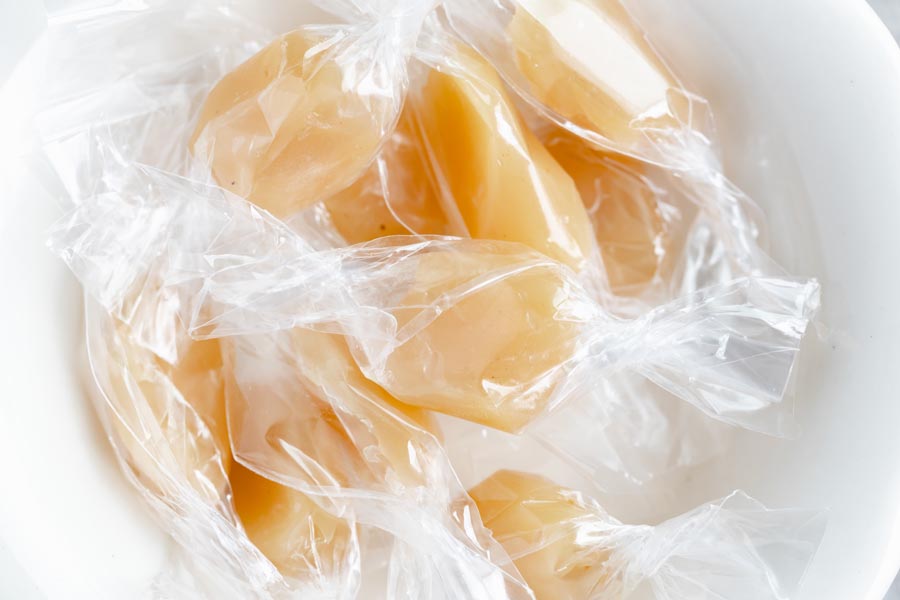
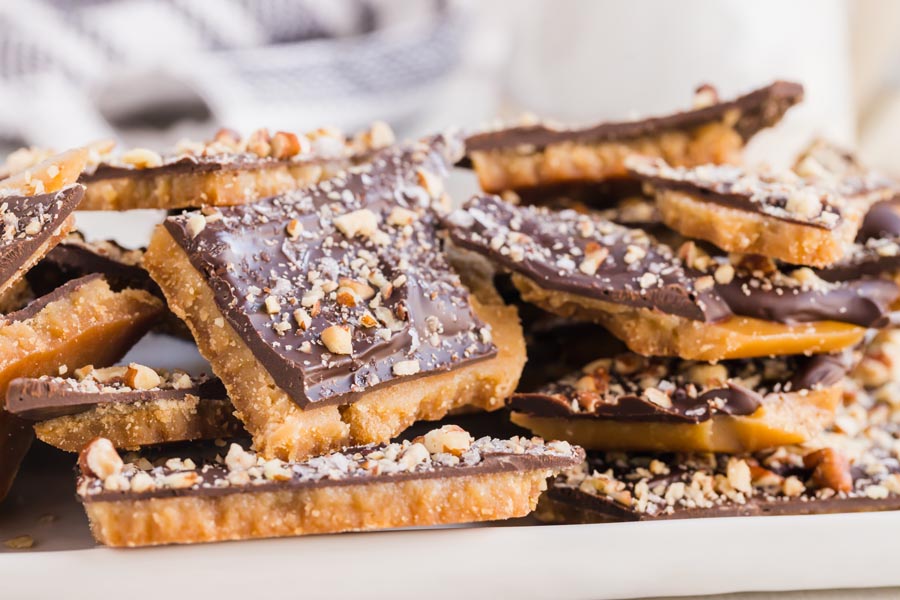
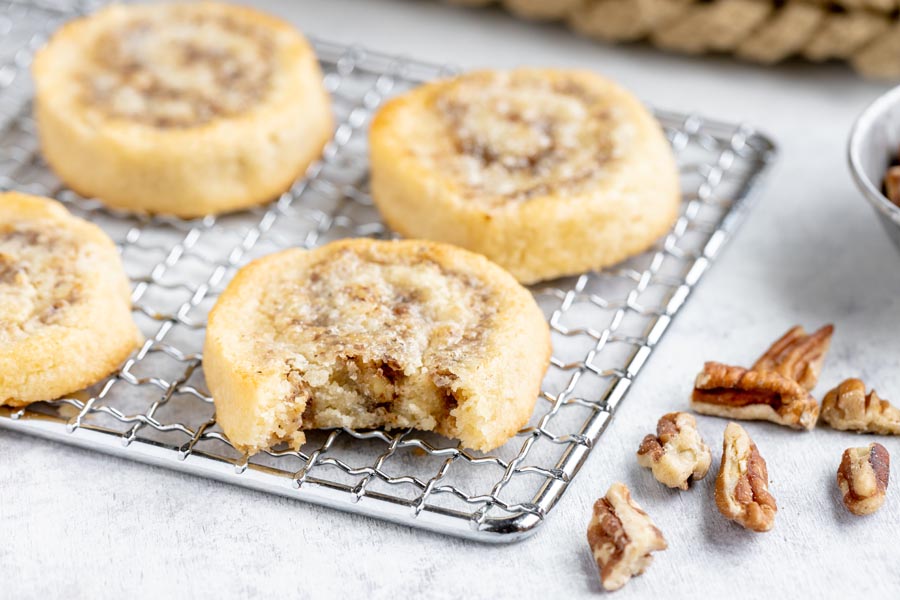
Thick enough to coat the back of a spoon and 0.6g net carbs, this sugar free condensed milk takes 3 ingredients and 30 minutes in one pot. I simmer butter, powdered sweetener, and heavy cream low and slow, then I let it cool, where it keeps thickening in the fridge. It's my shortcut for keto fudge, caramels, and pie fillings.
If you make keto desserts, you've hit this wall: there's no store-bought option without sugar. A standard can packs around 22g of carbs per serving, mostly from corn syrup. I got tired of skipping recipes that called for it, so I started making my own.
Three ingredients, one pot, 30 minutes. I combine butter, powdered allulose, and heavy cream in a saucepan and let it simmer until it reduces by about half. No constant stirring. Once it chills, it thickens into that rich, caramel-colored syrup that works exactly like the canned version. I reach for it when making keto fudge, caramel candy, vanilla ice cream, and pie fillings.
I've tested this with heavy cream and ultra-filtered milk side by side. Heavy cream is more forgiving and thickens faster, so I use it for fudge and candy. Ultra-filtered milk (I use Fairlife) mixes into batters without clumping or separating, which makes it better for baked fillings. Reader Amber C. confirmed the same thing after making five batches.
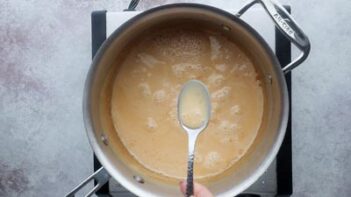
The biggest question I get: it looks too thin on the stove. That's normal. The fridge finishes the job, not the burner. If the mixture coats the back of a spoon and holds a line when you run your finger through it, pull it. It firms up in about two hours.
“I actually made this a few weeks ago. To be honest, I don’t even remember why I made it. I was going to use it for some recipe I didn’t end up making. Yet it was so freaking good I ended up eating it on other things. It’s awesome on keto toast, on blueberries, or to be perfectly honest, it’s nearly impossible to not just shovel spoonfulls right into your mouth, it’s that freakin good. Mine only lasted about 4 days in the fridge before it was all gone.”
➥ from YouTube subscriber @pumpkinheadghoul
“I make this milk all the time. Love it! I make coconut candy with almonds and a drizzle of chocolate on top using unsweetened coconut milk. It’s so good.”
➥ from YouTube subscriber @judystites9575
What sweetened condensed milk is and why it matters for low carb baking
Sweetened condensed milk is a thick, syrupy version of milk where most of the water has been cooked off and sugar is added to thicken it further. I always describe it as a cheat code for desserts because it does the work of sugar and cream in one ingredient.
The traditional process removes about 60% of the water content, which concentrates the flavor and produces that smooth, caramel note from the heated sugars. That’s what makes it so useful in everything from pie fillings to candy. The problem is all that concentrated sugar, which is exactly what my sugar free version replaces.
The right pot makes a real difference
I use a heavy-bottomed saucepan every time. Thin pots create hot spots that scorch the cream and leave you with burnt chunks at the bottom. I learned that the hard way on my second batch.
Stainless steel or enamel-coated cast iron both work well. Skip aluminum or copper because the acid in the milk reacts with those surfaces and throws off the flavor. A 2-quart or 3-quart saucepan is the right size for this recipe.
How I know when to pull it off the stove
This is the question I get more than any other, and I understand why. It does not look thick in the pan. It looks too thin when you take it off the heat, and that’s exactly right.
I use the spoon test every time:
Dip a spoon into the mixture.
Run your finger across the back.
If the line holds and doesn’t fill in, it’s done.
The other thing I watch for is volume. It should be roughly half of what you started with. Once it passes the spoon test, pull it immediately. The refrigerator does the rest of the thickening over about two hours. If you let it go too long on the stove, it gets dark and picks up a burnt edge that ruins the batch.
Recipes I use this in
I keep a jar of this in my fridge at all times because it shows up in so many of my recipes. It’s my shortcut ingredient for anything that needs sweetened cream without the carbs.
Vietnamese iced coffee (I stir a tablespoon into strong cold brew)
Fudge (any two-ingredient fudge recipe that calls for sweetened cream)
Ways to customize the flavor and texture
The base recipe is what I reach for 90% of the time, but I’ve played around with a few variations.
Deeper caramel notes
I add a tablespoon of brown sugar free sweetener (like Brown Swerve or Truvia Brown Sugar Replacement) alongside the allulose. A teaspoon of molasses works too if you want even more depth.
Thicker texture
It thickens on its own in the fridge, but if you need it thicker at room temperature (for spreading on coconut joys or dipping), I stir in a tablespoon of powdered milk after it comes off the heat.
How to make a dairy free version
I swap in a can of full-fat coconut milk for the cream and use ghee instead of butter. Same process: heat everything together, simmer until reduced, and chill.
Combine coconut milk, sweetener, and ghee or vegan butter in a saucepan over medium heat.
Simmer until it reduces and thickens, stirring occasionally.
The flavor has a subtle coconut note that works well in dairy free ice cream and tropical desserts. The consistency is slightly different from the cream version, but I’ve used it in the same recipes without any problems.
How long it keeps and how to store it
Refrigerator
I store mine in a mason jar with a tight lid. It keeps in the fridge for up to 2 weeks. It will thicken significantly as it chills, so when I pull it out for a recipe, I either warm it in a hot water bath or stir in a splash of warm water to loosen it up.
Since there are no preservatives, I keep an eye on it after the first week. If it smells off or changes color, I toss it.
Freezer
For longer storage, I freeze it in a labeled container for up to 3 months. I thaw it overnight in the refrigerator before using.
How to make sugar free condensed milk
I make this in one pot. Butter, powdered sweetener, and cream go in together, and I give it an occasional stir until it boils. Then I drop the heat to low and let it simmer for 25-30 minutes. That’s the entire method.
Key ingredients and substitutions
Butter: I use unsalted so the sweetness stays clean. If the recipe you’re making calls for salt, add it there instead of here.
Sugar free sweetener: Use powdered, not granulated. Allulose is what I use because it’s the only sugar free sweetener that doesn’t crystallize when it cools. Erythritol-based powders will turn grainy on you.
Milk or cream: For the lowest carb option, use ultra-filtered whole milk like Fairlife (6g carbs per cup). If using whole milk, add 1/3 cup of heavy cream so it reduces faster without scorching. Heavy whipping cream works on its own and is what I grab most often. Canned coconut milk makes a dairy free version (instructions in the section below).
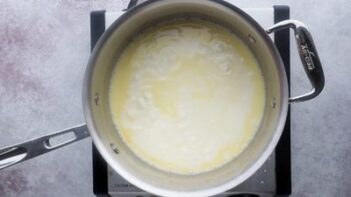
Add butter, sweetener and milk or cream to a heavy bottom saucepan. Bring to a boil over medium heat while stirring occasionally.
2
Simmer until thickened
Reduce heat to low and simmer the mixture for 25-30 minutes or until the mixture has thickened and can coat the back of a spoon.
3
Refrigerate
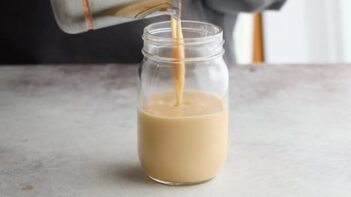
Remove from the heat and pour into a storage container or mason jar. Let cool at room temperature for 30 minutes before transferring the keto condensed milk to the refrigerator to cool for 2 hours. Mixture will thicken as it cools. If mixture appears chunky, strain through a wire mesh first.
Nutrition
Per serving: 2 tablespoons
Calories
139
Fat
14.1g
Protein
0.6g
Total carbs
0.6g
Net carbs
0.6g
Nutrition is an estimate calculated from the ingredients listed. Brands vary, so check labels if you track closely.
Frequently Asked Questions
Can I cook it longer to make keto dulce de leche?
Yes, and I love this variation. I push it past the normal pull point by another 10-15 minutes until it darkens and develops deep caramel flavor. The catch: this only works with allulose. It's the only sugar free sweetener that actually caramelizes. Erythritol-based sweeteners won't do it. Reader JK Brown tested this in the microwave and confirmed it works that way too.
Why did mine turn grainy or crystallize?
I've run into this, and every time it was the sweetener. Erythritol-based sweeteners crystallize as they cool, which gives you a gritty texture. I switched to powdered allulose and the problem went away completely. If you've already made a grainy batch, try warming it gently and whisking until smooth, but the real fix is switching sweeteners.
Can I make this in the microwave?
I've had readers pull it off successfully. The key is using a wide dish (like an 8x8 glass pan) no more than one-third full. Microwave in 5-minute intervals, and stir carefully after each round to release superheated spots that can boil up on you. It works, but I still prefer the stovetop because I have more control over when to pull it.
Can I use granulated sugar free sweetener instead of powdered?
I don't recommend it. I've tried granulated sweeteners in this and some just won't dissolve, even with heat. You end up with a grainy texture that doesn't smooth out. Powdered sugar free sweetener dissolves cleanly into the cream. If you only have granulated on hand, pulse it in a blender or food processor first to powder it.
Is this the same as evaporated milk?
No. Evaporated milk is unsweetened with just the water cooked off. What I'm making here is the sweetened version, which is thicker, sweeter, and works as both a sweetener and a creamer in one. I use it specifically for that rich, syrupy quality that gives fudge and candy their texture.
Is there a condensed milk that is sugar free?
Not on store shelves, which is why I make my own. Butter, powdered allulose, and heavy cream simmer for 30 minutes and reduce into the same thick, caramel colored syrup. Mine has 0.6g net carbs per 2 tablespoon serving, while a standard can runs about 22g of carbs per serving.
Can a diabetic eat condensed milk?
Regular sweetened condensed milk carries about 22g of carbs per serving, mostly sugar. My sugar free version swaps in allulose and comes out to 0.6g net carbs per 2 tablespoons, so it fits the way I eat. I'm not a doctor, so run it by yours, but the carb math is why I make this version.
I keep a jar of this going now for my morning coffee. One thing I found: pour it into a wide shallow container instead of a mason jar. Chills way faster and thickens more evenly. You made this so easy, thanks!
Caramels are back on the table for me and I honestly didn’t think that would happen again. Simmered mine the full 30 and it thickened up just like you said it would. Thanks! 😋
Condensed milk from three pantry staples? I wasn’t buying it. Made a batch anyway to test it for caramels, fully expecting to dump the results. The simmer time is real, don’t pull it early. Around 28-30 minutes there’s a color shift and it thickens fast, almost catches you off guard. Used it for a caramel sauce the same afternoon. Pulled clean off the pan, set correctly, tasted right. Not sweet cream with a different label.
Thank you Olivia, that color shift is the part I watch for every time. Allulose is what lets it darken like that without going grainy, and it’s why the caramels set instead of staying soft.
Found my old fudge recipe the other week, the one with real sweetened condensed milk, figured that was off the table now. Made this and it sets the same way. 30 minutes, three ingredients, I have my fudge back.
No graininess at all if you blend the sweetener before adding it. I do this with granular allulose, 30 seconds on high, same result as buying the pre-powdered kind.
Used this as the base for no-bake cheesecake cups at a Fourth of July party. My neighbor who does custom cakes tried one and said the condensed milk texture was exactly what she’d expect from store-bought, coming from her, that’s exactly what I was going for. Four stars only because mine took closer to 35 minutes to thicken, not 30.
Added vanilla when I pulled it off the heat since I was planning to use this in ice cream anyway and figured it would fit. It changed the whole flavor, like there’s a layer now that wasn’t before. Made it twice back-to-back actually (no vanilla first, then with) just to make sure I wasn’t imagining it, and yeah, it’s a different thing. Hard to describe without saying it tastes more complete somehow. Ice cream came out well and I keep thinking the vanilla is half the reason. Adding it to the caramels next to see if the same thing happens.
Vanilla off the heat is the right call, it doesn’t cook off that way. That more-complete thing makes sense to me, you’re adding depth without changing the base. Curious what it does to the caramels.
If you’re new to this like I was, don’t panic when it still looks watery at the 20-minute mark. Mine didn’t thicken until about minute 27 and then went fast. Pull it when it coats the back of a spoon and let it cool before you judge it.
Double-batching this every Sunday now, been at it about a month, and it’s become my base layer for everything sweet during the week (fudge one week, whipped cream the next, pie filling twice). The simmer is the part you actually have to watch. Mine ran too long the first couple times and came out thicker than I wanted, which was fine for fudge but needed extra cream worked back in when I used it for ice cream. Keeps at least two weeks in a mason jar, I just haven’t pushed it further than that. Four batches in and I’m still dialing in the simmer time depending on what I’m making, shorter if I need it pourable, longer if it needs to set up. Not quite set-it-and-forget-it since you do have to learn your stove and pan (stainless really does make a difference over nonstick), but once you’ve done it a couple times the 30 minutes mostly runs itself. Three ingredients I basically always have on hand. That’s reason enough to keep it in the rotation.
Stainless makes a bigger difference than people expect. Nonstick just runs cooler and it shows. Shorter for pourable, longer when it needs to set, you’ve basically mapped out how I think about it now too.
Seven batches in, and switching to ultra-filtered whole milk is what finally got it right. Firmer set in the fridge, and it holds together as a fudge base in a way the cream version never did for me. Worth knowing: sweetener brand matters here. Lakanto powders finer than Swerve and the consistency shifts enough to notice. Four stars because figuring that out took a few rounds, but once it clicks, I can’t imagine making keto fudge any other way.
I’m planning to use this as the base for a keto fudge I’m bringing to a family thing next weekend, so I want to get ahead of it. If I make the condensed milk Thursday or Friday, will it hold up in the fridge until Saturday, or does it start to separate after a couple days? I’ve had it go grainy on me when I reheat cream-based things.
Thursday or Friday is fine, it keeps well through the weekend. The grainy reheat thing is almost always the sweetener , erythritol crystallizes as it cools. Powdered allulose stays smooth, even after reheating.
Made this into fudge for Easter and my son, who treats all my keto desserts with open skepticism, ate through half the batch before I could even portion it out. I showed him the ingredient list and he refused to believe three things could taste like that. He has been asking for it every week since, which is frankly the most annoying compliment I have ever received.
I’ve never made anything like this before and wasn’t totally sure what I was getting into when I started watching it simmer. Around the 20-minute mark it started thickening and I thought, okay, this is actually happening. Poured it into a mason jar. Solid by morning. Used it in a pie filling this weekend and my only regret is not making a double batch from the start.
My daughter kept sneaking spoonfuls while it was cooling on the counter. By the time I went to pour it into the jar, half of it was gone. She had no idea it was sugar free.
Making keto fudge for Easter and want to get ahead of it. If I make the condensed milk now and jar it up, will it last 4-5 days in the fridge, or does the heavy cream start to go off after a couple days? Don’t want to pull it out and have it be unusable.
4-5 days is fine, probably longer. I’ve had mine in the fridge over a week with no issues. Pull it out 15 minutes before you need it, it firms up when cold.
This is probably my fifth batch and I think I finally cracked it (took me a while). The first few times I used heavy cream and it worked but came out so thick I had to thin it down when mixing it into things. Switched to the ultra-filtered milk and it’s actually more versatile for me, mixes into batters without clumping or separating. I also started pulling mine at 28 minutes instead of 30 because it was getting a little darker at the edges on my stovetop and the texture was better slightly earlier. The other thing I noticed is it firms up a lot more in the fridge than it looks like it will in the pan, so if it seems a little loose when you pour it out that’s probably fine. I keep a jar in the fridge now and pulled it out last week to make a fudge and it worked exactly like I hoped.
28 minutes makes sense if your edges are catching early. Stovetops vary more than I expected on this one. Ultra-filtered for batters, heavy cream when you need it to set thick fast. That’s the split I use too.
I tried this but using a microwave. I followed the microwave directions in the video
“Ultimate Clotted Cream – From Any Cream In 15 Minutes” but with these ingredients. It worked quite well. I did go past sweetened condensed milk stage to make a keto dulce de leche using allulose. I did get splatter on the 3rd 5-min heating. I then did a 4th 5-min at 80%(to limit splatter) for the dulce de leche.
You use a wide pan (such as 8×8 glass pan) no more than 1/3rd full. Careful to use a spatula to disturb/stir after microwaving to safely release the superheated spots that will boil up on you if you disturb the pan by lifting it.
Going past condensed milk to make dulce de leche is clever. Allulose is the only sweetener that caramelizes so that was the right pick. That superheating thing is real, I’ve been caught by it stirring too fast.
This looks wonderful and I’m excited to try it. However, under the dairy free directions, you still add butter, which means it isn’t dairy free. Would ghee and coconut cream work for this? Or butter flavored coconut oil? Just wondering if you’ve tried either of those?
Thank you for all the work you put into your videos for all of us.