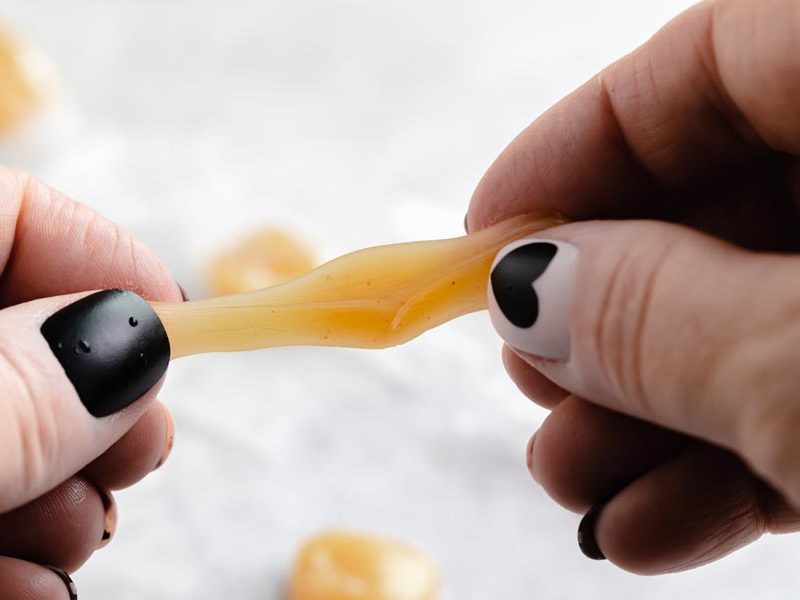
I have a serious sweet tooth, and making candy at home is one of my favorite things about keto. If you’ve tried my keto toffee or keto fudge, you know I like recipes that feel indulgent without a long ingredient list. These caramels fit right in.
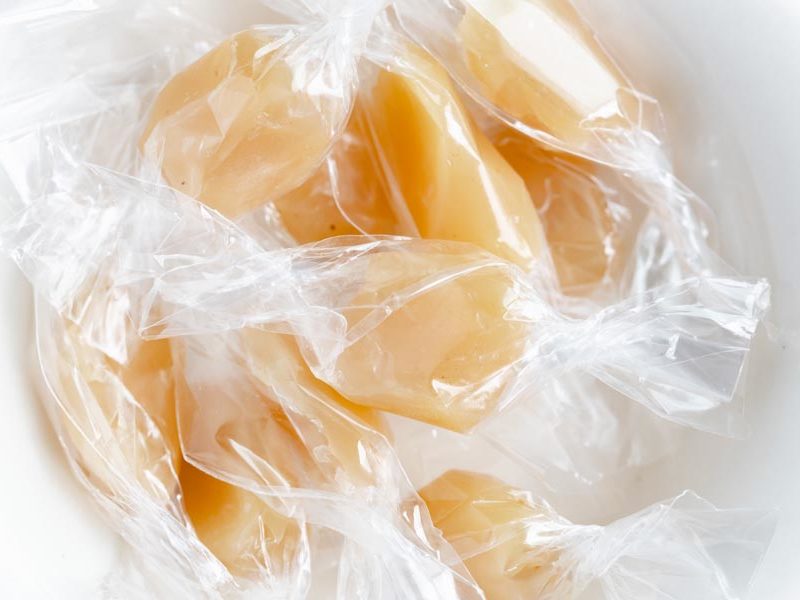
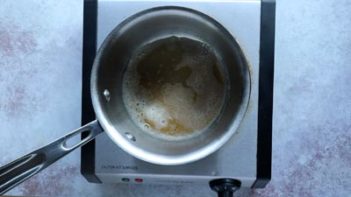
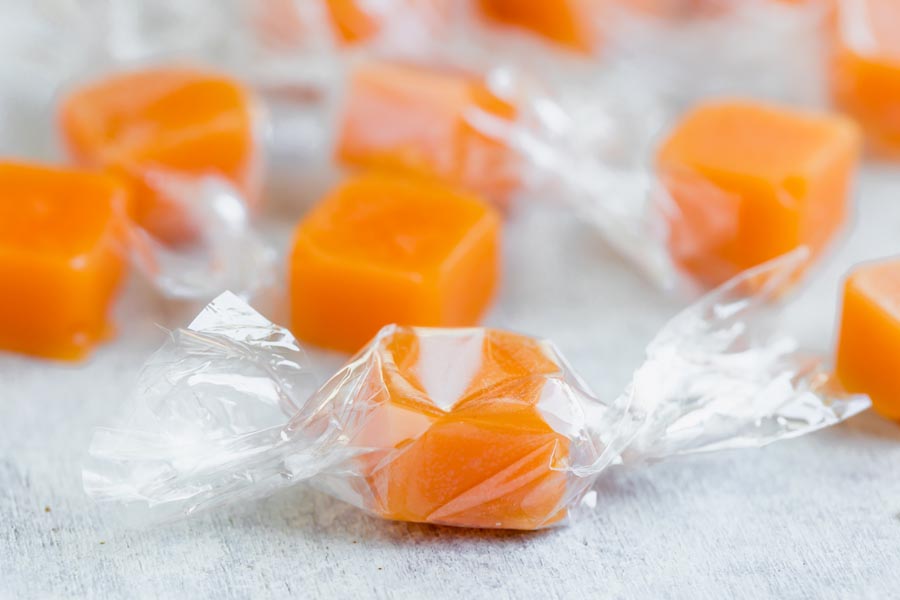
Five ingredients, about 10 minutes of active cooking, and you get soft, buttery caramel chews that taste like they came from a candy shop. The secret is brown butter. I cook mine until those dark bits form at the bottom and the whole kitchen smells nutty and toasted. That single step takes these from basic to something people actually remember. I started browning the butter on a whim years ago and I’ve never gone back to just melting it.
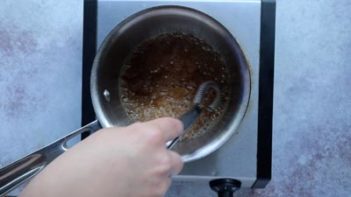
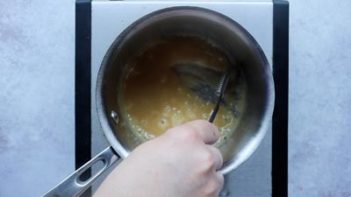
I don’t use a candy thermometer for this recipe. Instead, I go by feel: when you scrape a spoon across the bottom of the pan and can see the pan for a full second, it’s ready. I’ve made these dozens of times and that visual cue has never let me down. I have not verified a thermometer temperature for this recipe, so the spoon test is the cue I trust.
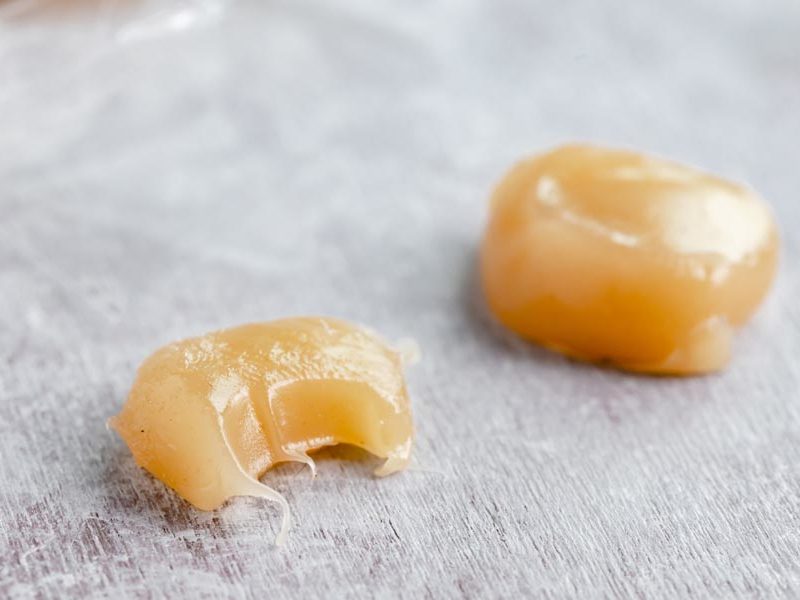
The texture depends on your sweetener. I usually reach for allulose because it gives the closest thing to a traditional caramel chew. Allulose stays softer at room temperature, so plan on keeping them cold if you’re gifting or packing them in a lunchbox. Erythritol works too and actually produces a slightly chewier bite because of how it crystallizes as it cools. One of my readers discovered this on her own and I can confirm it. Both sweeteners work, just know they behave differently as they set.
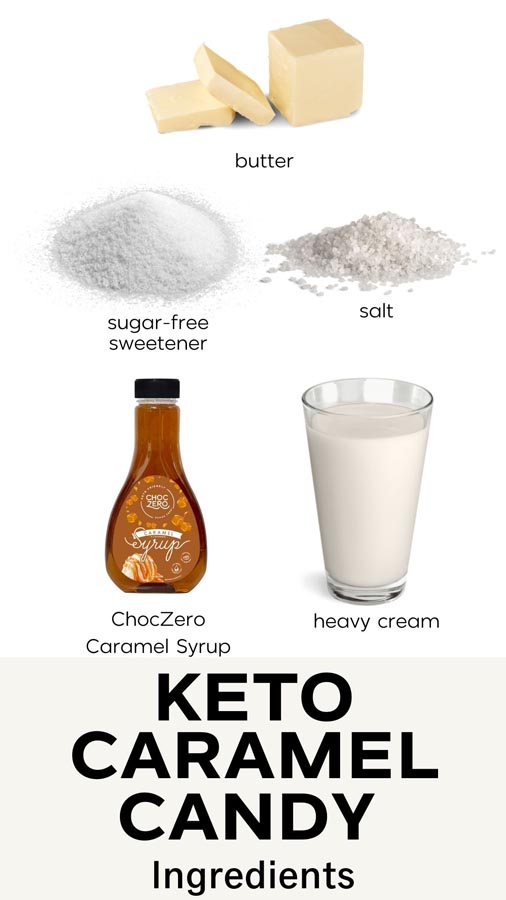
A lot of keto caramel recipes start with homemade sugar-free condensed milk, which means making a whole separate recipe before you even begin. I wanted something simpler. The combination of a thick sugar-free caramel syrup (the ChocZero formula I tested is discontinued, and I have not verified a replacement yet), a monkfruit sweetener or allulose, and heavy cream gets you to the same place in one pan. No pre-recipes, no extra steps.
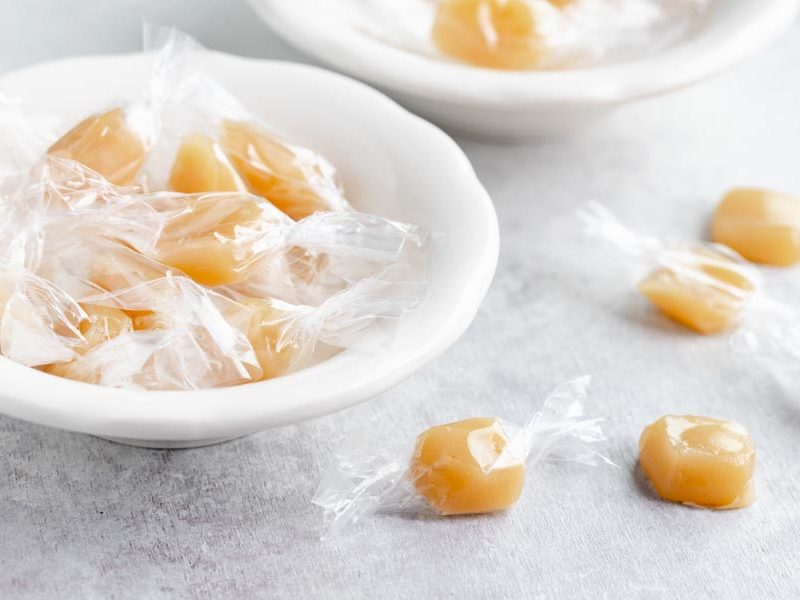
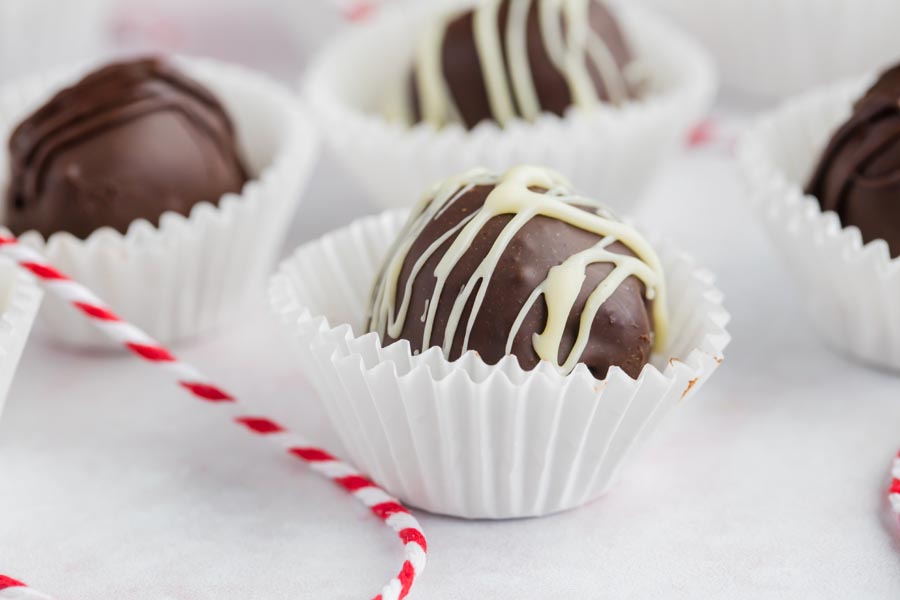
If you’re into keto candy in general, these are a solid starting point. They’re low carb (about 0.1g net carbs per piece), hold up in the fridge for a month, and make great gifts wrapped in parchment squares. I usually double the batch because a single round disappears in my house within two days. If you want to get fancy, dip them in melted sugar-free dark chocolate (the same method I use for my keto coconut joys). I use ChocZero baking chips, dip each caramel halfway, and sprinkle a little flaky salt on top before the chocolate sets. I do this around the holidays and people lose their minds.
Do I need candy molds?
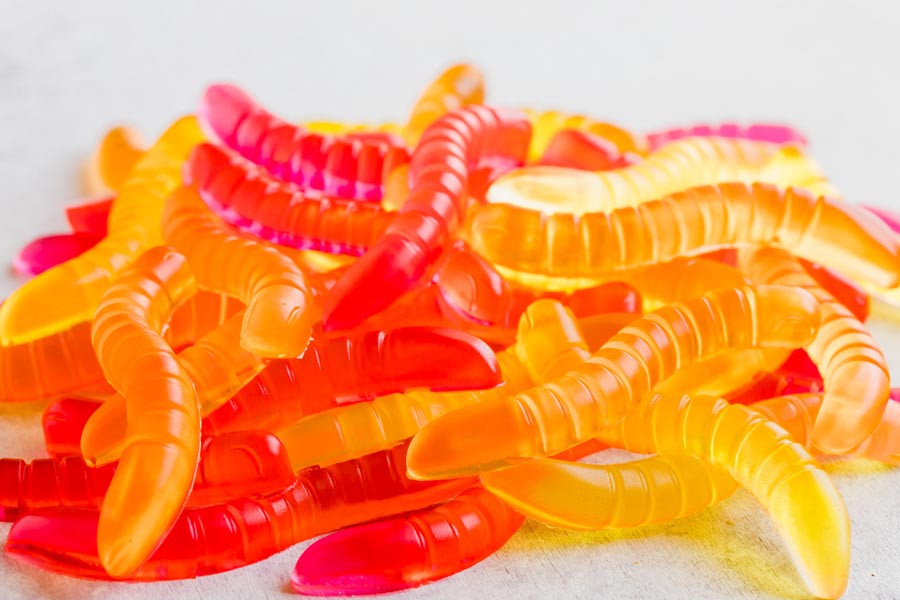
I use silicone candy molds for these because they pop out clean. The same ones I use for my keto gummy worms work perfectly here. If you don’t have molds, line a small glass dish with parchment paper, pour the caramel in, refrigerate until firm, and cut into rectangles with a sharp knife. I actually prefer the parchment method when I’m making a big batch because it’s faster than filling individual mold cavities one by one.
How to store sugar free caramels
Storage depends on which sweetener you used. Allulose caramels need the fridge. Allulose runs softer than erythritol at room temp, and after a few days out they start getting sticky. I learned this the hard way when I left a batch on the counter during a warm week. In the fridge, they keep for a solid month without any texture change.
If you made these with erythritol, they hold up better at room temperature because erythritol crystallizes as it sets. Either way, layer parchment paper between pieces so they don’t fuse together. I cut small squares of parchment and wrap each one individually when I’m gifting them. You can also freeze these for up to 3 months. Just let them come to fridge temp before unwrapping or the parchment tears and takes some caramel with it.
What if my caramel is too soft?
This happens when the mixture didn’t cook long enough. I’ve been there. The fix is simple: pour it back into the pan and cook it again. Heat over low-medium until it boils and gets thick and frothy, then keep stirring for another 3-4 minutes. You’re looking for the mixture to form ribbons when you lift your spoon. Once you see ribbons, pour into molds immediately. I’ve rescued batches this way at least three times and they turned out just as good as getting it right the first round.