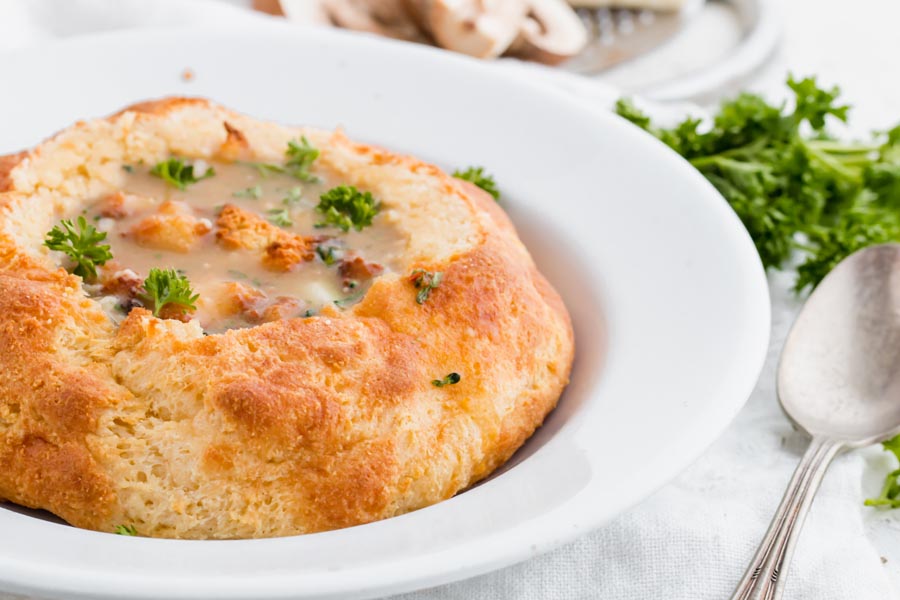
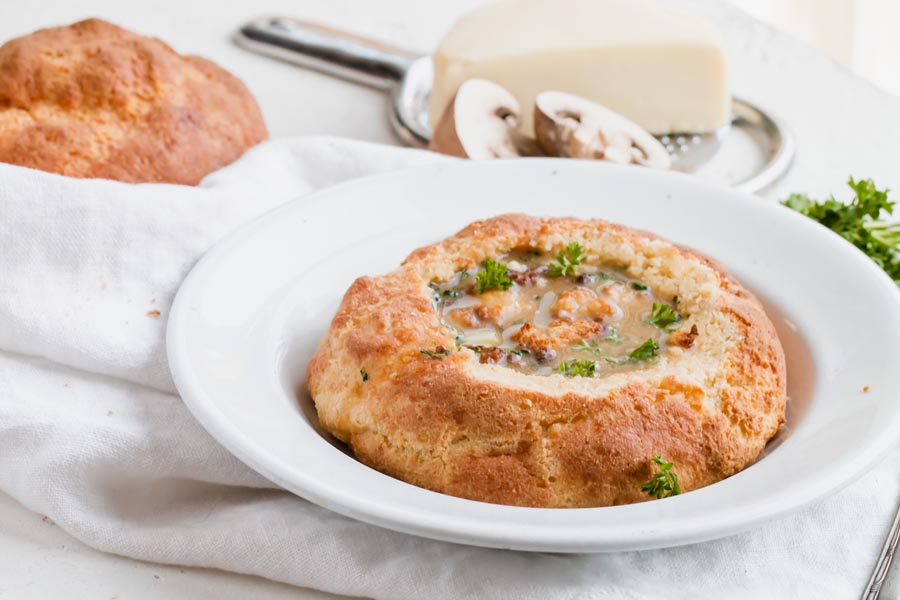
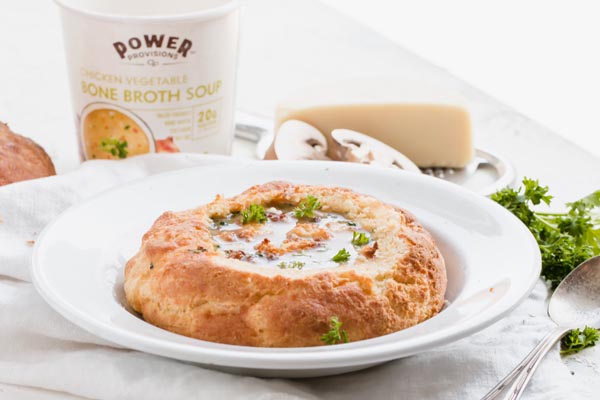
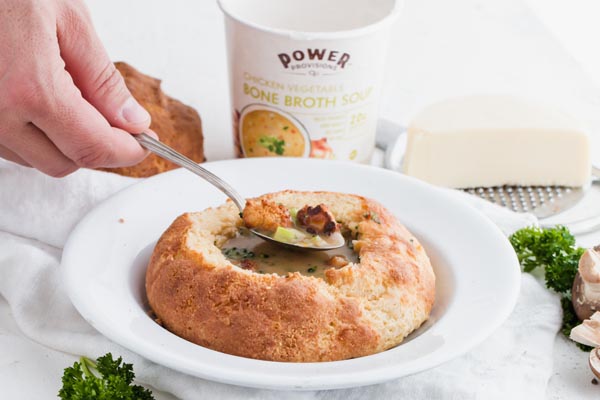
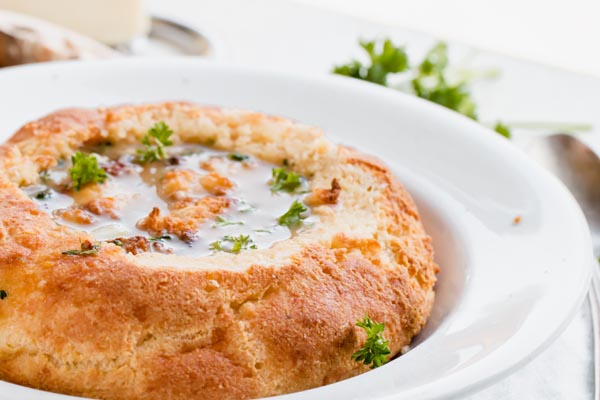
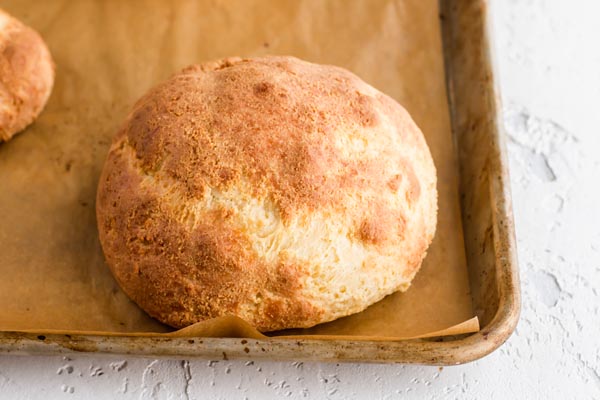
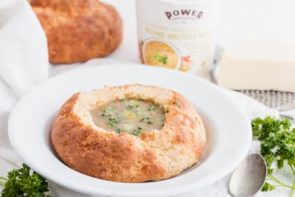
A golden, sturdy keto bread bowl made from fathead dough with 7.9g net carbs and 34g protein. I developed it so I could eat soup the way I did before keto, and it holds chili, chowder, or any thick soup without falling apart.
I used to order bread bowls at Panera all the time. Sourdough filled with broccoli cheddar was my go-to for years. When I went keto in 2012, I figured that was done for good. Turns out fathead dough makes one that actually holds up to hot soup. It took me a while to get the formula right, but once I nailed it, this became a regular in my kitchen.
How I Make This Fathead Dough Recipe
I’ve made these dozens of times now, and the biggest lesson I learned is getting the dough thick enough to scoop without cracking. The combo of mozzarella, cream cheese, and almond flour creates a shell that’s sturdy on the outside but soft enough to tear off and dip. That’s what you want. Rip a piece from the edge and drag it through your soup. The texture reminds me of a soft pretzel roll more than traditional bread, and I think that’s actually better for holding soup.
The leavening combo matters more than most people realize. I use both baking powder and baking soda, and the buttermilk reacts with the baking soda to give you the air pockets that keep the bread light instead of dense. I also throw ice cubes into the oven while they bake, which creates steam that helps the dough rise even more. Two tricks that took me a while to figure out, and I go over both in detail below.
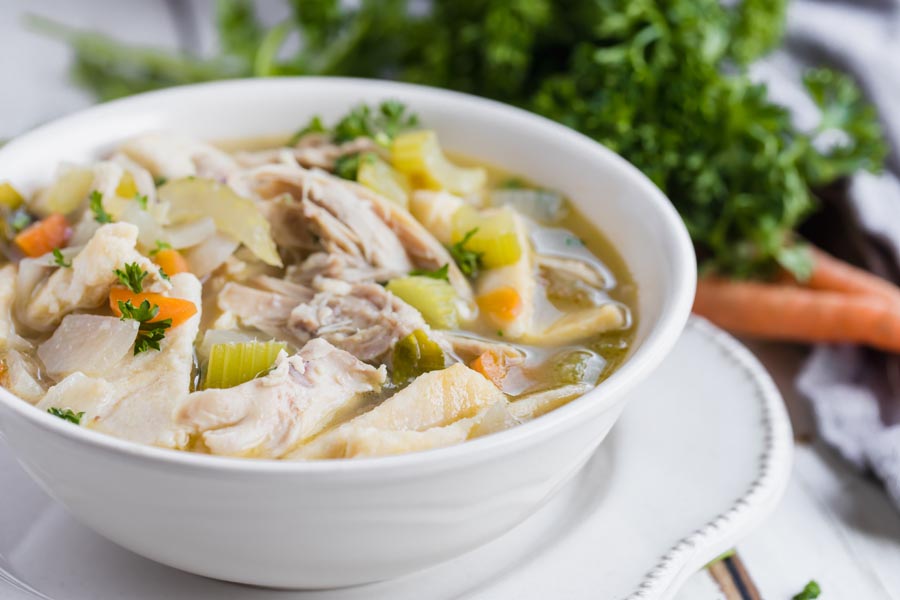
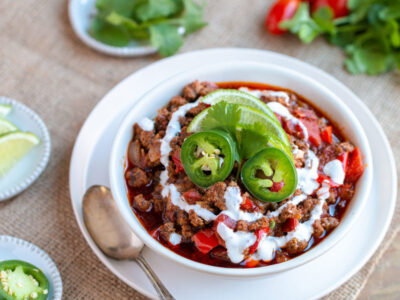
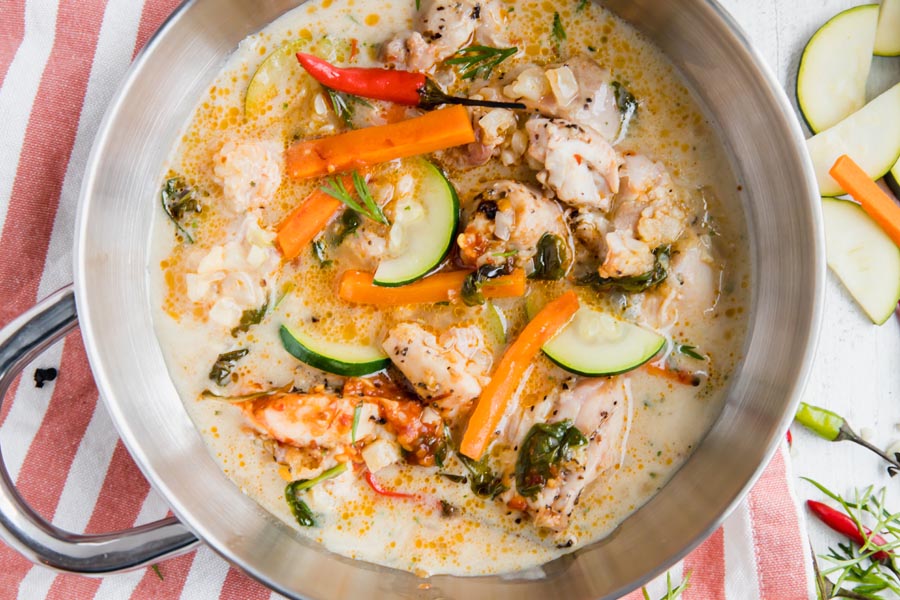
For soups, I go with thick ones that won’t soak through too fast. My spicy Thai chicken soup pairs really well here, and so does any thick chili or stew you already have in the fridge. If you’re into bowl-style meals, my pizza bowl and chicken alfredo lasagna bowls use the same eat-the-container concept.
What I love about this dough is how forgiving it is. If your balls aren’t perfectly round, they still bake up fine. I’ve also pressed dough over upside-down oven-safe ramekins for a more uniform shape, and that works well if you want something closer to a Panera look. Grease the outside of the ramekin well so the dough releases cleanly after baking. The outside gets this golden crust that’s firm enough to hold 8-10 ounces of soup without leaking. I’ve tested it with everything from thin broths to thick chili. One thing I started doing: after I scoop out the center, I put the hollow shells back in the oven at 375 for about 5 minutes. That second bake dries out the inside and gives you a crispier surface that resists moisture longer.
These also pair great with a grilled cheese for a low carb lunch combo. Half-filled soup in one hand, grilled cheese in the other. That’s a solid lunch. I’ve served these at a weekend get-together too. I let everyone pick their soup and scoop their own. My family requests these when soup season hits.
Best soups to pair with this
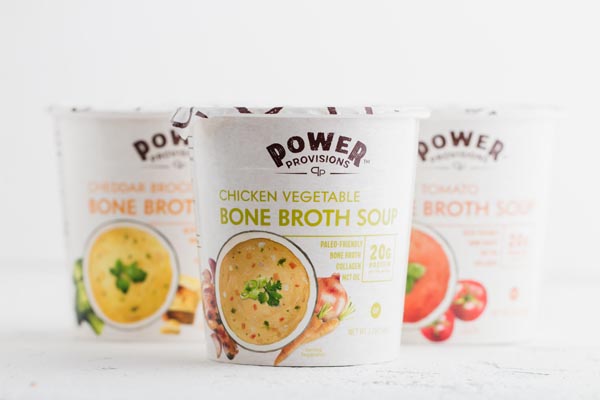
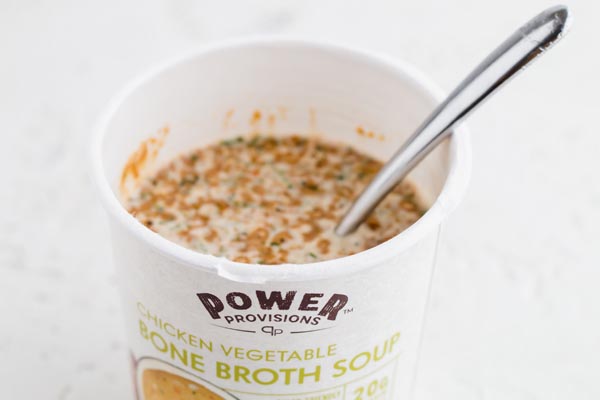
I spend a lot of time thinking about what goes inside these. A thick, hearty soup is what you want. Thin broths will soak through faster, so I save those for regular bowls. Chili, chowder, and creamy soups are the sweet spot. My friends at Power Provisions make ready-to-cook paleo soups that work great for busy nights when I don’t want to make soup from scratch.
I partnered with Power Provisions for this recipe because I genuinely use their soups. They’re made with bone broth, collagen, and MCT oils. Each cup has around 18-20 grams of protein, so they actually keep you full. I’ve tried a lot of pre-made soups and most taste watered down. These don’t.
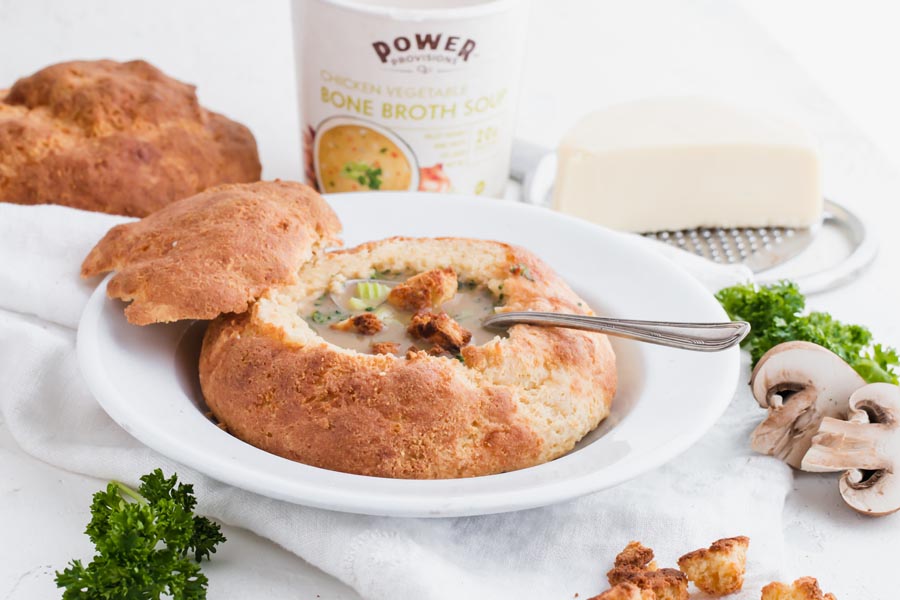
Power Provisions has several flavors. I used their Chicken Vegetable Bone Broth Soup in my photos, but they also have Coconut Milk Thai, Creamy Tomato, and Cheddar Broccoli. The Cheddar Broccoli is my favorite for this because it’s thick enough to stay put without soaking through the bottom.
Meal prep and make-ahead tips
I make a batch of these on Sunday and eat them through Wednesday. They hold up at room temperature for 2-3 days, or 5 days in the fridge. Just keep them in a sealed container so they don’t dry out.
I’ve brought these to work too. Toss one in a Ziploc bag with a Power Provisions soup cup, and you have lunch in 5 minutes. Heat the soup according to the package, cut off the top of your roll, scoop out the inside (save those pieces for dipping), and pour the soup in.
If you’re a pizza pocket fan, you already know this dough meal preps well. Same concept here. My Mexican lasagna bowls also reheat well if you like make-ahead meals. The key with any of these is reheating in the oven or toaster oven at 350 for a few minutes instead of the microwave. The microwave makes the dough rubbery.
How to get these to rise
Getting keto dough to rise without wheat flour or yeast takes a little science. I’ve tested a lot of combinations, and using both baking powder and baking soda together is what finally gave me the lift I wanted.
The baking soda needs something acidic to activate. That’s the buttermilk (or yogurt). When they react, you get carbon dioxide bubbles that puff up the dough while it bakes. Without that acid, the baking soda just sits there doing nothing.
My other trick: throw a handful of ice cubes on the bottom rack of the oven. They melt fast and create a burst of steam. That steam helps the outside set while the inside is still rising, which gives you a taller, airier roll. I do this every single time now.
How to mix the dough
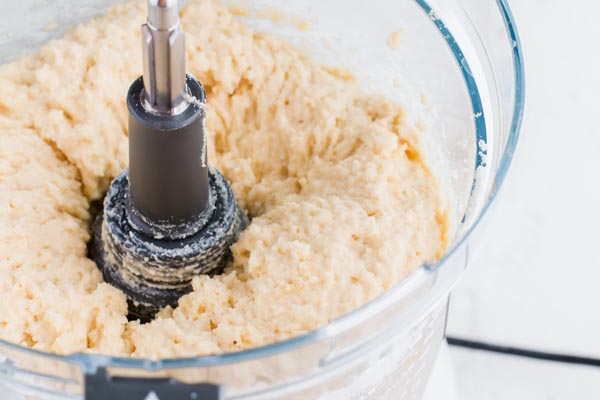
I use a food processor for this. With this type of dough, you need something powerful enough to incorporate melted cheese into the dry ingredients evenly. A few seconds on pulse and the whole thing comes together. I’ve tried an electric mixer and it works, but the cheese tends to fly out of the bowl (ask me how I know). The food processor is faster and way less messy.
Is buttermilk low carb?
I cook with buttermilk a lot. It’s tangy, and that tang does double duty here. It reacts with the baking soda for lift, and it covers up the cheese-and-egg flavor that this type of dough can have.
People worry about the carbs, but I break it down like this: I use 1/4 cup of buttermilk for the entire batch. That’s 3 net carbs across all four rolls. Less than 1 carb per serving from the buttermilk alone. Not worth stressing over.
Yogurt option instead of buttermilk
If you don’t have buttermilk, yogurt works. I’ve made these with both and the results are close. Yogurt is tangy and acidic enough to activate the baking soda, so you still get good rise.
I look for a Greek yogurt with the lowest carb count I can find. You’re only using 1/4 cup for the whole batch, so it won’t add much. If you want another low carb option for a dough base, my wonderbread chaffle uses a similar approach with different ratios.
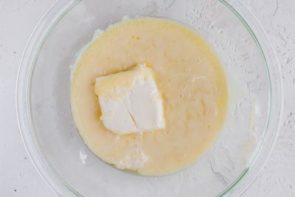
Add shredded mozzarella cheese and cream cheese to a small glass bowl. Microwave at 1 minute intervals until the cheese is melted and cream cheese has softened. If you don’t want to use a microwave, melt the shredded cheese over the stovetop using a non-stick skillet and use softened cream cheese.
3
Make dough
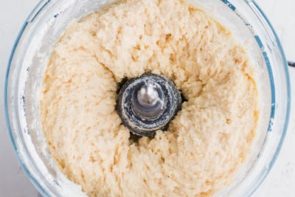
Add all ingredients, including melted cheese to a food processor. Pulse until combined. You can also combine the ingredients using an electric mixer, but the food processor works better.
4
Form balls
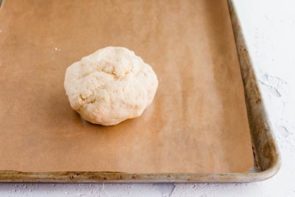
Wet your hands with water or oil so the dough doesn’t stick. Form four even sized dough balls and place, evenly apart, on a parchment lined baking tray.
5
Bake them
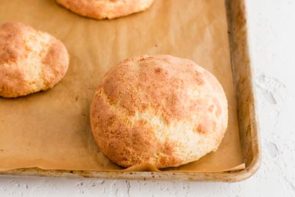
Bake at 400 degrees Fahrenheit for 15-20 minutes or until hardened on the outside and slightly firm on the inside. Let cool for 3-5 minutes before eating.
6
Scoop out
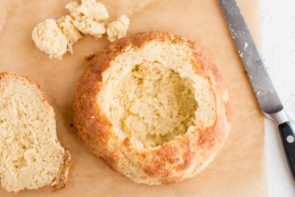
Cut off the top of the bread bowl and carve out some of the bread inside to make room for the soup.
7
Fill your bowls
Pour soup into bread bowl.
Nutrition
Per serving: 1 bread bowl
Calories
530
Fat
39.3g
Protein
34g
Total carbs
12.1g
Net carbs
7.9g
Nutrition is an estimate calculated from the ingredients listed. Brands vary, so check labels if you track closely.
Frequently Asked Questions
What can I use instead of buttermilk?
My go-to substitute is 1/4 cup heavy whipping cream mixed with 1/4 teaspoon apple cider vinegar, which is what I tell readers who ask in the comments. Plain yogurt works too, and I use the same 1/4 cup. I haven't tested coconut milk as a straight swap. My concern is that it isn't acidic enough to react with the baking soda, and that reaction is where the lift comes from. If you want to try it, add 1/4 teaspoon of apple cider vinegar to get it going.
Can I freeze these after baking?
I freeze these all the time. Let them cool completely, wrap each one tightly in plastic wrap, then put them in a freezer bag. They keep for about a month. When I want one, I pull it out the night before and let it thaw in the fridge, then reheat in the oven at 350 for 5-7 minutes. I skip the microwave for reheating because it makes them rubbery.
Can I substitute almond flour with another type of flour?
I've tested this with sunflower seed flour and it works, though the color comes out slightly greener (that's normal with sunflower seed flour and baking soda). The texture was close enough that my family didn't notice. If you need this nut-free, use the full sunflower seed flour swap. Blending half almond flour with half sunflower seed flour also gave me good results, but that blend still contains almond flour, so it is not nut-free. I haven't tried coconut flour as a full swap because it absorbs way too much liquid.
Can I use this dough for dinner rolls instead?
Same dough, just skip the scooping step. I shape them into smaller balls (about half the size) and bake for 12-14 minutes instead of the full 15-20. They come out like soft fathead dinner rolls. I've served these alongside soup in regular bowls when I didn't feel like doing the whole scoop-and-fill routine.
This bread bowl holds up better than the others I’ve made, and I think the buttermilk is the reason. The bottom still went soft on me toward the end, so I’d bake the full 20 next time.
The coconut flour is doing more work than you’d think here. Every other fathead bread bowl I’ve tried goes soft once you add anything hot, but this held up through an entire bowl of chili. That quarter cup is the whole difference.
I tested this without it once when I ran low, and the bowl completely lost its shape midway through the soup. The almond flour handles the bulk but coconut flour is what keeps the walls stiff against moisture.
That glossy, almost stretchy pull when you lift the dough out tells you it came together right. Let the melted cheese cool about 2 minutes before adding to the processor. Keeps the fat from separating. Warmer dough was a mess, I was constantly rewetting my hands and the walls came out uneven. Let it settle first and shaping takes maybe a minute. The bowl holds without cracking when you hollow it.
The cheese cooling is the step I skip when I’m rushing and I always regret it, Morgan. The fat separates and the dough feels wrong before you’ve even started shaping. You can feel it.
7.9 net carbs and that’s WITH clam chowder in it. Brushed it with garlic butter and flaky salt the last 5 minutes. Annie’s base is built for exactly this kind of thing. Crust went from good to something you eat around the rim before the soup’s even gone.
Garlic butter and flaky salt in the last 5 minutes. I’m doing this to the next batch and adding it to the notes. And 7.9g with actual chowder is still the number I use when someone tells me keto can’t do real comfort food.
Made these last weekend to go with chili and honestly they were so good, but mine got a little soft on the bottom once I ladled in the soup. I cooled them for a good 20 minutes before filling. Would pre-baking on a wire rack help or do I just need to go longer than that 20-minute mark? Trying to fix it before I make them for a crowd.
My son critiques every keto substitute I put in front of him. He ate the whole bread bowl, crust and all, without a word. In this house, that’s the highest praise.
My son kept poking at it before dinner like he was suspicious, but once I filled it with chili he just quietly ate the whole thing. That’s basically a rave review from a 10-year-old. I was worried the dough would get soggy fast but it held together all the way to the bottom.
I was skeptical the fathead dough would hold up under chili without going soggy, but after 18 minutes at 400 it came out dense enough to use as an actual bowl and I ate the whole thing, dough included.
Chili is the worst-case scenario, hot liquid sitting there the entire meal. And you ate the whole bowl including the dough. That’s exactly what I was going for with this one.
I’ve tried making bread bowls with other fathead recipes before and they always collapsed the second I added anything warm to them, which is why I put this one off for probably six months. Finally made it on a rainy Sunday with a batch of chili. The dough comes out of the food processor actually stiff, not sticky, and it bakes up with a solid golden shell that didn’t soften even after the chili sat in it for 20 minutes. I think it’s the buttermilk (I used plain yogurt) and the coconut flour combination that makes it hold its shape. Every other version I’ve made was more of a ‘bowl adjacent’ situation where you eat the soup first and then kind of have a soggy pile left. This one you can actually eat the bread with the soup together the way you’re supposed to. The 34g of protein per serving caught me off guard too. Solid lunch.
‘Bowl adjacent’ is exactly right. That’s every other fathead version I’ve tried too. And the yogurt swap works, sometimes I actually prefer it because you get a little more tang in the crust.
My son grabbed his and started eating it like a dinner roll before I even ladled the chili in. That pretty much says everything. Ours got a little soft at the bottom after the soup sat for a few minutes, which is why I’m giving it 4 stars. But my kid didn’t think twice about the bread, so I’ll keep making it.
Ha, your son eating it before the chili even went in is the best review. For the soft bottom – did you let them cool completely before hollowing them out? That’s usually the culprit. Warm bread doesn’t hold up to moisture.
My husband, who has complained about every keto substitute I have ever put in front of him, asked me to make these bread bowls again before we even finished dinner.
Made the full batch Sunday and used them all week with chili. They held their shape for four days without going soggy, which I wasn’t expecting, and now I can’t imagine meal prepping without them.
Made this four times now. Third time I switched to plain Greek yogurt instead of buttermilk and the dough was noticeably less sticky, way easier to shape. Filled it with chili last night and it held up through the whole bowl without going soggy at the bottom, which is what got me the first two tries. Trying it with clam chowder next week.
Plain yogurt is in the recipe as an option (I added it after running into the same sticky dough problem). Four times in and you’ve got the bottom sorted too.
Went into this fully expecting the dough to turn to wet mush the second I ladled chili into it. Fathead has betrayed me before. But the bottom stayed firm, the sides held, and I ate the whole thing without losing half my soup to the table. Kind of amazed, honestly. Still a 4 until I try a few more fillings, but this is not what I expected.
Soup in a bread bowl was one of those things I quietly wrote off when I went keto. Making this last week felt like getting something back. The fathead dough held up through an entire bowl of chili without going soft, which I honestly wasn’t sure would happen.