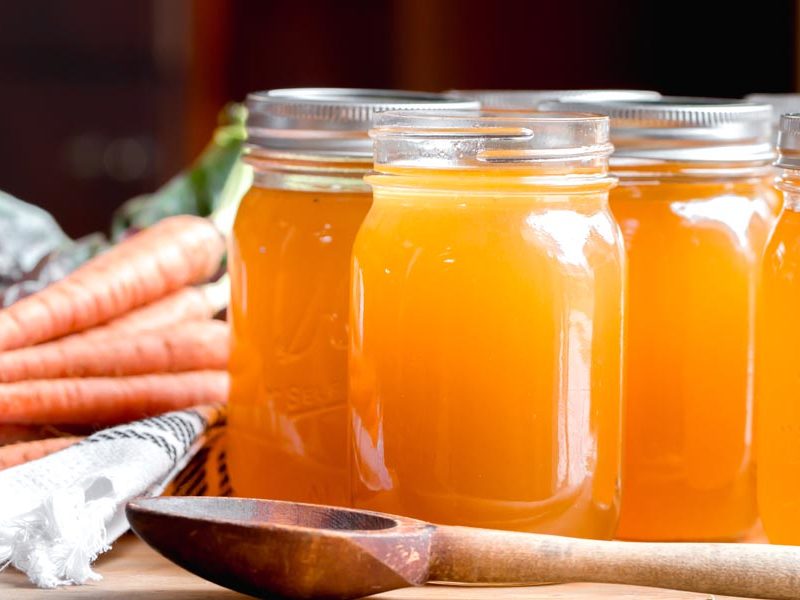
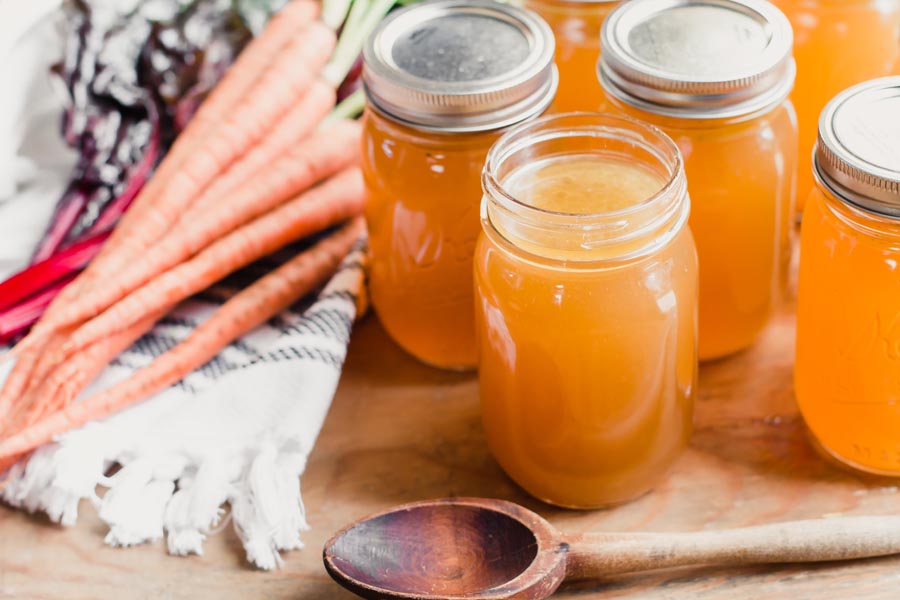
I keep a gallon freezer bag for the chicken bones left after dinner. When the bag is full, it's broth day. That collection of leftovers becomes a pot of soup, a splash in gravy, and portions in the freezer for another meal.
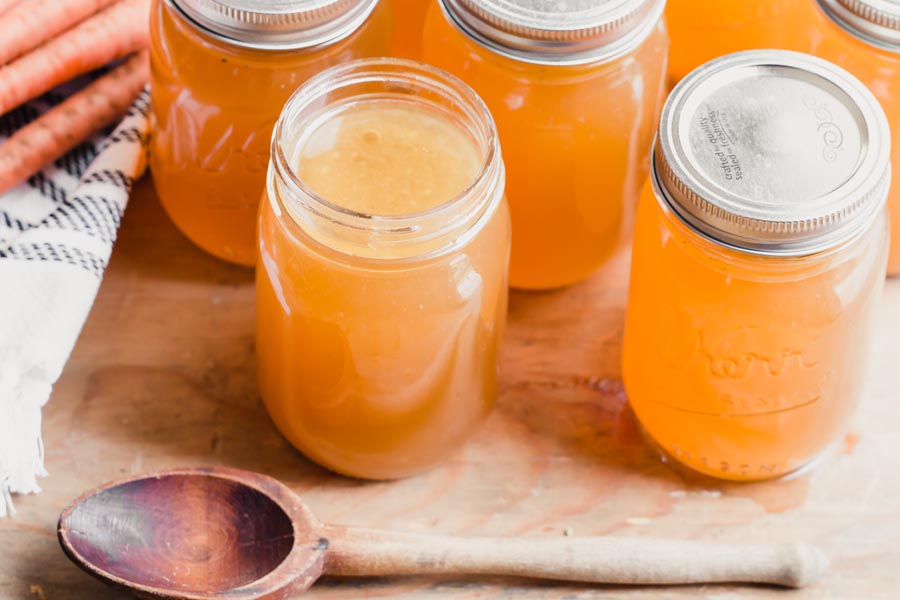
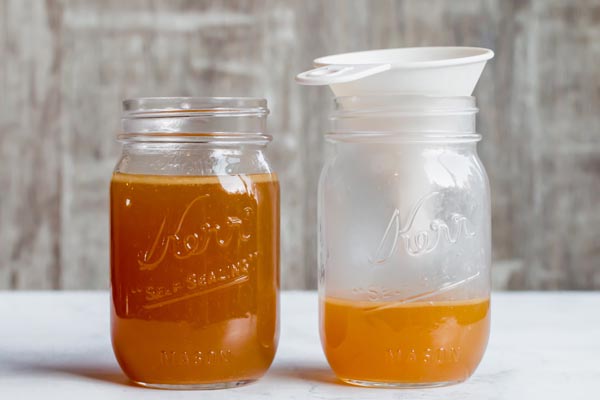
Adding feet and necks was the biggest improvement I made to my batches. The broth came out with more body, and the jars often set into a soft gel in the fridge. When I warm it, that gel melts into the liquid again.
Fennel, coriander, and leek give this broth its own flavor. I nearly left the fennel out of an early version, but I'm glad I kept it. It rounds out the savory flavor without making the whole pot taste like one herb.
I use a little in scrambled eggs or heat a mug when I want something warm. My kids know it mostly through the soup on their plates. Those are the uses I have in mind when I make a batch: broth that tastes good on its own and brings something to the next meal.
Choosing and saving chicken bones
Each type of chicken part brings something to the pot. I use a combination rather than relying on a bare carcass for all the flavor and body.
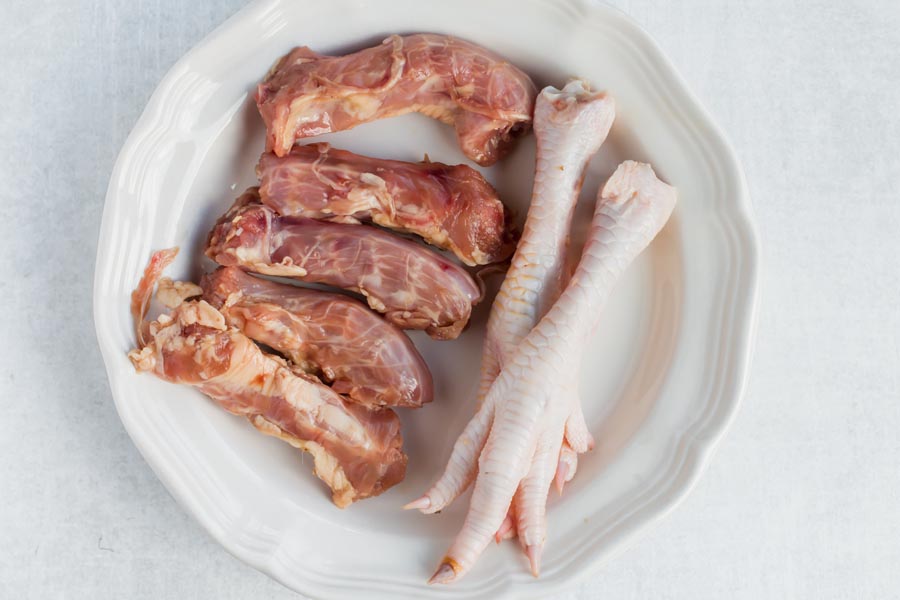
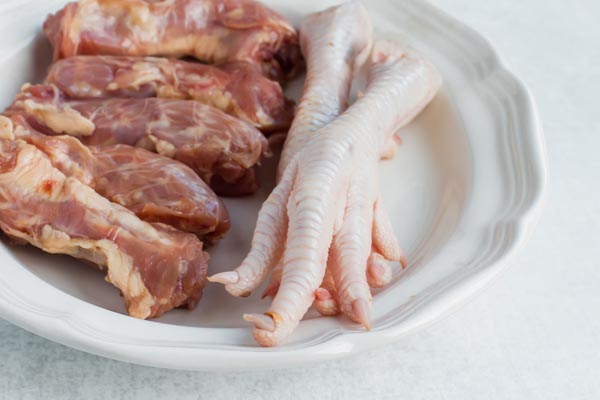
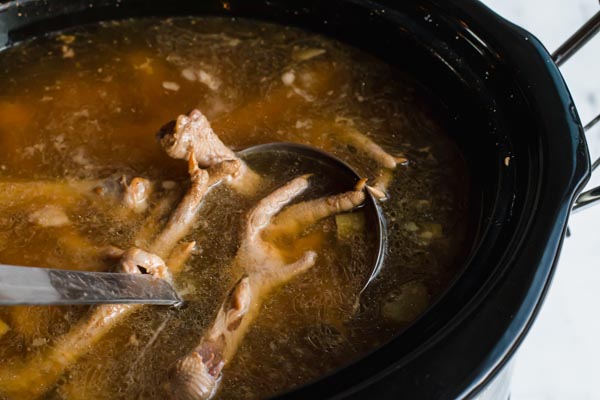
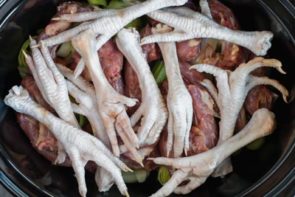
Feet and necks: My usual additions for a richer texture. Their connective tissue contributes gelatin as the broth cooks.
Wings, legs, and backs: Useful for the mix of bones and attached meat. The meat contributes chicken flavor, while the joints add body.
A cooked chicken carcass: A practical way to use what remains after carving a roast or rotisserie chicken. Save those bones with any meat still attached.
I save the turkey carcass after Thanksgiving, too. Refrigerate cooked bones promptly and freeze them within 3-4 days. I leave out bones that someone has eaten from directly.
Look for feet and necks at a butcher, poultry counter, or frozen meat section. Buy feet already cleaned and prepared for cooking. Store raw parts separately from cooked scraps, and thaw both in the refrigerator before starting.
Vegetables, herbs, and vinegar
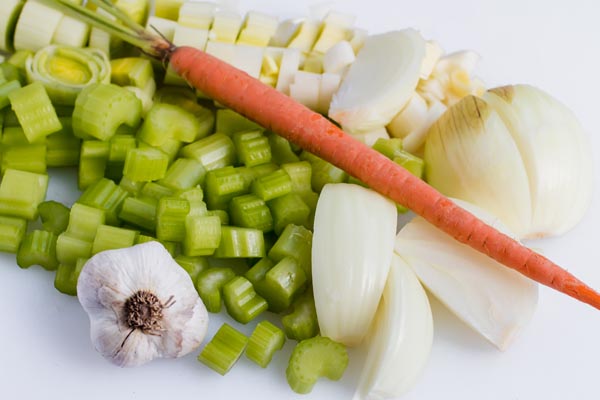
Onion, celery, carrot, leek, and garlic give the broth a rounded, savory base. Roughly chop the vegetables as listed in the card. They will be strained out after cooking, so they do not need to look pretty.
The seasoning is a mix of fennel, coriander, peppercorns, bay leaves, thyme, sage, and rosemary. I like the way fennel and coriander sit behind the chicken flavor. They make this a broth I enjoy sipping as well as cooking with.
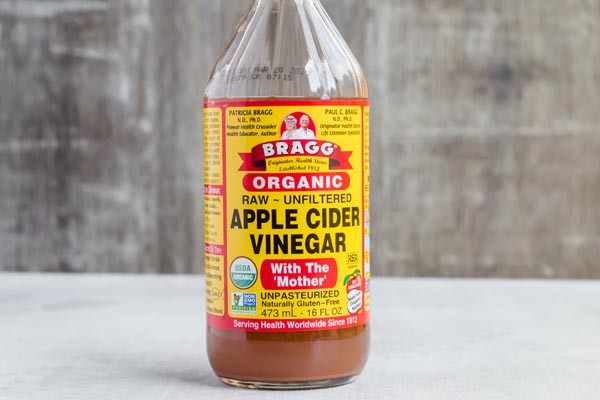
The recipe includes 3 tablespoons of apple cider vinegar to add acidity to the cooking liquid. Keep that amount in proportion with the other ingredients if you scale the batch.
The card also lists 4 teaspoons of salt. If your saved bones come from a heavily seasoned rotisserie chicken, you can start with less added salt and adjust the finished broth to taste. Remember that the salt will concentrate if you later reduce the broth for a sauce.
Managing the long simmer
My usual method is the slow cooker on Low for at least 24 hours. I’ve also let batches run for 2-3 days. Follow your appliance’s instructions for extended cooking and check its timer before starting; some models switch automatically to Warm.
Once the ingredients are covered, note the water level. Check periodically and replace what evaporates with hot water, staying within the cooker’s fill limit. Replace the lid after checking or skimming. Topping up just what was lost helps avoid diluting the broth more than you intended.
Taste the broth after straining. The next step depends on what you want to change:
Thin flavor: If it also tastes lightly salted, simmer the strained broth uncovered on the stove to concentrate it. Taste as it reduces, because the salt concentrates too.
Too salty or too strong: Dilute the portion you plan to use with water or unsalted broth, a little at a time. Taste before adding salt to the soup or sauce you make with it.
Cooling, freezing, and reheating
Cool promptly: Divide the strained broth among shallow containers and refrigerate within 2 hours, or within 1 hour if the room or outdoor temperature is above 90°F. Small portions can go into the refrigerator while still warm. An ice water bath around a container of broth, with stirring, can help cool a large batch; avoid sudden temperature changes with glass.
Refrigerate: Keep at 40°F or below and use within 3-4 days. The solid fat on top is easy to lift off if you want a leaner broth. Leaving it in is a flavor preference; it does not extend that storage window. These times follow USDA guidance for leftovers.
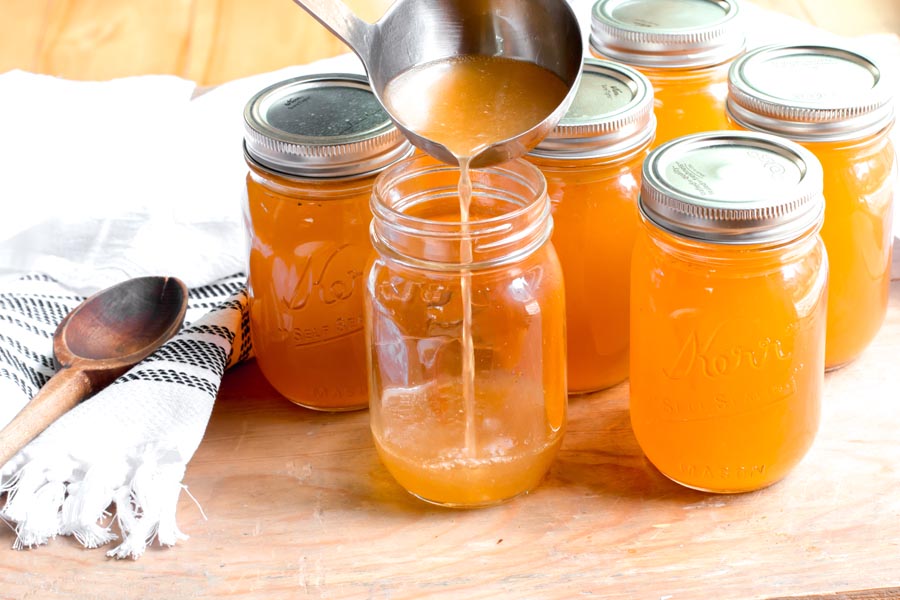
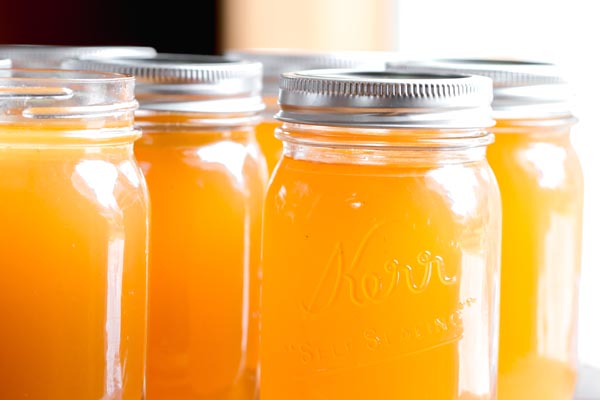
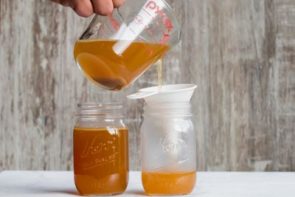
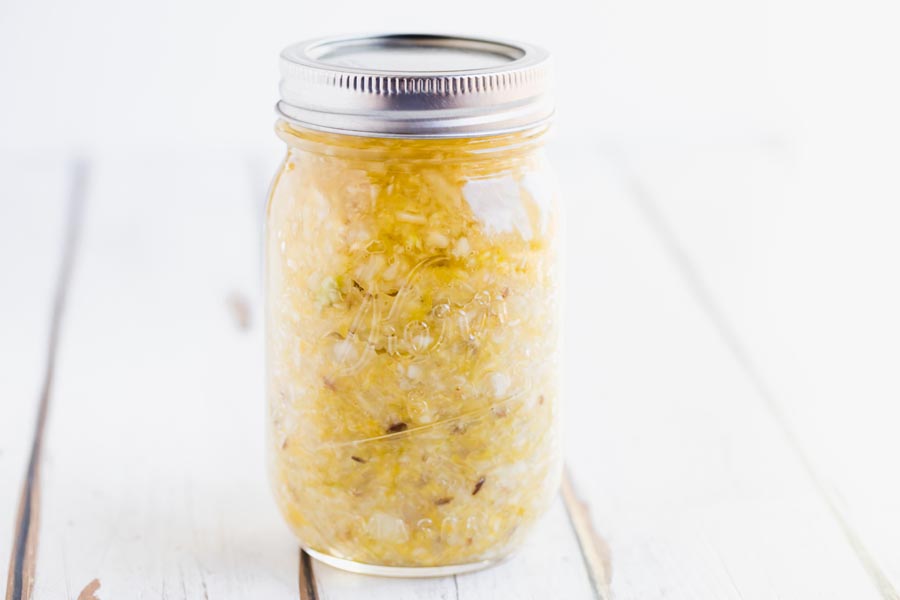
Freeze: I learned about expansion by cracking jars I had filled too high. Use jars specifically rated for freezing and follow their marked fill line or manufacturer’s headspace instructions. Ball’s freezing guide explains which jar shapes are suitable. Chill the broth before packing it into freezer jars or bags, and use within 3 months for best quality.
I also freeze broth in quart freezer bags laid flat. Once solid, they stack like books. I label each one with the date and the number of cups so I know what I’m pulling out for dinner.
Reheat: Thaw in the refrigerator, then bring the broth to a rolling boil on the stove. Heat only the amount you need.
Smaller portions are useful for thinning gravy or loosening the browned bits in a pan after cooking chicken. For small portions, freeze cooled broth in an ice cube tray, then transfer the cubes to a freezer bag. You can take out a little broth for a sauce without thawing a whole jar.
Before you start
Choose a cooker with enough room. The bones, vegetables, and water must fit within its recommended fill level. Scale all the ingredients down together if needed. Have a strainer, a large bowl that can hold hot liquid, and shallow storage containers ready.
Add water to cover the ingredients. A loose carcass takes up different space than a pile of necks and feet, so the amount depends on your bones and pot. Stay below the appliance's fill limit. Start with fully thawed bones and allow at least 24 hours for cooking.
Portion the finished batch. The card's five servings each mean one fifth of the strained broth. Measure the finished volume if you want five equal portions. Water added and evaporation change the yield; nutrition values are estimates.
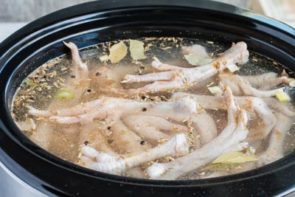
Start with fully thawed chicken bones and parts. Add the vegetables, bones, vinegar, salt, and seasonings to the slow cooker. Add enough water to cover the ingredients while staying within the manufacturer’s recommended fill level. Scale all ingredients down together if needed; do not fill to the rim. Cover with the lid.
2
Cook on Low
Cook on Low for at least 24 hours. You may continue for 2-3 days if your cooker is suitable for extended cooking and you can monitor it.
Check the water periodically, adding hot water as needed to keep the bones covered without exceeding the recommended fill level. Skim foam if desired and replace the lid. Keep the cooker on the cooking setting rather than Warm.
If using meaty chicken pieces, check the thickest part for 165°F with a food thermometer before tasting or serving.
3
Strain the broth
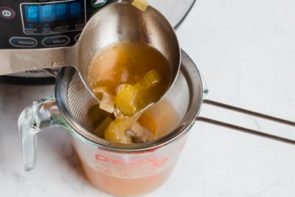
At the end of cooking, turn off the cooker. Carefully remove the larger bones, then strain the broth through a strainer into a large bowl that can hold hot liquid. Discard the bones and vegetables. Taste the broth and adjust the seasoning if needed.
4
Cool and store
Divide the strained broth into shallow containers and refrigerate within 2 hours, or within 1 hour if the temperature is above 90°F. Store at 40°F or below for 3-4 days.
For longer storage, chill first, then pack into freezer containers, freezer bags, or jars rated for freezing, following the manufacturer’s headspace instructions. Freeze for up to 3 months for best quality. Thaw in the refrigerator and bring to a rolling boil on the stove before serving.
Nutrition
Per serving: 1/5 of batch
Calories
80
Fat
0g
Protein
20g
Total carbs
0g
Net carbs
0g
Nutrition is an estimate calculated from the ingredients listed. Brands vary, so check labels if you track closely.
Frequently Asked Questions
Why isn't my bone broth gelatinous?
The set depends on how much gelatin is in the finished liquid. A different mix of bones or more water can give you a softer result, even after a long cook. Feet and necks made the biggest difference in my batches.
If it tastes good but stays liquid, use it in soups and sauces. For a firmer set next time, include more connective tissue and avoid excess water. Gel tells you about texture; it does not measure the broth's overall nutritional value.
Can I leave out the vegetables?
Yes. I've made it with and without the vegetables. Keep the chicken parts, water, vinegar, salt, and seasonings, and leave out the onion, celery, carrot, leek, and garlic. You will still have a chicken broth, with less flavor from the aromatics.
Should I roast the bones before making bone broth?
Roasting is optional. You can start with raw, fully thawed bones for the recipe as written. For a darker, roasted flavor, spread them on a roasting pan and roast at 400°F for 20-30 minutes, until browned, then transfer them directly to the slow cooker to finish cooking.
I like the roasted version when I have the extra time. The mix of bones and water also affects the set, so each batch can be different. Allow the extra roasting time in addition to the card's cooking time.
Is bone broth different from chicken stock?
The terms overlap. Both can be made by simmering bones with water and aromatics, and both can gel when chilled. Bone broth usually describes a broth cooked for a long time, often served as a drink. This recipe uses a long slow cooker method, but a shorter cooked stock can still have plenty of flavor and body.
Was freezing mine in mason jars until one cracked. Switched to silicone ice cube trays, freeze solid, dump into a zip bag. Each cube is about a quarter cup so you grab exactly what you need.
I cracked two jars by overfilling them before I learned to check the freezer fill line. Use jars specifically rated for freezing and follow their headspace instructions. A quarter cup is exactly what I want for thinning a sauce or deglazing a pan. I’m trying your ice cube method with my next batch. Thank you for sharing it.
Dina, you can start with raw, fully thawed bones. I did that for years. Roasting at 400°F for 20-30 minutes adds a darker, roasted flavor when I have the extra time. Transfer the roasted bones straight to the slow cooker to finish cooking.
Lauren, the recipe starts at 24 hours. I’ve had very firm batches after 2-3 days, but the mix of bones and amount of water affect the set too. A longer cook does not guarantee the same result. Follow your cooker’s instructions for extended cooking and check the water level throughout.
Seven batches is quite a run. I’m glad this has become part of your routine. The 24 hours in the card is the starting point for this slow cooker method; the mix of bones and water also affects how firmly it sets.
First bone broth I’ve ever made and I literally panicked when I opened the fridge and it had turned into actual jello, but then I read that means the collagen worked and now I’m obsessed (also is it supposed to smell this freaking good while it’s cooking or did I do something right by accident?)
The gel can be a surprise the first time. It melts back into broth when you heat it. Fennel, coriander, and leek are some of my favorite things about this batch, and I’ve had neighbors knock on the door asking what I’m cooking.
Been on keto for eighteen months and kept buying carton broth because I told myself I didn’t have time to make it. Finally did last week, two full days in the slow cooker, and when I opened those jars the next morning and they were completely solid, actual gel, I sat there for a minute. The store version doesn’t do that. I’ve been going through some hard stuff lately and this felt like something I was doing for myself, not just for macros. Already have the next batch planned.
The ‘doing it for yourself’ part matters more than people talk about. Hope the hard stuff gets easier. Next batch, try adding feet if you can find them – the gel gets noticeably thicker.
My husband poked the jar when he saw it gel up in the fridge and asked if it had gone bad. Explained the collagen thing and he went quiet, then asked how long until the next batch is ready. Still experimenting with the fennel seeds but the base is really good.
I’ve made stock countless times but never actual bone broth. Opened the fridge next morning to find it set into this thick, bouncy gel. Stopped and stared. The fennel and coriander give it a warmth I wasn’t expecting. Do you strain the spices right away or steep longer for a stronger flavor?
Priya, strain the bones, vegetables, and spices together at the end of cooking. If you want more coriander next time, adjust it to your taste. Keeping notes on the amount you use makes it easier to repeat the batch you like.
I’m on my sixth batch this year and the part that gets me every time is pulling the jar out of the fridge the next morning. That thick, jiggly gel tells you the 24 hours in the slow cooker was worth every minute.
That morning pull is the whole payoff. Mine sets so thick sometimes I have to spoon it out of the jar. Six batches in and you’ve clearly got the bones right.
Tried probably four or five slow cooker bone broth recipes and none of them ever set up right. This one goes full jello overnight. Finally get what people mean by actually good bone broth. The fennel seeds are doing something I can’t explain but I’m not taking them out.
Fennel rounds out the savory in a way that’s hard to trace back. You’d notice if it was gone but can’t quite point to it when it’s there. Almost cut it from an early version and I’m glad I didn’t.
Three weeks into keto and bone broth has been the thing keeping me sane between meals. Made this batch Sunday, and when I pulled it from the fridge the next morning it had set into this solid, jiggly gel. Didn’t know I could feel proud of broth but here we are.
Roasted the bones at 400 for 20 minutes before the slow cooker. Broth ran noticeably darker from the start. The gel set firmer than any batch I’ve made before, which I wasn’t expecting from one small change. Fennel seeds were new to me in broth but they add a faint sweetness that keeps it from tasting flat. Full 3 days over 24 hours is worth it if you can swing it.
Your comment is actually in the FAQ now. I tested the 400 degree roast after you and Greg both reported it and the gel difference was real. Didn’t expect one extra step to do that much.
Roasted the bones at 400 for 30 minutes before the slow cooker and the gel came out so thick I could barely get it out of the jar, never skipping that step again.
Mine set very firmly too; I had to warm the broth before I could scoop it. I’m glad you liked the roasted version. Roasting adds flavor, while the mix of bones and water also affects the gel.
The 4 teaspoons of added salt contribute sodium, and seasoned bones can bring more. The amount per serving depends on the salt you use and the final broth volume, so I can’t give a reliable sodium figure from the recipe alone. You can start with less salt and adjust the finished broth to taste.
5 stars! I made this last night using chicken necks that I roasted in the oven first. I didn’t have any leeks but added some dried rosemary and a piece of crushed ginger. I cut the salt a bunch because I like to add it to taste later. Cooked in the instant pot for 2 hours then natural release. Cooled in the fridge overnight, it gelled so nicely, then skimmed the fat off. I’m drinking a cup right now and it is delish! This will be my go to stock recipe from now on!
Tommy, check the instructions for your roaster before using it for a batch this long. It needs to be suitable for extended cooking, with room for the ingredients and water below its recommended fill level. The recipe card is written for a slow cooker, so I can’t confirm the same setting or timing for your roaster.
I’m glad it was helpful, Connie. After straining, divide the broth into shallow containers and refrigerate promptly. Use it within 3-4 days at 40°F or below, or freeze portions for later. The fat layer is optional to keep; it does not extend the refrigerated storage time.
Saleemah, I’ve used a 6 quart slow cooker, but the batch needs to fit below the cooker’s recommended fill level with the bones covered in water. Scale all ingredients down together if needed, or use a larger cooker. Do not fill it to the top. Add hot water as needed during cooking without exceeding that fill level.