

Skip to content
KETOFOCUS.

Sweater weather calls for keto comfort food. Get Cozy →

Easy Homemade Grass-Fed Butter Using a Mason Jar

Creamy homemade grass fed butter, churned from heavy cream with a mason jar and a little shaking. I love watching the cream turn into whipped cream, then separate into butter. Use a quart jar for one pint of cream so there is room for it to move.
  • 0gnet carbs
  • 0gprotein
  • 20minutes
  • 16servings

This post may contain affiliate links. See my disclosure policy.

Making butter is one of those kitchen projects I enjoy for the process as much as the finished food. I start with heavy cream and shake it past the point where I would normally stop for whipped cream. Keep going, and that smooth cream breaks into little butter grains surrounded by milky liquid. This is sweet cream butter, not cultured butter, so I churn the cream fresh instead of leaving it on the counter to sour first.

The quiet part can fool you. When the cream thickens, there is less liquid sloshing around the jar, but whipped cream is the middle of the process. Keep shaking until you can see separate butter solids and liquid again. That change is the part I love about making it by hand.

I use grass fed heavy cream, though regular heavy cream works with the same method. In my original video, I mentioned sometimes finding cream for less than finished grass fed butter. Compare prices where you shop: one pint of cream makes about one cup of butter, and making your own is not always the cheaper choice.

Use a quart mason jar for this batch. One pint of cream needs that extra space to move. Fill the jar no more than halfway. If you only have a pint jar, work with one cup of cream at a time.

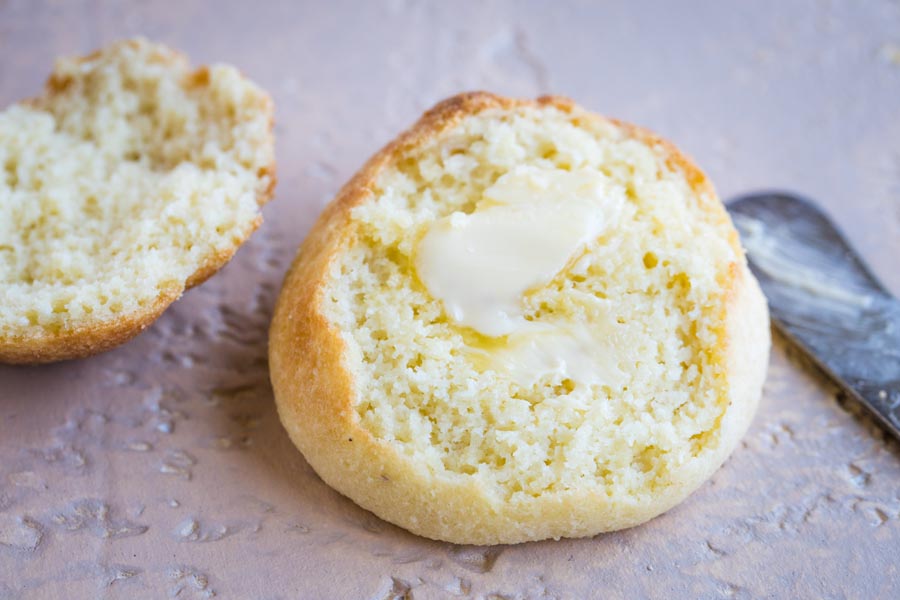
Plan on about 20 minutes for shaking and finishing, with some batches taking longer. The cream's temperature and how vigorously you shake both matter, so watch for separation instead of racing the clock. Once the butter is washed and shaped, spread some on keto bread while it is still soft, then refrigerate the rest.

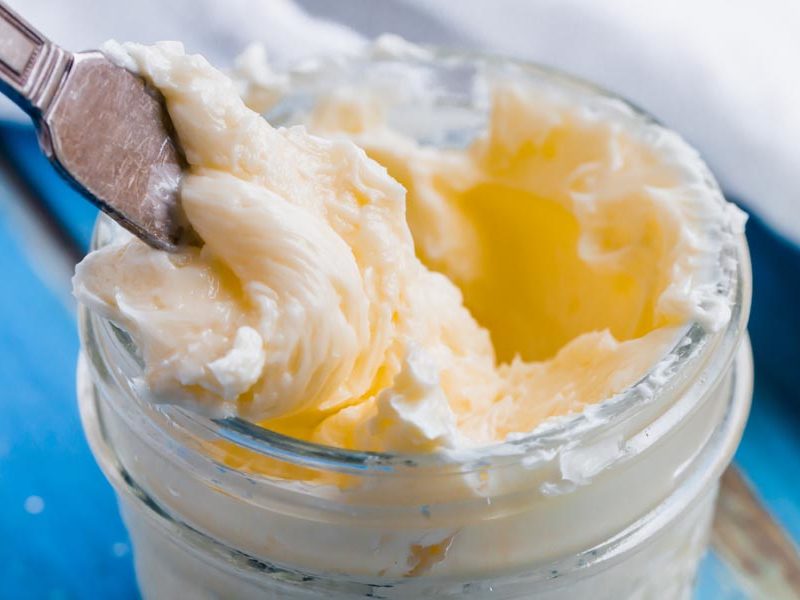
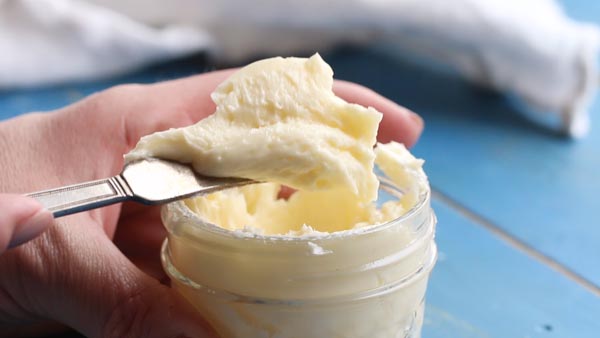
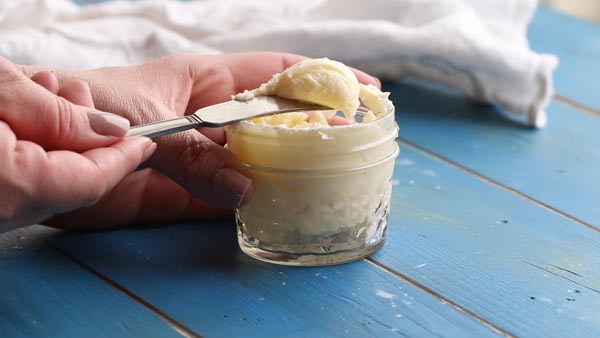
scooping out grass fed butter with a butter knife

Choose heavy whipping cream with a flavor you like. Grass fed describes the cows’ diet; it does not guarantee a particular butter color or make every carton richer than other heavy cream. Check the label rather than judging by the yellow tint.

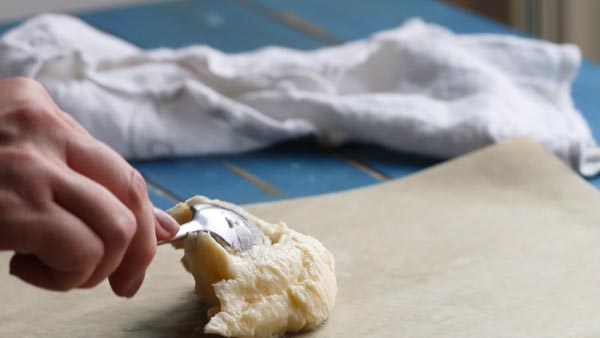
spreading homemade butter on a sheet of parchment paper

After straining, I work the butter in cold water to wash out the milky liquid. Pour off cloudy water and repeat with fresh cold water until it stays clear. Then press out the remaining water so it does not collect around the butter in storage.

What to do with the fresh buttermilk

The liquid left after churning this sweet cream is fresh buttermilk, not cultured buttermilk. Use it as you would milk, and account for its carbs separately from the butter.

It does not supply the same acidity as cultured buttermilk. Recipes such as my buttermilk pancakes and red velvet mug cake need the acidic ingredient their directions call for; do not make a straight swap with this fresh liquid.

Refrigerate the strained liquid promptly in a clean, covered container. Use it within 3-4 days, or freeze small portions for later. Discard it if the original cream was already spoiled.

Shaping and storing the butter

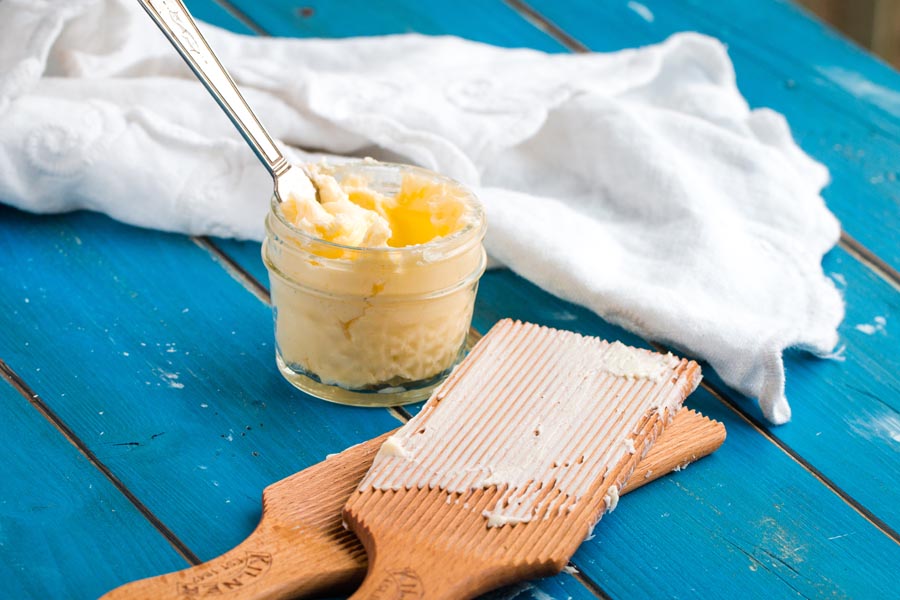
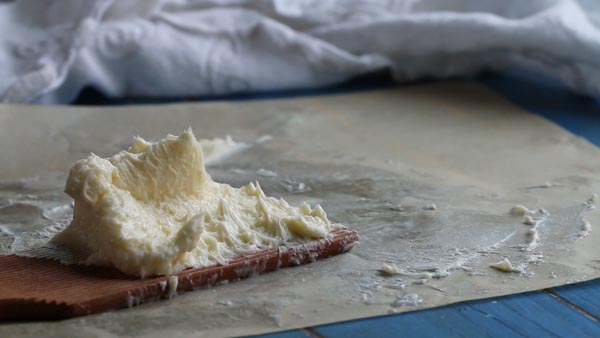
molding butter with butter paddles

Butter paddles, a spoon or clean hands can press the butter together after washing. Shape it on parchment, then pack it into a clean airtight container. There is no need to add a marble or another object to the jar; the cream has room to churn when the jar is only half full.

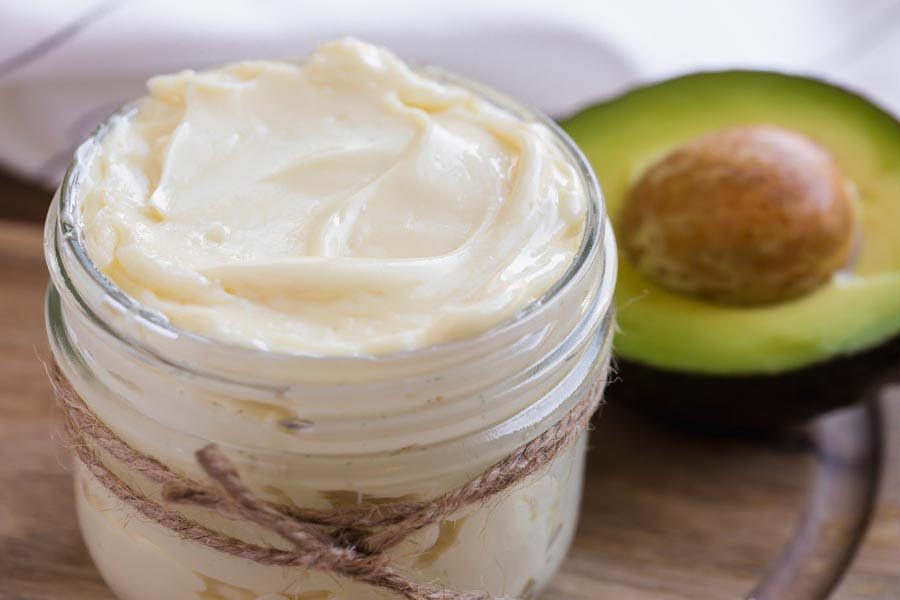
butter in a mason jar

Refrigerate homemade butter at 40°F or below. For best quality, use the plain butter within one week. Freeze extra portions, tightly wrapped and placed in a freezer bag, for up to three months for best quality; thaw in the refrigerator. Do not leave this homemade butter on the counter for days.

If you add fresh herbs or garlic, make a small portion and refrigerate it for no more than 3-4 days. Keep the rest of the batch plain.

Discover more keto recipes on our channel Hundreds of keto recipe videos, with step by step instructions and the tips that make keto easy.
KetoFocus
The recipe

Easy Homemade Grass-Fed Butter Using a Mason Jar

Print Pin
Prep 20 min Total 20 min Serves 16

Ingredients

Servings 16

Easy Homemade Grass-Fed Butter Using a Mason Jar Ingredients

Step by Step Instructions

  1. Fill a quart jar

    Pour the heavy cream into a clean quart (32 ounce) mason jar, filling it no more than halfway. Add the salt if making salted butter and tighten the lid. A 16 ounce jar is too small for one pint of cream.
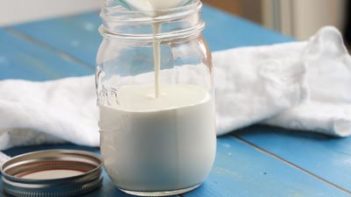
    pouring heavy cream into a mason jar
  2. Shake it

    Shake until the cream thickens into whipped cream, then keep shaking until distinct butter solids separate from the milky liquid. This can take about 10-20 minutes, sometimes longer. Follow the visible separation rather than a fixed minute mark.
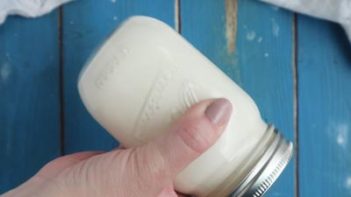
    shaking a mason jar with cream
  3. Strain it

    Pour through a fine mesh strainer set over a bowl to catch the butter. Refrigerate the strained fresh buttermilk promptly; it can be used like milk, but is not a direct substitute for acidic cultured buttermilk.
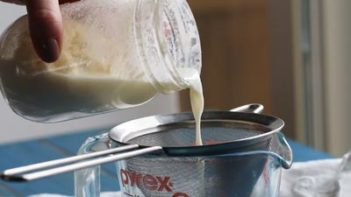
    straining out buttermilk
  4. Knead the butter

    Put the butter in a bowl and add about 1/2 cup cold water. Press and knead gently with clean hands, a spoon or butter paddles. Pour off the cloudy water and repeat with fresh cold water until the water stays clear.
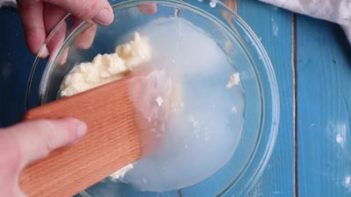
    cleaning butter with paddles
  5. Remove the butter

    Lift the butter out of the water and press out the remaining liquid. Transfer to parchment paper and shape, or pack directly into a clean airtight container.
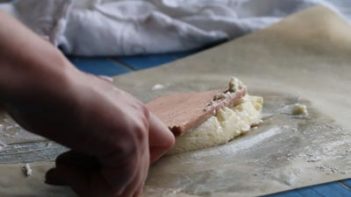
    squeezing out excess buttermilk with paddles
  6. Storage

    Refrigerate at 40°F or below. Use the plain butter within one week for best quality, or freeze tightly wrapped portions for up to three months for best quality. Thaw frozen butter in the refrigerator.
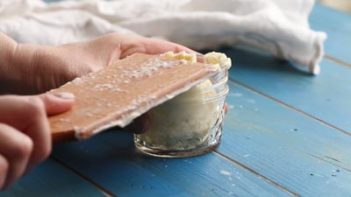
    storing homemade butter in a mason jar

Nutrition

Per serving: 1 tablespoon

Calories
100
Fat
11g
Protein
0g
Total carbs
0g
Net carbs
0g

Nutrition is an estimate calculated from the ingredients listed. Brands vary, so check labels if you track closely.
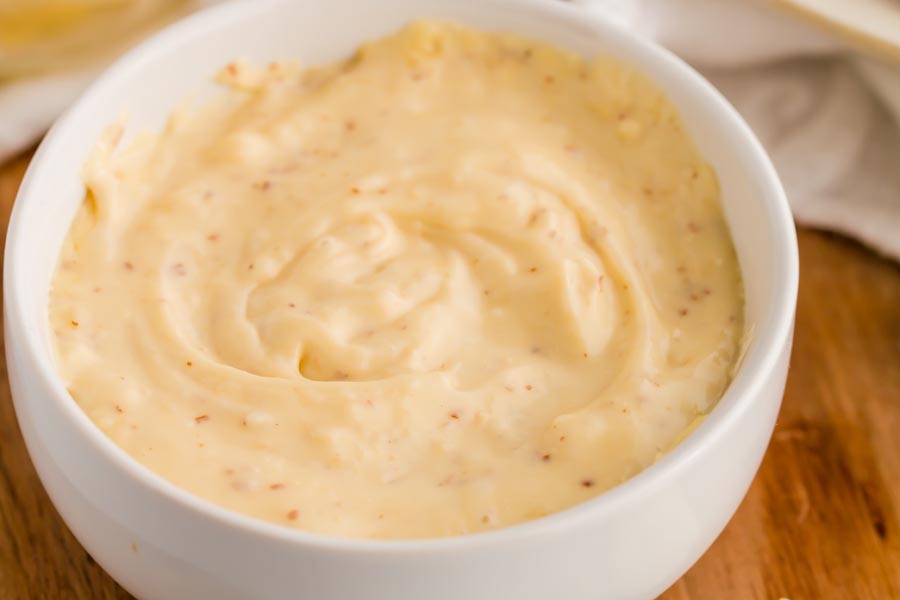
Frequently Asked Questions

Can I use a stand mixer instead of shaking the jar?

Yes. A stand mixer with the whisk attachment separates the cream the same way the jar does. Start on low to limit splashing, then increase the speed and keep going until the butter solids separate from the milky liquid. Strain, then wash and knead the butter in cold water exactly as I do in the jar method. Expect the timing to differ from the jar.

Does the nutrition estimate include the buttermilk or added flavorings?

No. My nutrition estimate is for one tablespoon of plain finished butter, the serving size on my recipe card, which counts 16 servings from one pint of cream. The buttermilk left after churning has its own carbs, and anything you mix into a flavored portion adds to the plain butter's numbers.

What kind of cream should I buy?

Use pasteurized heavy whipping cream, rather than milk or half and half. Grass fed cream is my choice for this recipe, but regular heavy cream works too. Ultrapasteurized heavy cream can also be churned. Choose a cream suitable for whipping and expect the timing to vary between products.

Can I flavor the butter?

Yes. I wash and press the plain butter first, then mix seasonings into a small portion while it is still soft. Garlic powder, thyme or basil are the options from my original recipe. Add a little at a time and taste as you go. Fresh herbs or garlic shorten storage, so refrigerate that portion and use it within 3-4 days while the rest of the batch stays plain.

Browse by ingredient
Similar recipes

People who cooked Easy Homemade Grass-Fed Butter Using a Mason Jar also made

Reviews

Tap to rate

4.7 from 35 ratings, 20 written

Made this recipe?

Your rating

Leila

I did not think shaking a jar would actually work but it DID! Ten minutes and I had real butter!!

Reply

Kathy

I have a stand mixer sitting right there and shaking a jar for ten minutes feels like the long way around. Would the paddle on medium separate the buttermilk the same way, or does the jar actually do something different?

Reply

Jasmine

Annie, your note on why the cream needs to be room temperature first finally got me to try this. Shook mine about seven minutes. Watched it go through this thick, almost whipped stage before the liquid separated. Didn’t expect that in a mason jar, honestly. Does water temperature matter for the kneading step, or is it just about rinsing until it runs clear?

Reply

Annie Lampella

Cold water, Jasmine. Warm water starts to melt the butter before you’ve gotten all the buttermilk out, and that trapped buttermilk is what makes the texture go grainy. I run mine under the coldest tap I’ve got and keep squeezing until the water runs completely clear.

Reply

Elizabeth

My arm is sore and I have zero regrets!!

Reply

Annie Lampella

Best arm day there is! My right arm knew it for two days after my first jar.

Reply

Casey O.

First batch came out great. Making this every week.

Reply

Steve

Has anyone tried this with regular heavy cream? I can’t find grass-fed anywhere near me but I really want to make this.

Reply

Annie Lampella

Regular heavy cream works with the same method. I use grass fed cream here, but butter color and flavor vary by cream; regular cream is not automatically pale or less rich. Use a quart jar for one pint of cream.

Reply

Tamika

I cannot believe this worked the first time!! We are never buying butter again.

Reply

Mia

Does the buttermilk actually freeze?

Reply

Annie Lampella

It does. I freeze mine in ice cube trays so I can pull out a tablespoon or two for pancake batter without thawing the whole thing at once.

Reply

Mia

Ice cube trays. So much easier than defrosting a whole portion every time.

Reply

Samantha G.

I make whipped cream in my KitchenAid all the time, so I keep eyeing the whisk attachment while I’m supposed to be shaking the jar. Would that work here, or does the shaking motion do something a mixer can’t? I’m assuming you’d still need the cream at room temp first and the water kneading step after.

Reply

Annie Lampella

The KitchenAid does the same thing, just without the arm workout. I use it when I’m making a double batch. Room temp cream and the kneading step stay exactly the same.

Reply

Samantha G.

Good to know! Double batch it is.

Reply

Maria

Gave my daughter the jar to shake. She’s hired.

Reply

Annie Lampella

Mine insisted on the same role. Still does.

Reply

Melissa

The water goes white the first time you knead it, then cloudy, then almost clear, and I stood there pressing butter in a bowl thinking this is the weirdest and most satisfying thing I’ve done in a kitchen in a long time. My daughter watched without saying anything until I transferred it to parchment and then said ‘it looks like Play-Doh,’ which, yes, exactly. I skipped the salt the first time just to taste what the cream became on its own, and the smell alone told me something was different. Kind of grassy and a little sweet in a way the Kerrygold from the fridge never quite manages. We put it on toast still warm from the toaster and she finished hers in about four bites, which is fast for her with anything I make from scratch. Already have cream sitting out for the next batch.

Reply

Annie Lampella

Yeah, that’s exactly what fresh-churned looks like right before it sets. The grassy-sweet smell is real and I try to catch it right off the churn. It fades fast in the fridge. Kerrygold is grass-fed too, but that cream sat in cold storage. That’s what you’re tasting. For the next batch, Melissa, try adding flaky salt by hand after shaping instead of mixing it in. You get little pops of salt on your tongue instead of everything tasting the same.

Reply

Courtney

That thud when the butter forms. Sold.

Reply

Annie Lampella

Gets me every time.

Reply

Eric

Had butter go rancid inside a week twice before I figured it out: not enough water changes during the kneading. Fresh cold water until it runs completely clear. Keeps two to three weeks in the fridge, no problem.

Reply

Annie Lampella

Leftover buttermilk is the culprit. Cold water changes until it runs clear, every time.

Reply

Aisha Anderson

Somewhere around batch six I switched from regular salt to fleur de sel during the kneading step and the butter hasn’t been the same since (in the best way). The crystals don’t fully dissolve and you get these little pockets of salt with every spread. Four stars only because ten minutes of shaking is apparently my arm’s limit.

Reply

Annie Lampella

Fleur de sel for this is such a good call. The undissolved crystals are the whole point. For the arm thing, stand mixer with the whisk attachment if you’re not already using it.

Reply

Olivia Garcia

Tried folding in fresh chives and a pinch of smoked sea salt right at the kneading stage and it worked better than I expected. I was half braced for the herbs to get watery or slide out, but the cold water bath actually helped everything bind in. Spread it on a warm piece of cloud bread and it looked like something from a fancy cheese shop. I’ve been buying herb compound butter for years and I genuinely don’t think I need to anymore.

Reply

Annie Lampella

Chives are one of the better herbs for this because they don’t release much moisture when you knead. I’ve had basil turn a whole batch watery and slightly green. The cloud bread spread sounds really good.

Reply

Paige

Third batch this month and I genuinely stopped buying butter at the store. The shaking felt like a workout the first time. Now I kind of look forward to it.

Reply

Annie Lampella

Three batches in a month. The shaking gets almost meditative after a while. Save the buttermilk too if you haven’t, it’s nothing like what comes in the carton.

Reply

Corinne

Added roasted garlic while kneading and now I put this on literally everything. The shaking goes so much faster when your cream is fully room temp (mine was borderline cold once and I shook for 15 minutes and almost gave up). Fully worth the extra warmup time.

Reply

Annie Lampella

Roasted is smarter than fresh for this, no raw garlic sharpness. I always do fresh garlic with rosemary but yours sounds better. Trying it next batch.

Reply

Rob

If I double it to a quart, does it still take 5-10 minutes or does more cream mean longer shaking?

Reply

Annie Lampella

More cream means more time. I switch to the stand mixer when I double it, shaking a quart jar that long wears your arm out.

Reply

Camila

Added a pinch of garlic powder before shaking. Best butter I’ve ever tasted.

Reply

Annie Lampella

I always add garlic after churning while it’s still soft. Might do it your way next time.

Reply

Rebecca

Switched from the mason jar shake to a food processor about a month ago and I’ll probably never go back. The cream breaks in under 2 minutes, and the separation is clean enough that you barely need to strain. I still do the water kneading by hand since that step actually matters for pulling out residual buttermilk, which affects how long it keeps. The one thing I changed on the seasoning side was adding fleur de sel at the very end rather than mixing it in during the knead. It gives the finished butter these small concentrated bursts of salt instead of it being evenly distributed throughout. For anyone planning to use this as a base for compound butters with herbs or garlic, that little salt hit plays really well against the fresh flavors.

Reply

Keep going

More Condiments & Dressings Recipes

See all 39 Condiments & Dressings recipes

Get new recipes from Annie

One email a week. Unsubscribe whenever you like.