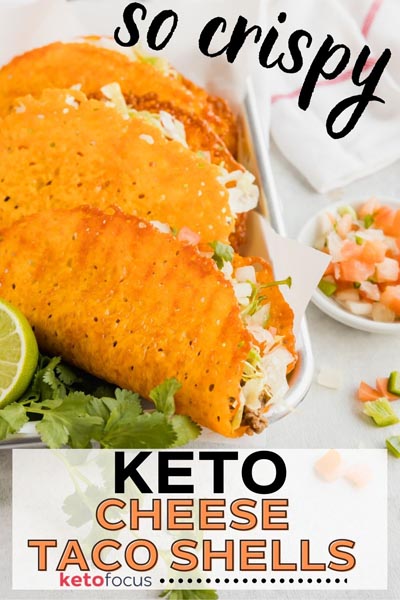
Cheese Taco Shells

Published January 12, 2023 • Updated March 9, 2026
This post may contain affiliate links. See my disclosure policy.
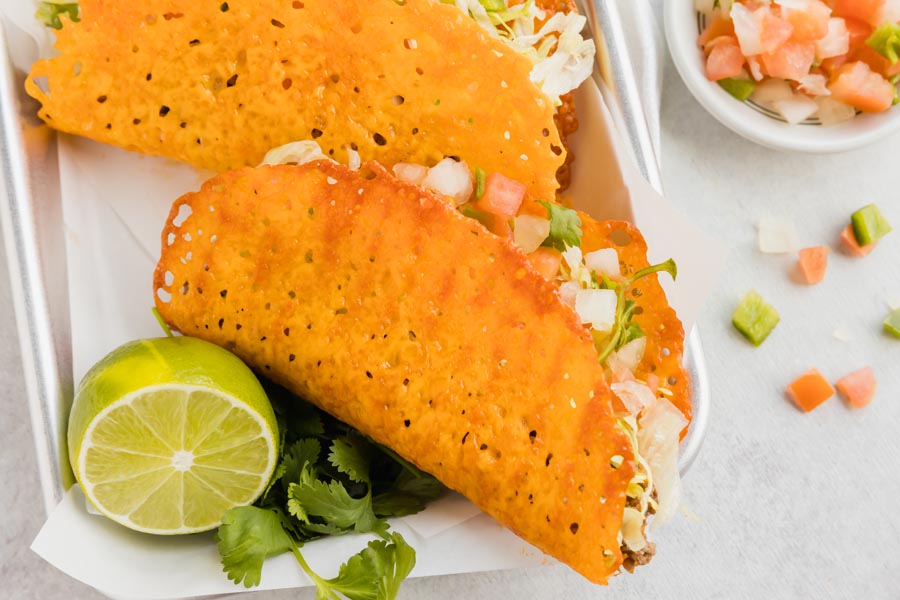
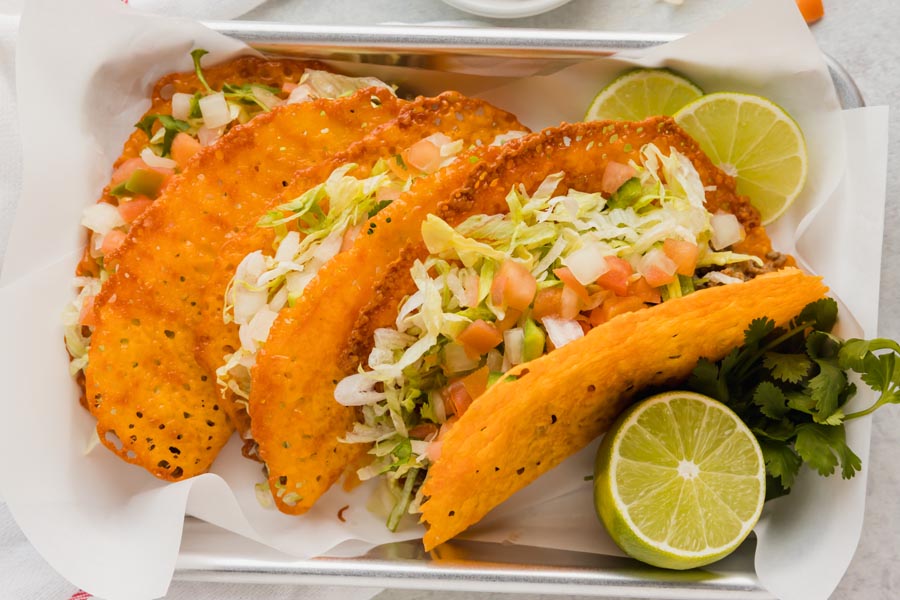
These cheese taco shells need just one ingredient and come out with zero carbs. I make a batch of crispy baked cheddar shells whenever I want keto tacos without spending money on store-bought tortillas.

I started making these because I got tired of paying $8 for a pack of low-carb tortillas that still had 4-5 net carbs each. Cheese taco shells have literally zero carbs, and they taste better than anything from a package.
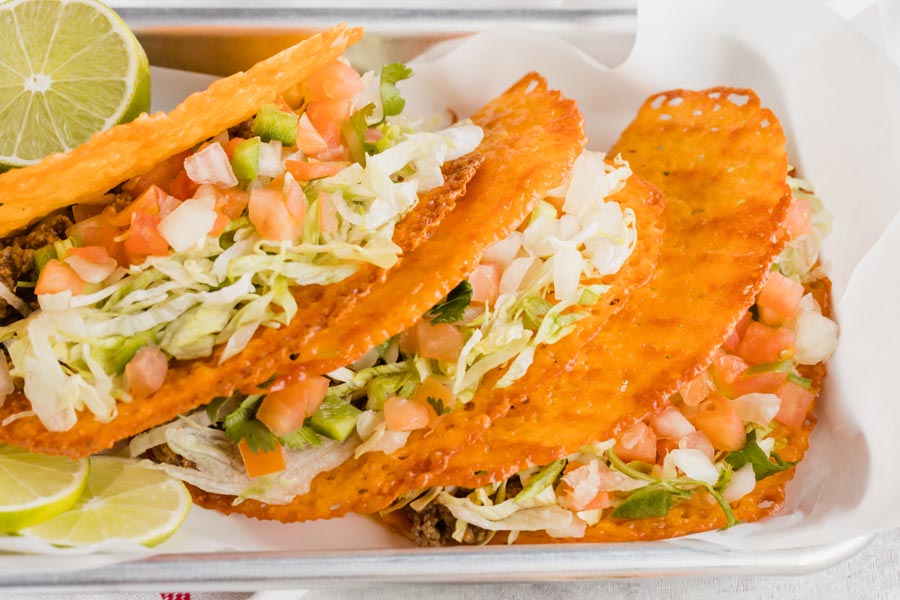
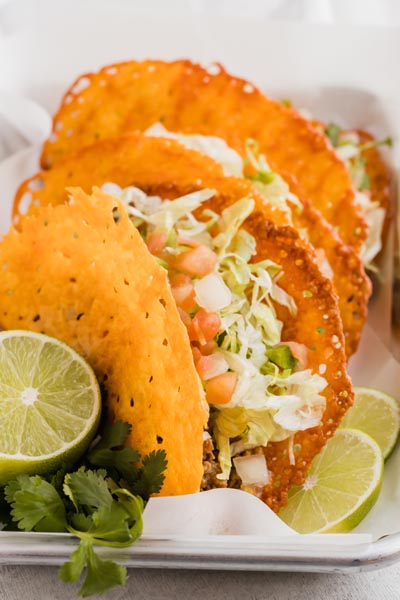
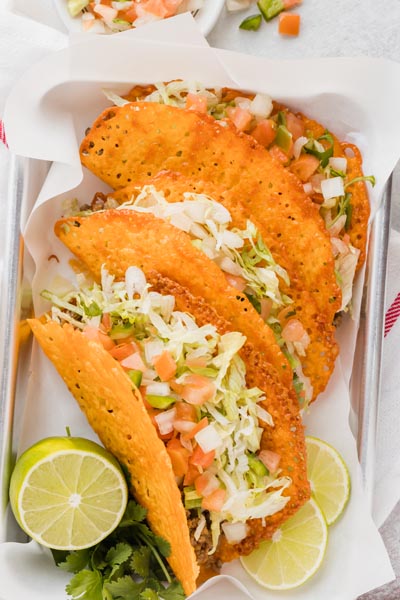
The whole concept is simple. Melt cheese in the oven, let it cool just enough to handle, and drape it over something to form a taco shape. Once it hardens, you get a crispy shell that actually holds up under toppings. I’ve loaded mine with seasoned ground beef, sour cream, shredded lettuce, and pico, and the shell didn’t crack or go limp.
I’ve tested a bunch of cheeses for this. Sharp cheddar is my go-to because it crisps up more than mild cheddar and has better flavor. But Pepper Jack adds a nice kick, and Colby Jack melts really evenly. Parmesan works too if you want something thinner and extra crunchy (think cheese crisp territory).
If you already make my keto tacos or keto Doritos Locos tacos, these shells are another option to rotate in. They pair with the same fillings. And unlike fathead dough, there’s no mixing or rolling involved. Just cheese on a sheet pan.
The key to getting these right is timing the molding window. Pull them from the oven when the edges are golden but the center is still slightly soft. Wait about 60 seconds on the pan, then drape. Too soon and it falls apart. Too long and it’s too stiff to bend. I’ve done this enough times that I can tell by color alone, but if you’re new to it, just watch for golden edges with a still-pale center.
One more thing I love about these: my kids actually prefer them over regular hard shell tacos. They like the cheese flavor and the crunch. So this is a keto win that works for the whole table, not just me.
How to make cheese taco shells
- Pile cheese on parchment paper. Shredded cheese is easiest because you can shape it into a circle. If you’re using sliced cheese, overlap two slices and trim the corners to round it out. I prefer shredded for even melting.
- Bake at 350 degrees for 5-7 minutes. You want the edges golden brown. If the edges are still pale, give it another minute. I’ve learned that under-baked cheese won’t crisp up into a proper shell.
- Mold during the 60-second window. Let the melted cheese sit on the tray for about 60 seconds after pulling from the oven. It needs to be firm enough to lift but still pliable enough to drape. I use a spatula balanced across two cups, but a taco holder works even better. For taco salad bowls, drape the cheese over an upside-down bowl instead.
- Blot off excess grease. A quick pat with a paper towel keeps your hands clean when you’re eating.
- Fill with your favorite low-carb toppings and serve right away for maximum crunch.
Explore 683+ keto recipe videos with step-by-step instructions, tips, and tricks to make keto easy.
Ingredients
 1 cup shredded cheese (Cheddar, Pepper Jack, Colby jack, Monterey Jack)
 -
1/2 teaspoon garlic powder, optional
-
parchment paper
Step by Step Instructions
Step by Step Instructions
Place cheese
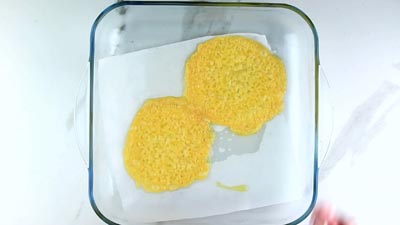
Preheat oven to 350 degrees Fahrenheit. Place four 1/4 cup piles of cheese, spacing 2-inches apart on a parchment lined baking sheet. Press or sprinkle cheese around so it makes an even layer in a circular shape. Can sprinkle seasonings like garlic powder on top if desired.

Bake
Bake at 350 degrees for 5-7 minutes or until the edges are golden brown.
Cool and mold
Let the cheese cool on the baking tray for 1-2 minutes or until it is firm enough to lift and hold its circular shape but still pliable. Lift up the cheese circle and place it over the handle of a spatula or spoon balanced on two cups or upside down, over a taco holder. Let cool completely to harden into this taco shell shape.

Nutrition disclaimer
The nutrition information provided is an estimate and is for informational purposes only. I am a Doctor of Pharmacy (Pharm.D.); however, this content is not intended to be a substitute for professional medical advice, diagnosis, or treatment. Always consult your physician or other qualified health provider before making any lifestyle changes or beginning a new nutrition program.
Your Macros. Your Recipes. Calculated in 60 Seconds.
Get personalized keto macros and instantly see which recipes fit your targets. No more guessing what to eat.
Get My Macros + Recipes →Frequently Asked Questions
Can I make these in an air fryer?
I've made them in my air fryer at 370 degrees for about 4-5 minutes, and they come out great. The edges crisp up faster than the oven, so I check at the 3-minute mark to make sure they're not burning. The downside is basket size. I can only fit 1-2 at a time, so for a full batch of four I still use the oven. But for a quick single serving, the air fryer is my go-to.
Can I make these on the stovetop?
I've done this in a nonstick skillet and it works. Sprinkle about 1/4 cup of shredded cheese in a circle, cook on medium heat for about 3 minutes until the edges are golden, then carefully lift with a spatula and drape to form the shell. The skillet method is faster for making one or two at a time, but the oven is better for batches of four or more.
What's the best cheese for crispy shells?
I've tested a lot of options, and sharp cheddar consistently gives me the crispiest result. Mild cheddar works but stays a little softer. Pepper Jack is my second favorite because it adds flavor without needing extra seasonings. Parmesan makes ultra-thin, almost chip-like shells if you want something different.
How do I prevent these from sticking?
I always use parchment paper, and I've never had a sticking issue. A silicone baking mat works too, and some readers have told me they actually prefer it because the cheese slides right off. I'd avoid using just a greased baking sheet because melted cheese bonds to metal surprisingly well.
Can I add seasonings directly to the cheese?
I sprinkle garlic powder on top of the cheese before baking and it blends right in. I've also tried chili powder, cumin, and everything bagel seasoning. They all work as long as you keep the layer thin. Too much seasoning on top can prevent the cheese from melting evenly, so I stick to a light dusting.
How do I make them all the same size?
I use about 1/4 cup of shredded cheese per shell and spread each pile into a circle roughly 4-5 inches across. If I want them really uniform, I trace a circle on the back of my parchment paper with a marker and flip it over as a guide. A round biscuit cutter works too. I usually just eyeball it though, and they come out close enough.
How long do these last at room temperature?
I've tested this a few times. Uncovered on the counter, they stay crunchy for a solid 4-5 hours. After that the edges start to lose their snap, especially if your kitchen runs humid. I've seen other sites say up to 7 days, but I wouldn't go past one day. For a party, I set them on a wire rack so air circulates underneath, and they hold their crunch longer than sitting flat on a plate.
My shell didn't harden. What went wrong?
When this happens to me, it's almost always because I pulled them from the oven too early. The edges need to be clearly golden brown, not just melted. If you've already taken them out and they're floppy, put them back in for another 1-2 minutes or slide them under the broiler for 30 seconds. Watch closely because the broiler works fast.


Swapped cheddar for pepper jack and wow, way spicier than I expected. Making another batch tonight with garlic powder too.
Pepper jack is always hotter than people expect. Garlic powder on top of that though, good call.
Taco night with a few friends last week and I swapped in these instead of store-bought shells without mentioning it. One of them asked which brand I'd used because he wanted to grab some for his house, and the look on his face when I said it was just cheddar baked on parchment was probably the best part of the evening.
The 'which brand' question is kind of the whole point. Baked cheddar on parchment and he was ready to go find it at a grocery store.
Used pepper jack instead of cheddar and the shells had this smoky kick that made the whole taco taste like it came from an actual taco stand!
That smokiness is the best part. Makes the whole taco taste like way more effort went into it than it did.
Tried these with aged sharp cheddar instead of the standard shredded blend and the shells came out noticeably crisper, almost brittle at the edges. Something about the lower moisture content, I think. Loaded them with spicy ground beef and they held up without a single buckle. Not going back to regular cheddar for these.
The lower moisture is exactly it. Aged cheddar crisps up closer to parmesan than regular sharp does. I've been saying sharp cheddar in the recipe but should probably specify aged sharp.
My son watched me put plain piles of cheddar in the oven and gave me this look like I'd lost it. Then he grabbed one before it was even off the tray and asked why we've been buying taco shells this whole time.
Ran out of cheddar halfway through and threw in some pepper jack, and the shells came out with this mild heat that makes them taste like actual tacos. Did not expect it to matter that much but it really does. Pepper jack only from now on.
Yeah, pepper jack is my second favorite on these. You don't even need the garlic powder when you use it.
Made these for taco Tuesday and my son grabbed three shells off the cooling rack before I even got to the filling. Just ate them plain. Had to do another round because I was already short on shells. They hold up better than I expected once you let them sit the full two minutes before you try to move them.
Ha, same at my house. Two minutes is exactly right, they're still floppy coming off the pan but firm up completely once they sit.