Keto Yogurt

Published February 9, 2023 • Updated August 22, 2026
This post may contain affiliate links. See my disclosure policy.
Creamy keto yogurt from three ingredients and an Instant Pot — 3.5g net carbs, and it beats anything at the store. Eight hours of hands-off incubation is all it takes, and I make a fresh batch every single week.
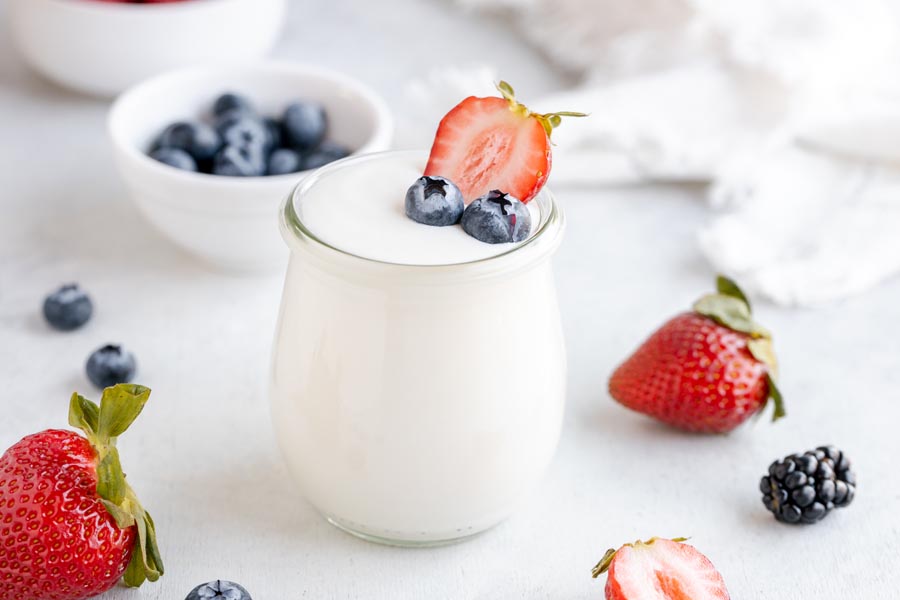
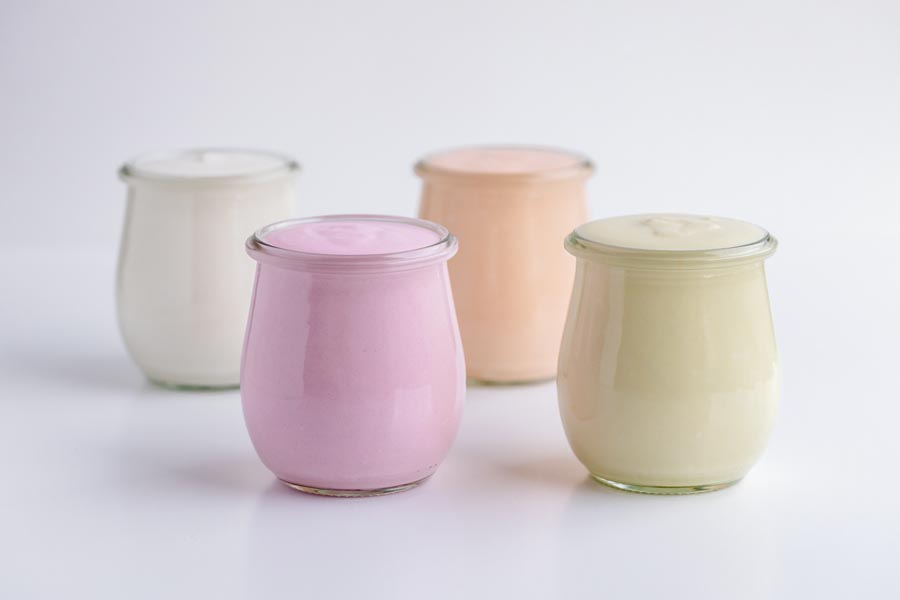
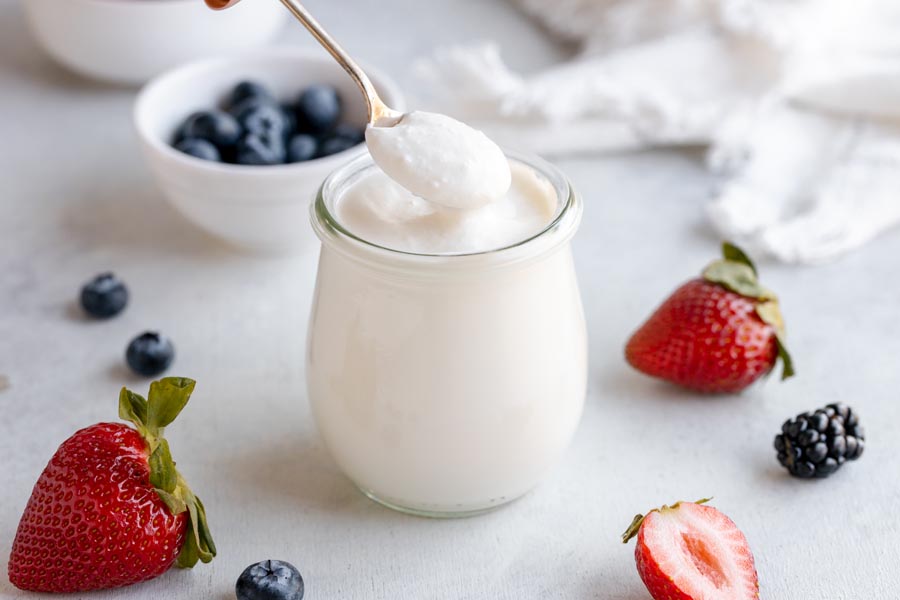
This recipe isn’t just for homesteaders or DIY types. I started making my own yogurt in 2019 because I was tired of paying $2 per cup for store-bought keto options, and I haven’t bought store yogurt since. The plain base is only 3.5 g carbs per 5 oz serving, and from there you can flavor it however you want (strawberry, lemon, peach, cotton candy, whatever sounds good that week).
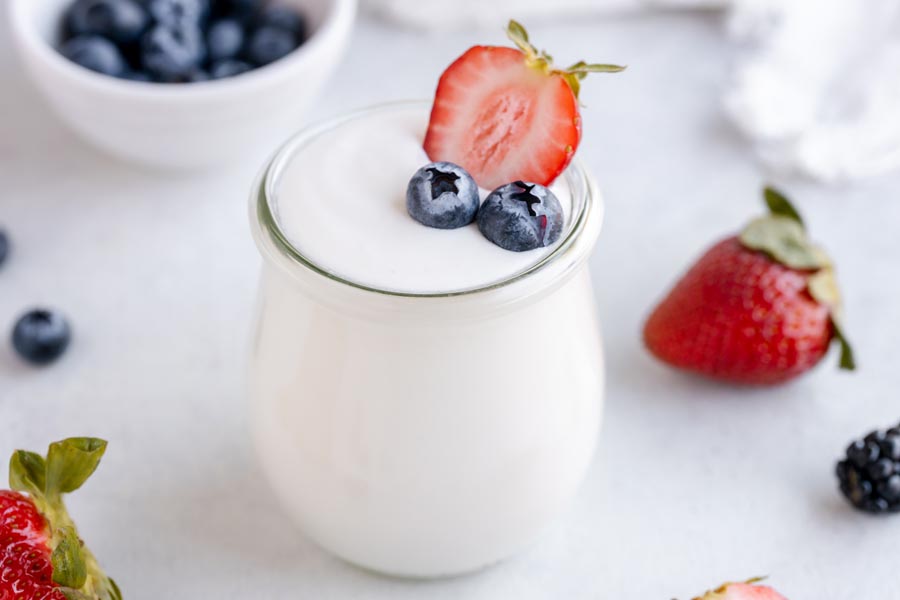
What surprised me most is how forgiving the whole process is. You heat milk, let it cool, stir in a spoonful of starter, and walk away for 8 hours. The Instant Pot holds everything at the right temperature while you sleep. I give instructions below for making it without the yogurt button, too.
- For a high-fat version, use all or half heavy whipping cream. Each 5 oz serving jumps to 346 calories and 32 grams fat. I make this version when I want something thick and custard-like.
- For a lower calorie version, use all ultra-filtered milk. Each 5 oz serving drops to 96 calories and 5.1 grams of fat. This is what I batch for weekday breakfasts.
I use the plain base in all sorts of other recipes, from yogurt fruit dip to avocado smoothie bowls. It’s also great eaten straight with a handful of berries.
One thing I learned from a reader (DanO, in the comments below) changed how I think about the heating step. Heating to 180 degrees isn’t about killing bacteria. The pasteurization already handled that. The real purpose is to denature the milk proteins, which is what gives you that thick, spoonable texture instead of a thin, runny mess. I’d been repeating the bacteria explanation for years before he corrected me.
Reader Matt has made eight batches and found that bumping the starter to a half cup of Siggi’s cuts incubation from 8 hours to about 6. He also confirmed what I’ve seen in my own kitchen: if the milk is still at 120 degrees when you add cultures, the texture never fully sets. That 110-112 sweet spot matters more than any other step in this recipe.
KetoFocus fans have the best tips
“ Homemade yogurt is the best. In my pre-keto days I made a French yogurt in my pressure cooker that was drop dead delicious. If you have one with the Yogurt button there’s no need to wait to add the cultures. Whisk the milk, cream & starter together & set the timer for 8 hours & walk away. If you want to, you can make it using the “pot-in-pot” method by pouring it into individual mini Mason jars, popping the lids on & stacking them inside the liner. After the 8 hours, let them cool down then pop them into the fridge. Great for grab & go.”
➤ from YouTube subscriber @jerritanner275
How to make homemade yogurt
- Gently warm the milk to 180 degrees Fahrenheit. This step denatures the milk proteins, which is what creates that thick, spoonable texture (not bacteria killing, as I used to think). Add ultra-filtered milk and heavy whipping cream to the liner, then press the ‘yogurt’ button. If your Instant Pot doesn’t have a yogurt button: press ‘keep warm’ for 40-45 minutes, then press ‘saute’ and heat until a thermometer reads 180 degrees.
- Some yogurt makers say you can skip heating with ultra-pasteurized milk. I cover the cold start method in the FAQ section below.
- Let cool to 110-112 degrees. Remove the liner and place on a cooling rack. Do not let it drop below 110, or the cultures won’t activate properly. I’ve made that mistake, and you end up with thin liquid that never sets. Reader Yuki found that an ice bath gets it there in about 10 minutes instead of the hour it takes on the counter.
- Add yogurt starter and incubate. Whisk in about 1/4 cup of plain yogurt with live cultures, replace the lid, and press ‘yogurt’ again. The Instant Pot holds the right temperature for 8 hours. Without a yogurt button, wrap the pot in a towel or sleeping bag and leave it at room temperature for 8 hours.
- Refrigerate. Scoop into Mason jars and store in the fridge. The yogurt thickens more as it cools.
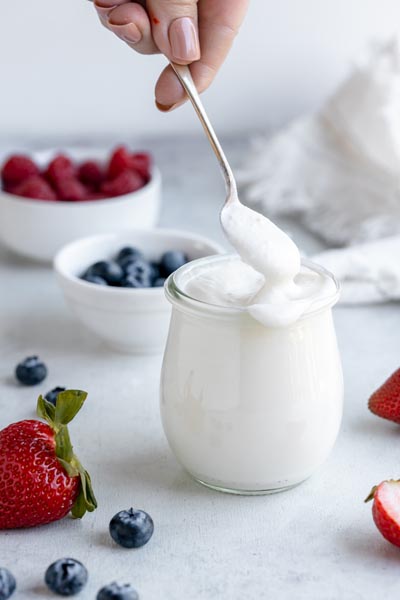
Key ingredients
- Ultra-filtered whole milk: I use Fairlife specifically. Ultra-filtered milk has most of the sugars and lactose removed, which keeps carbs down. Make sure it’s ultra-pasteurized so you’re starting with clean milk that won’t introduce bad bacteria during incubation.
- Heavy whipping cream: About 0.3 grams of carbs per tablespoon. I use ultra-pasteurized cream. Mixing it with the milk gives you a richer, creamier result with fewer carbs than an all-milk batch.
- Plain yogurt with live cultures: This is your starter. Check the label for ‘live active cultures’ or ‘live probiotics.’ I’ve used Two Good and Siggi’s as starters, and both work. Reader Matt swears by a half cup of Siggi’s for faster incubation.
Equipment needed
- Instant Pot (the yogurt button model is ideal, but I include instructions for making it without one)
- Thermometer
- Little jars

Explore hundreds of keto recipe videos with step-by-step instructions, tips, and tricks to make keto easy.
Keto Yogurt Ingredients
 32 oz ultra-filtered, ultra-pasteurized whole milk
 -
32 oz heavy whipping cream (or use all whole milk for lower calorie yogurt)
-
1/4 cup yogurt with active cultures
Flavored Yogurt (5-6 Oz Serving) Ingredients
-
1/2 teaspoon powdered sugar-free sweetener
-
1/4 teaspoon flavoring oils or extracts
-
food coloring
Step by Step Instructions
Gently heat milk
Add 32 oz ultra-filtered, ultra pasteurized whole milk and 32 oz of ultra pasteurized heavy whipping cream to the liner of an instant pot. (For a lower calorie, lower fat option, use 64 oz whole milk only.) Put the lid on and seal closed. Instant Pot with Yogurt Button: Press the ‘yogurt’ button. Instant pot will slowly heat the milk up to 180 degrees. If your Instant Pot doesn’t have a Yogurt Button: Press the ‘keep warm’ and heat milk for 40-45 minutes. Remove the lid and press ‘sauté’. Insert a candy thermometer and heat milk until it reaches 180 degrees F.

- 32-64 oz whole milk
- 32 oz heavy whipping cream (optional)
Let cool
Remove the liner from the instant pot and place on cooling rack or pad to cool. Let milk cool to 110-112 degrees. DO NOT let the temperature drop past 110 degrees or else your yogurt cultures may not grow.

Add active cultures
Once the milk temperature has lowered to 112 degrees, whisk in the yogurt. Replace the lid. Instant Pot with Yogurt Button: Press the “yogurt” button. The Instant Pot will maintain the ideal temperature for incubation. If your Instant Pot doesn’t have a Yogurt Button: Turn off the Instant Pot. Wrap the Instant Pot with a large beach towel or sleeping bag to help insulate and let sit at room temperature for 8 hours. Insulating the pressure cooker, will help to keep it at the ideal temperature to allow the yogurt to grow.

- 1/4 cup yogurt
Refrigerate
Once the yogurt is done incubating, scoop into Mason jars and store in the refrigerator. The yogurt will continue to thicken as it cools.

Make flavored keto yogurt
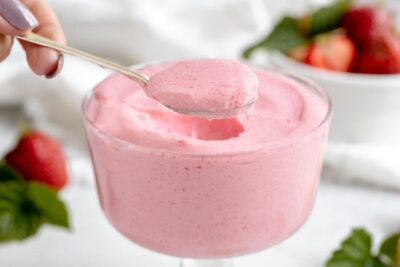
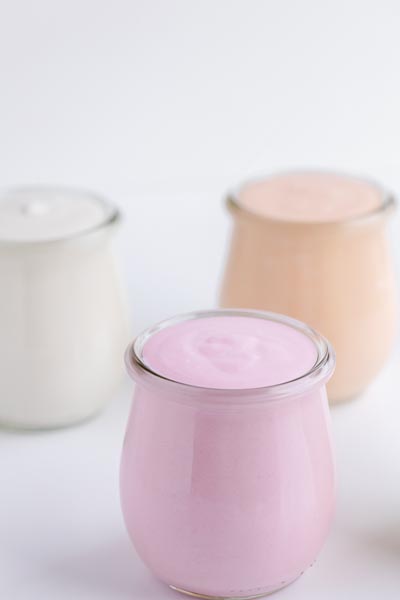
To make flavored yogurt, portion out 5-6 oz of yogurt in a small bowl. Stir in powdered sweetener, flavoring extract and 1-2 drops of food coloring (if using).

- 1/2 teaspoon powdered sugar-free sweetener
- 1/4 teaspoon flavoring extract
- food coloring (optional)
Nutrition disclaimer
The nutrition information provided is an estimate and is for informational purposes only. I am a Doctor of Pharmacy (Pharm.D.); however, this content is not intended to be a substitute for professional medical advice, diagnosis, or treatment. Always consult your physician or other qualified health provider before making any lifestyle changes or beginning a new nutrition program.
Your Macros. Your Recipes. Calculated in 60 Seconds.
Get personalized keto macros and instantly see which recipes fit your targets. No more guessing what to eat.
Get My Macros + Recipes →Frequently Asked Questions
Can I have yogurt on keto?
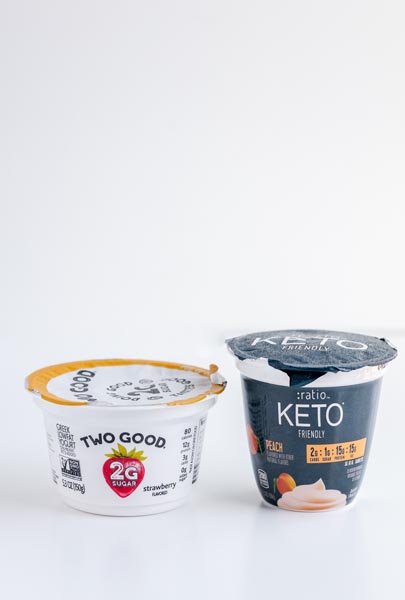
Yes, but read labels carefully. Most yogurt at the store is loaded with added sugars or made from skim milk, which drives the carbs up. I keep Two Good or Ratio on hand for busy weeks, but my go-to is making my own batch. Homemade gives me full control over what goes in, and at 3.5 g carbs per 5 oz serving, it fits easily into my daily macros.
Can I make Greek yogurt by straining it?
I've done this with several batches and it works perfectly. Once the yogurt is done incubating and chilled, I line a fine mesh strainer with cheesecloth, pour the yogurt in, and let it drain in the fridge for 4-6 hours. The whey drips through and you're left with a much thicker, creamier result. Straining closer to 6 hours gives me a texture almost like cream cheese, which I love on its own or as a base for dips.
What is the cold start method for making yogurt?
Cold start means skipping the heating-to-180 step entirely. You mix ultra-pasteurized milk with the starter culture and go straight to incubation. I've tried it a few times and it works, but the texture comes out noticeably thinner because you're skipping the protein denaturing step. If thick, spoonable yogurt is what you're after, I still recommend heating first.
Why didn't my yogurt set?
The most common reason (and I've made this mistake myself) is adding the starter culture when the milk is still too hot. Anything above 115 degrees can kill the live cultures before they do their job. My thermometer is non-negotiable for this step. Other culprits: starter yogurt that doesn't actually have live cultures (check the label), or the Instant Pot losing temperature during incubation. Wrapping the pot in a towel helps if you don't have the yogurt button.
Does longer incubation make yogurt tangier or just firmer?
Both, in my experience. I've tested 6, 8, 10, and 12 hour incubation times. Past 8 hours, the tang increases noticeably as the cultures continue converting lactose to lactic acid. Texture firms up slightly too, but the flavor shift is the bigger change. I prefer 8 hours for a mild, creamy result. If you like that sharp Greek-style tang, try 10-12 hours and see where your preference lands.
Can I make this with all heavy whipping cream?
Yes, and it's incredible. I make the all-cream version when I want something dense and custard-like. Each 5 oz serving comes to about 346 calories and 32 grams of fat, so it's rich. I treat it more like a dessert base than breakfast yogurt. For a lighter batch, I use all ultra-filtered milk instead, which drops each serving to 96 calories and 5.1 g fat.
What can I do with the liquid whey on top?
That thin liquid is whey, and I used to pour it off without thinking. Now I save it. I stir it into smoothies for extra protein, use it as the liquid in my souffle pancakes, or just mix it back into the yogurt for a thinner consistency. You can also freeze it in ice cube trays and toss a cube into shakes later.
What type of yogurt is best for keto?
Plain yogurt made from ultra-filtered milk is the best type for keto. My homemade batch comes out to 3.5 g carbs per 5 oz serving. If you're buying instead, I reach for Ratio at 2 g carbs per container or Too Good and Co. at 4 g total carbs. Skip anything flavored with added sugar and anything made from skim milk, since both drive the carbs up fast.
Is chobani yogurt keto?
Chobani Zero Sugar can fit into keto at 5 g carbs per serving. I've had the vanilla and blueberry, and both are fine, but I wouldn't pick them over Two Good. Regular flavored Chobani is a different story because of the added sugar. My homemade version is still the lowest carb option I know at 3.5 g carbs per 5 oz serving.












I can only find regular whole milk at my store, not ultra-filtered. Will it still set up okay or does it need to be the ultra-filtered kind?
It'll set, but you can't skip the heating step with regular milk, Quinn. Bring it to 180, let it cool to 110-115, then add your starter. I've made it with regular whole milk and it comes out a little thinner than Fairlife, plus the carbs go up.
Good to know, I definitely would have skipped that heating step. Going to try it with regular milk and see if the texture bothers me.
I batch this weekly, still dialing in the sweetener.
Sweetener took me forever to nail down too. Liquid stevia drops are easier than powdered since you're adjusting one drop at a time. Two after it's chilled. The cold kills sweetness way more than you'd think.
3.5 net carbs. Never buying store yogurt again.
Once you read the labels side by side there's no going back. I make a batch every Sunday.
Confession: started making this for myself and then my daughter got to the strawberry version before I could stop her. Now I'm doing double batches on Sundays. She's been the yogurt texture critic in this house since she was four. Store-bought gets the 'too slimy' face every time. She just ate this without commentary. That's the five-star review I trust most. Something about the ultra-filtered milk base, it's clean in a way store-bought Greek yogurt just isn't, and I think that's what she's responding to even if she'd call it 'fine.'
'Fine' from a kid who's called store-bought 'too slimy' since age four. That's the review I'd frame. You're right about the ultra-filtered milk, it's why I can't go back to regular whole milk for this one.
Started straining mine through cheesecloth after the incubation, just two hours hanging over a bowl in the fridge, and it turns into something closer to labneh. The texture shift is honestly kind of startling the first time you do it. I also started adding a small spoon of lemon zest to the strained version and now I genuinely cannot go back to plain. The whey you drain off goes straight into my morning smoothies so nothing is wasted, and it drops the net carbs a little further since you're removing some of the lactose. I tried it without straining again last week just to compare and it felt like a downgrade. Batch seven this month and the strained version is the only way I make it now.
Two hours to labneh texture, that's faster than I thought. The lemon zest I'm stealing.
Ran out of cream mid-batch and just used whole milk to finish. Tangier, a bit looser. I liked it better for stirring into things or using as a sauce base. For actual breakfast bowls where I want it to hold up under toppings, the cream version wins. So now I make two batches most weeks, one of each. Not something I planned. But the Instant Pot makes it easy enough that it doesn't feel like a thing. One thing I figured out: straining the all-milk batch an extra two hours in cheesecloth in the fridge gets it close to Greek thickness without changing the taste at all. Would not have found that if I hadn't run out.
The sauce base idea I wouldn't have gotten to on my own. Something satisfying about running both batches and having the cream version for bowls and the all-milk ready for everything else.
Tip for anyone whose batches kept coming out thin: pull the liner off heat early and let it coast down to 112 on its own instead of hovering over it. Mine was running hot without realizing it and once I fixed that the texture got so much creamier.
Yeah, the liner holds heat. I pull at 114 for the same reason, coasts right to 112 on its own.
Ran out of heavy cream, used all whole milk, expected disaster. It set thick and creamy. Lower calorie too. Now I don't even know which version I want.
Whole milk is listed right in the recipe for a reason. I go that route when I want a second bowl without wrecking the calories. Still thick, still creamy.
Tried whole milk first since I had it. Worked, but thinner than I wanted. Full heavy cream ratio is a different ballgame. Once you hit 112 degrees, get the cultures in and the lid back on fast. Mine set much firmer once I stopped leaving it open.
Yeah, whole milk and full cream are basically two different products here. The lid thing - learned that one the hard way. Even a minute or two open at 112 and the set goes noticeably softer.
Made this twice now and love the process, but I can't get consistent thickness. First batch came out thick and creamy. Second was noticeably thinner with the exact same milk. Only thing I can think of is the cool-down time before adding the cultures. Does temperature actually matter that much when whisking them in, or am I missing something?
Yeah, that's it. Over 115 kills the cultures. Use a thermometer next time and see if that fixes it.
Yogurt was the one thing I missed when I went keto two years ago. Assumed anything creamy and tangy was off the table for good, so when I found this I was skeptical but made it anyway. Instant Pot before bed, incubated overnight. Woke up to actual yogurt. Not a keto approximation. At 3.5g net carbs I've had it every morning this week with berries. Only real note is the milk temperature: you need to hit that 112-degree window, took me two tries before the texture was right. Worth it though. Tastes exactly like I remembered.
That morning reveal is the best part. I do frozen berries on top before I go to bed and they thaw while the yogurt chills. Ready to go.
I've been making yogurt with a sous vide circulator for years, since holding exact temp through full incubation makes a real difference in texture, and I want to try it with ultra-filtered milk. The 112-degree target for adding cultures is the same either way. What I can't figure out: does the Instant Pot's yogurt mode do anything beyond holding temp for those 8 hours? Would a water bath at 112 get the same result, or does the Instant Pot environment matter somehow?
The yogurt function is just holding temp. A water bath at 112 gets you the same result. Your sous vide is probably more precise than my Instant Pot anyway.
I don't have an Instant Pot, just a slow cooker. Would the 8-hour incubation work in there, or does it need that keep-warm setting?
Keep warm on most slow cookers runs too hot. Anything above 115 kills the cultures. I'd use the oven instead: 200 for 2-3 minutes, turn it off, leave the light on, and let it sit the full 8 hours.
Ok so one thing that changed everything for me: get an instant-read thermometer and do not guess on the 112 degree step. First two batches I went by feel and the yogurt came out thin and loose, barely thicker than the milk I started with. Third time I used my Thermapen, hit 112 on the dot, and it set up thick enough that I had to scoop it out of the liner, not pour it (which is the whole point). Also discovered that using the Instant Pot's actual 'Yogurt' function instead of just 'Keep Warm' holds the incubation temp way more consistently across the full 8 hours. That's what finally locked in the texture. Four stars because I'm still dialing in the Lakanto powdered ratio to get the sweetness where I want it, but the base method is legit. Running a batch every Sunday now.
Yogurt function is what I use too. Keep Warm dips too low mid-incubation, I noticed it on my third batch. For the Lakanto, start at 3 tablespoons and taste before it chills, sweetness dulls a bit cold.
My grandma made yogurt from scratch every week and I figured that was just one of those things I'd accepted losing on keto. Three ingredients and an Instant Pot later and I'm sitting here crying a little. I don't know what I expected but it wasn't this.
Your grandma would be proud. I start mine before bed every Sunday so it's ready when I wake up. Eight hours goes fast when you're not watching it.