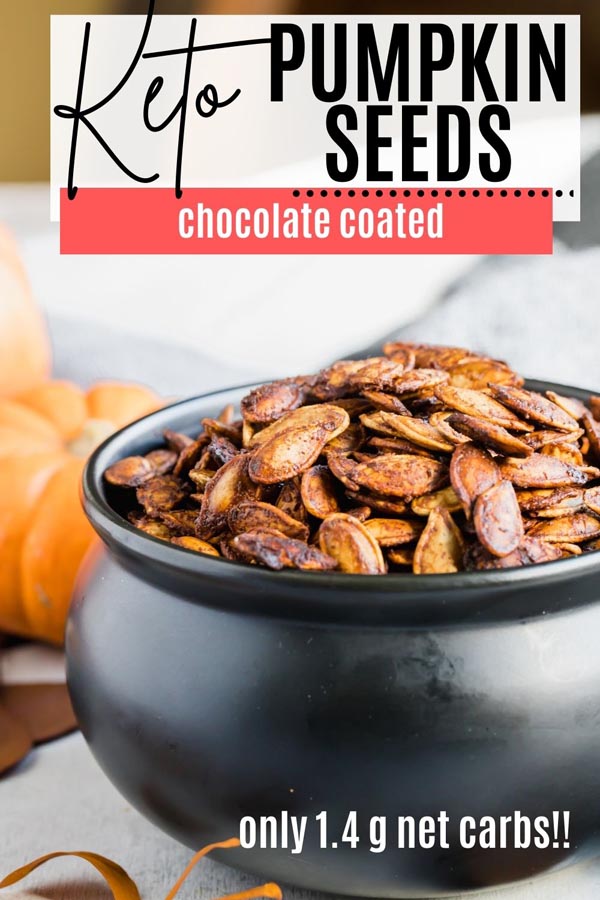
Chocolate Pumpkin Seeds

Published October 22, 2021 • Updated March 7, 2026
This post may contain affiliate links. See my disclosure policy.
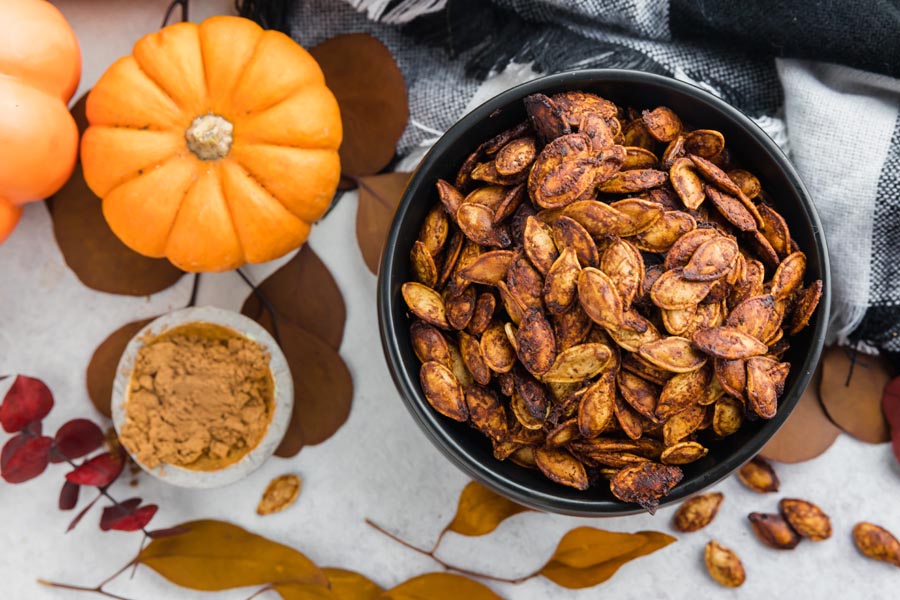
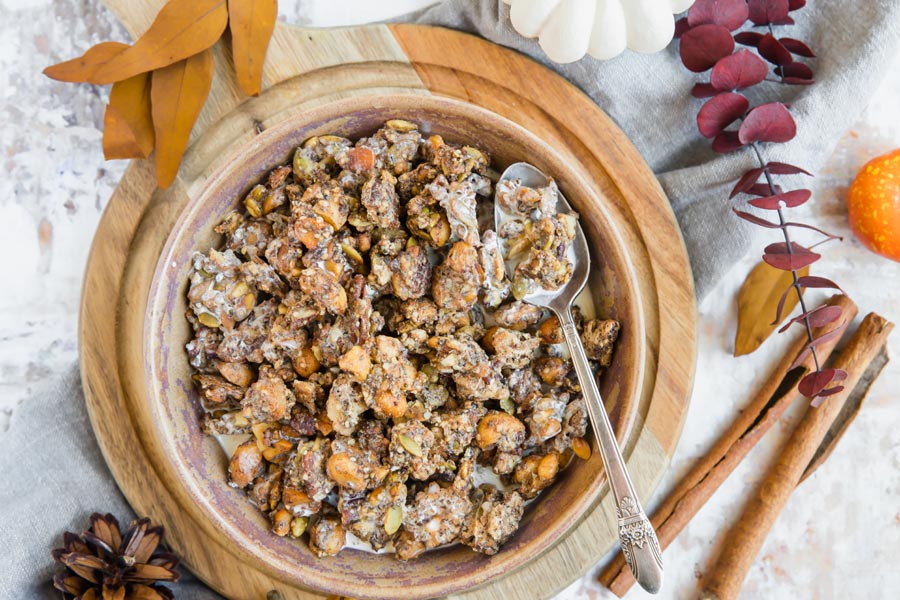
I started making these the year my kids were old enough to carve their own pumpkins. We had seeds everywhere, and I figured there had to be something better than just salting them. Coating them in a chocolate cinnamon mixture before roasting was the thing that changed carving season for me.
The trick is boiling the raw seeds in salted water first. I know it sounds like an extra step, but I tried it both ways and the difference is night and day. Boiled seeds come out seasoned all the way through, not just salty on the outside. They also roast up crunchier. Reader Diane tried six other roasted seed recipes before landing here, and she said the brine was what she had been missing all along. She called the coating ‘almost candy-like without being sweet.’ That is exactly what I was going for.
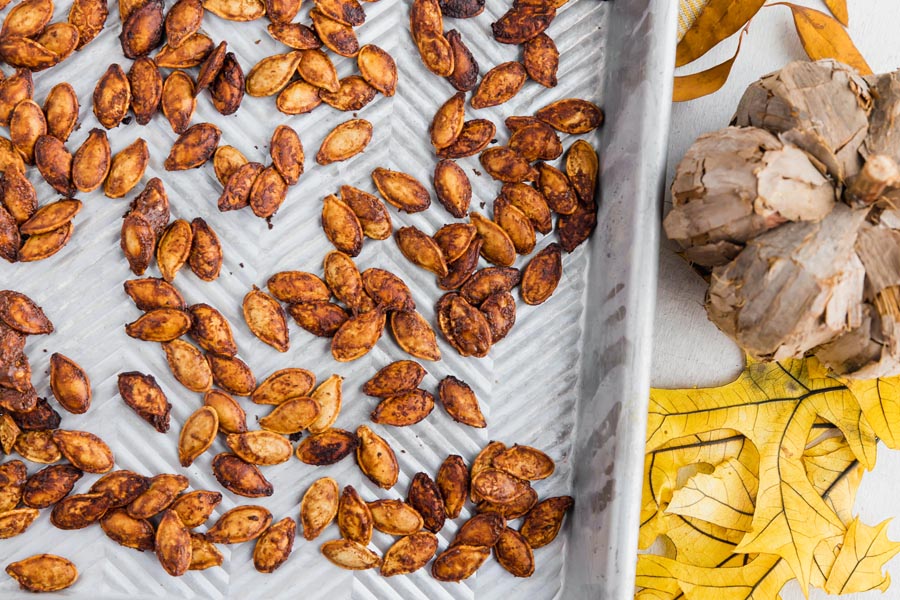
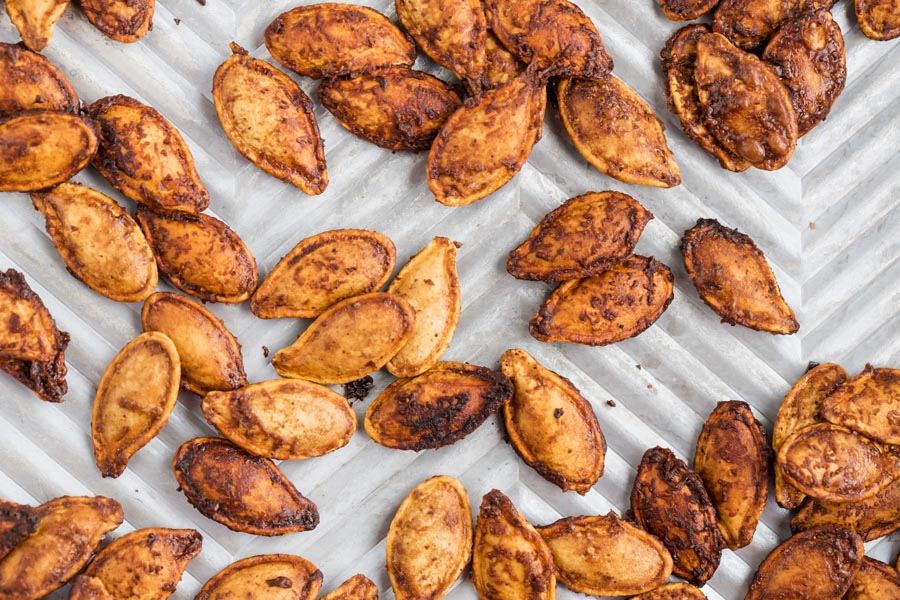
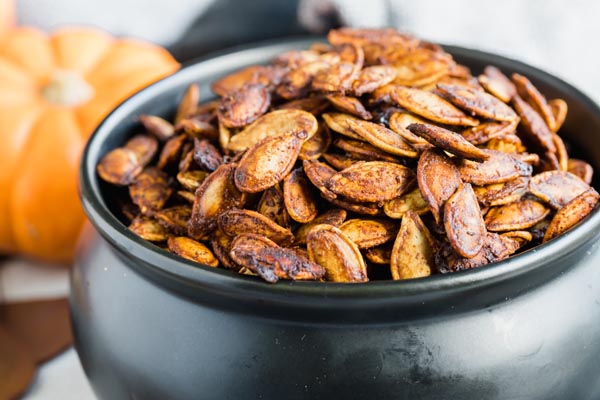
For the coating, I toss the drained seeds with melted butter, sugar free maple syrup, cocoa powder, and cinnamon. You want every seed coated but not swimming in liquid. I spread them on a lined baking sheet (and I mean really spread them out, single layer, no overlapping) and roast at 400 degrees for about 10-12 minutes. Mine are usually done closer to 11 minutes, but ovens vary so keep an eye on them the first time.
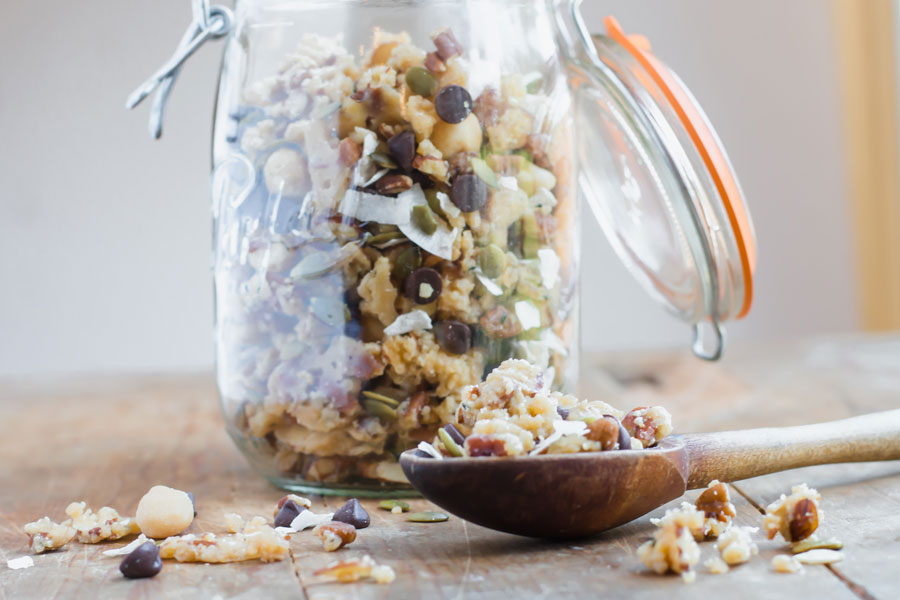
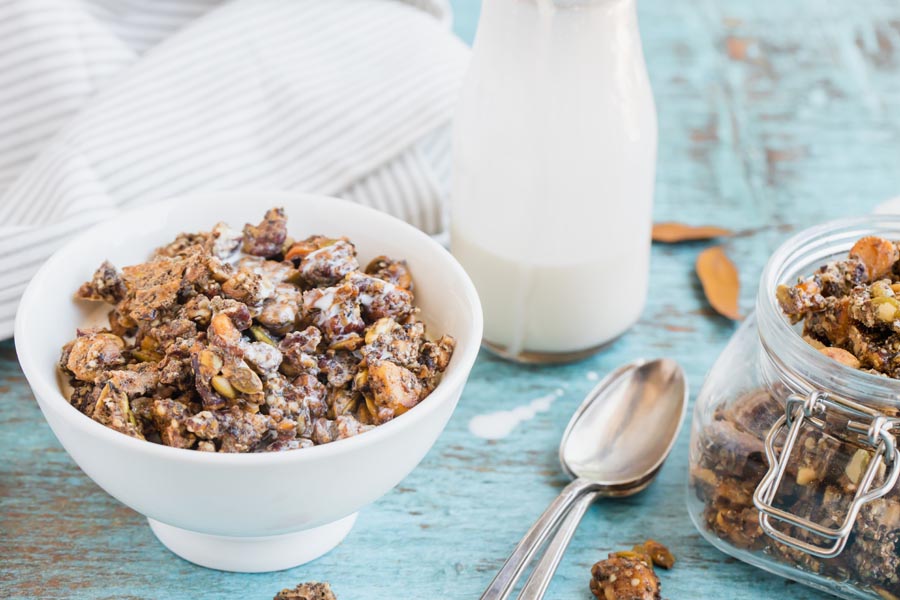
I keep a batch in a jar on my counter through October and November. They stay crunchy for about a week at room temperature, sometimes closer to two weeks if I seal the jar tight and humidity cooperates. For longer storage, I stash them in the freezer where they keep for up to 3 months. Frozen, they taste like little chocolate candy bites straight out of the bag. I actually prefer them that way.
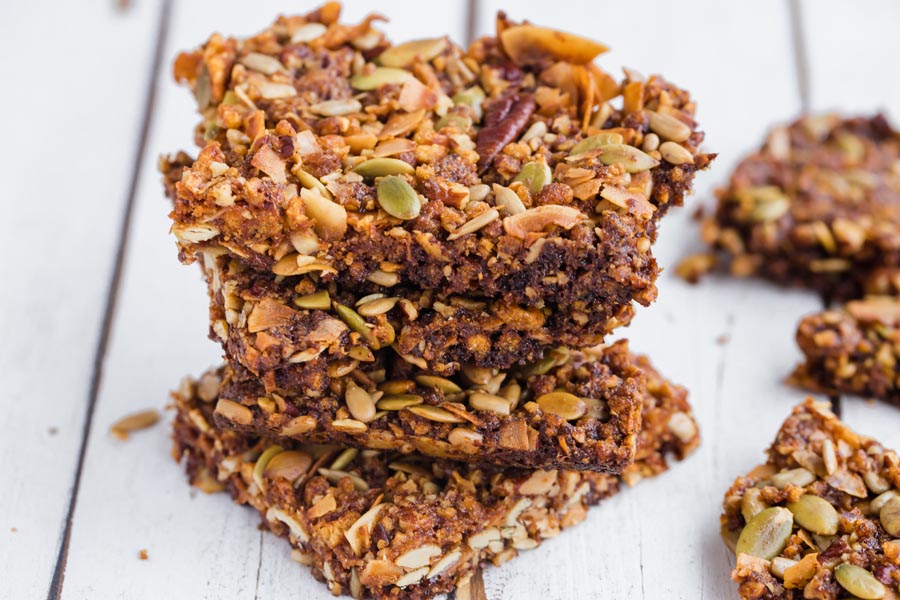
This recipe is easy to riff on. I have drizzled white chocolate over the top after roasting for a bark-style look that works on a holiday snack tray. You can also toss in almonds or sunflower seeds before roasting for more of a trail mix. My kids prefer them plain, but I like a handful of slivered almonds for extra crunch.
If they lose their crunch (and they will if it gets humid), spread them back on a baking sheet and pop them in the oven at 350 degrees for about 10 minutes. I have done this more times than I want to admit and they crisp right back up.
If you are building out your keto snack rotation for fall, I have a few other recipes I keep on hand. My chocolate brownie protein balls are another quick chocolate fix I pull from the fridge. I also make homemade pork rinds and avocado chips for something salty and crunchy between meals. And when I want something to dip, my keto hummus pairs with just about anything.
Explore 684+ keto recipe videos with step-by-step instructions, tips, and tricks to make keto easy.
Ingredients
 2 cups raw pumpkin seeds
 -
2 cups water
-
1 1/4 teaspoon salt, divided
-
2 tablespoons butter, melted
-
2-3 tablespoons sugar free maple syrup
-
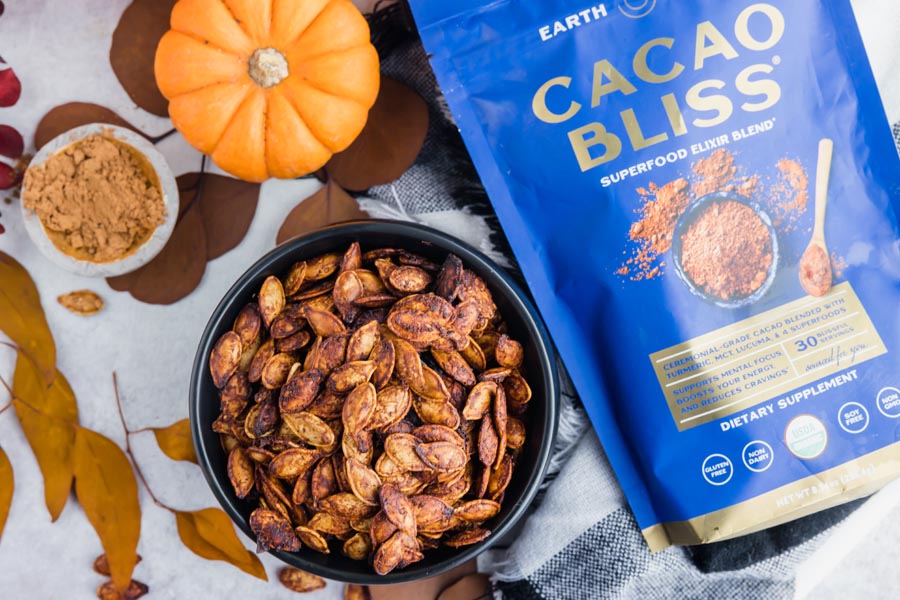
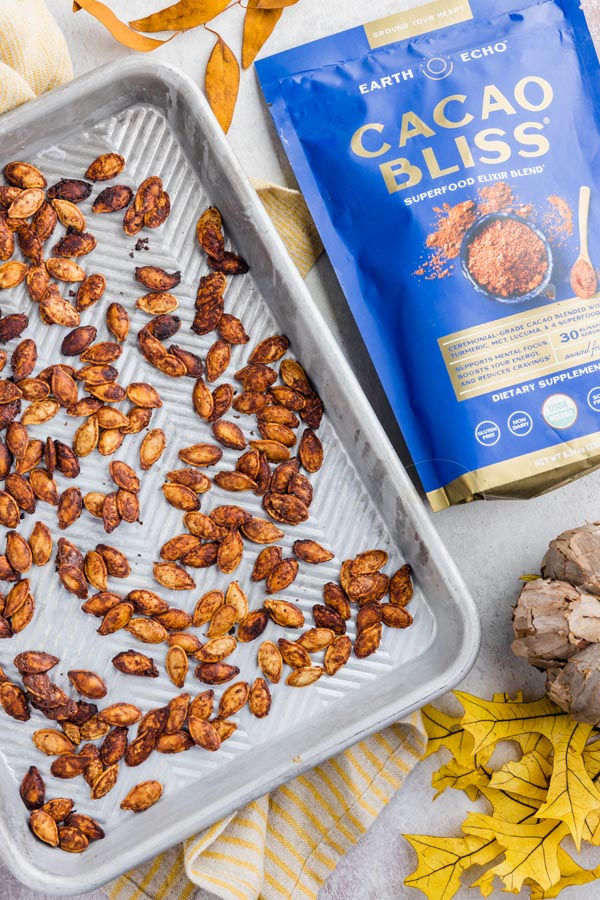
1 - 2 tablespoons Cacao Bliss or unsweetened cocoa powder
-
1/2 teaspoon cinnamon, optional
Step by Step Instructions
Step by Step Instructions
Rinse pumpkin seeds
After carving your pumpkin, rinse the pumpkin seeds in cold water to help remove the orange pumpkin goop.

Boil in salty water
Add water, 1 teaspoon salt and clean pumpkin seeds to a sauce pan. Bring to a boil and boil for 10 minutes. This step allows the salt to penetrate into the pumpkin seeds so you don’t have bland pumpkin seeds. Drain water and pat dry seeds.

Pumpkin seed seasoning
To a large bowl, add boiled pumpkin seeds, melted butter, sugar free maple syrup, Cacao bliss or cocoa powder, cinnamon and 1/4 teaspoon salt. Mix until seeds are evenly coated. NOTE: If you are using unsweetened cocoa powder, add extra maple syrup to balance the bitterness.

Spread and bake
Evenly spread out coated pumpkin seeds onto a parchment or foil lined baking tray. Make sure you don’t have the seeds too close to each other to allow for even roasting. If the pumpkin seeds are layered or too many are touching, you will steam the seeds and they won’t be crunchy. Bake at 400 degrees for 10-12 minutes. Remove from oven and let roasted pumpkin seeds cool before snacking.

Nutrition disclaimer
The nutrition information provided is an estimate and is for informational purposes only. I am a Doctor of Pharmacy (Pharm.D.); however, this content is not intended to be a substitute for professional medical advice, diagnosis, or treatment. Always consult your physician or other qualified health provider before making any lifestyle changes or beginning a new nutrition program.
Your Macros. Your Recipes. Calculated in 60 Seconds.
Get personalized keto macros and instantly see which recipes fit your targets. No more guessing what to eat.
Get My Macros + Recipes →Frequently Asked Questions
Can I use pepitas instead of shell-on seeds from a pumpkin?
I have tested both. Pepitas (the green hulled seeds you buy bagged) roast faster and have a softer bite. Shell-on seeds from a carved pumpkin hold the cocoa coating better because the rough surface grabs onto it. If you use pepitas, cut the roasting time to about 7-8 minutes and watch them closely since they can go from done to burnt fast. I prefer shell-on for this recipe, but pepitas work if that is what you have.
Are these safe for nut-free households or school lunches?
Yes. These are seeds, not tree nuts, so they are naturally nut-free. I have sent them to school events where tree nuts were banned and never had an issue. Just check that your cocoa powder and maple syrup are processed in a nut-free facility if you are dealing with severe allergies. I look at the labels on mine every fall since manufacturers change their production lines.
Can I make these in an air fryer?
I have done it and the results are great, sometimes even crunchier than the oven. I set my air fryer to 375 degrees and cook for 8-10 minutes, shaking the basket halfway through so they roast evenly. The trade-off is batch size. About 1 cup fits without crowding, so for a full recipe I do two rounds. For a quick snack-sized batch, the air fryer is faster. For a big fall batch, I stick with the oven.
What can I substitute for sugar-free maple syrup?
I use sugar free pancake syrup most of the time since it is easier to find. Any brand works. You could also try a few drops of liquid monk fruit mixed with a tablespoon of melted butter for a similar sticky coating. I have used regular honey and it tastes fine, but it adds carbs. When I want to keep these strictly keto, I stick with the sugar free version.
How should I store these and can I freeze them?
I keep mine in a mason jar on the counter and they stay crunchy for about a week, sometimes closer to two if humidity is low and the jar seals tight. In the fridge, I have gotten about two weeks from a sealed container. For freezing, I spread them on a baking sheet first so they freeze individually, then transfer to a freezer bag. They keep for up to 3 months in the freezer and I actually prefer them that way. They taste like little chocolate candy bites straight from the bag, no thawing needed.
How do I keep these crispy in humid weather?
I deal with this every fall. When my seeds go soft, I spread them back on a lined baking sheet and put them in the oven at 350 degrees for about 10 minutes. They crisp right back up. I have done this multiple times with the same batch and it works every time. The key is spreading them in a single layer so they dry out evenly.
Can I use white chocolate or milk chocolate instead of cocoa powder?
I have done a white chocolate drizzle over the top after roasting and it looks beautiful, almost like a bark. But I would not mix chocolate chips into the coating before baking because they burn at 400 degrees. My method is to roast with the cocoa coating first, then melt your white or milk chocolate and drizzle it over the cooled seeds. Let it set for about 15 minutes and you are good.
Can I use store-bought roasted seeds instead of raw?
I have tried both. Roasted seeds work, but the coating does not stick as well because the seeds are already dry. When I start with raw seeds, the cocoa mixture clings to them and bakes on during roasting. If roasted is all you have, toss them in the coating and bake for just 5-6 minutes to set everything without over-toasting. The texture is not quite as good, but it still beats plain roasted seeds.


Don't skip the boiling step. I did on my first batch and the seeds came out tough, not crunchy at all. Now I always do the full simmer and dry them well before the butter and maple syrup.
Used some frozen raw seeds we had from fall and made these on a cold Sunday afternoon. My youngest came into the kitchen when they were in the oven and just stood there. She asked if we could put the maple chocolate coating on everything from here on out. I kind of think she's onto something.
Ha, she's not wrong. I've done the same coating on almonds and it's just as good.
I've probably tried six different roasted pumpkin seed recipes over the years and the thing I could never crack was the texture, they'd either come out chewy or get that hollow crunch that tastes like styrofoam. The boiling step here is what I was missing. You get that deep salt from the brine carrying through the whole thing, and when it hits the maple syrup and cacao it builds something the skip-the-brine versions just can't touch. I used Cacao Bliss because I had it, and the seeds came out with this thin crackly coating that was almost candy-like without being sweet. Two batches in two weeks. Every other version I've bookmarked is basically retired.
Yeah, the brine is why I kept that step in. Tested a version without it and the salt just sits on the surface, bland all the way through. Cacao Bliss is thicker than plain cocoa so that crackle coating makes sense.
Made a double batch Sunday and have been grabbing handfuls all week. The cacao coating stays crunchy even after a few days in a jar, which I wasn't expecting. Good to have around when the evenings get long.
Yeah the jar keeps them better than I expected too. If you make another double batch, freeze half. I actually prefer them straight from the freezer.